Tripod Headstand To Crow Pose

Tripod Headstand to Crow for Controlled Access

inversions

TRIPOD HEADSTAND TO CROW POSE

When exploring an inversion like Tripod Headstand, the shoulder muscles become part of the primary focus. Tripod Headstand on its own can be challenging enough, but adding a controlled and safe transition into an arm balance like Crow Pose creates a whole new layer of understanding that must be taken into consideration. 

The rotator cuff muscles are great stabilizers of the shoulder girdle, so activating these muscles is key in the setup for both postures. Both a deeper grasp of the biomechanics of each posture on its own and an understanding of the specific movements, particularly in the area of the shoulders, help us maintain balance when exploring how to move between the two poses. In today’s video, Matt provides the details and step-by-step cues to master the transition from Tripod Headstand to Crow Pose.

chromatic yoga 15 hour immersion

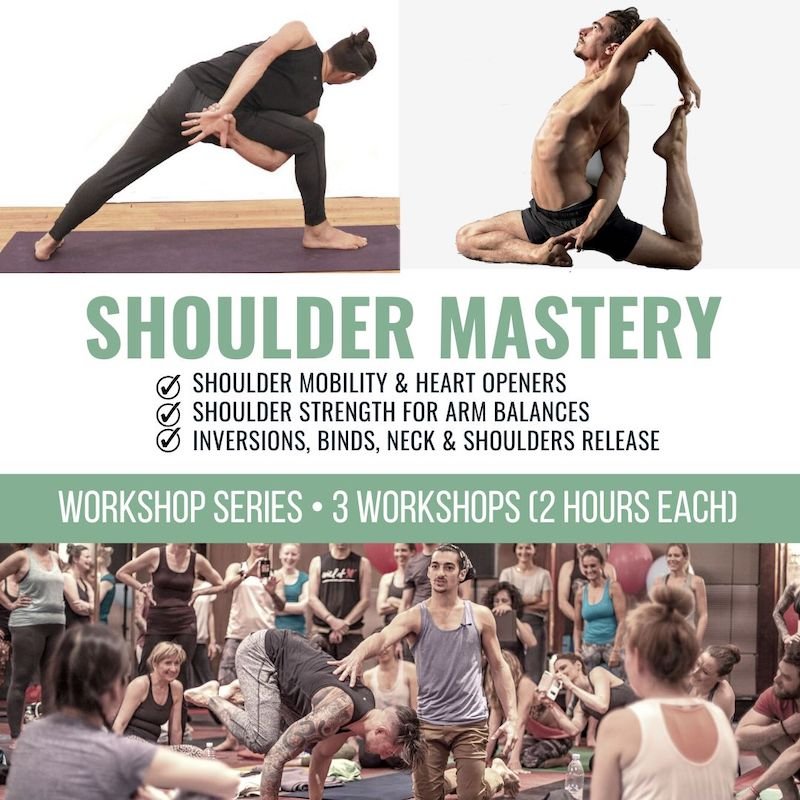
SHOULDER MASTERY

WORKSHOP SERIES

    •  3 livestream workshops and replays
    • Nondogmatic and effective alignment
    • Improve low-back health
    • Shoulder mobility + heart openers
    • Shoulder strength + arm balances
    • Inversions, binds, neck & shoulder release
    • 6 hours of continued education
    • Gain strength and stability
    • Increase range of motion, flexibility, and mobility
    • Step-by-step guidance: Everyone can follow and participate
    • Educationally infused: Learn while you embody
    • Livestream optional; all workshops available as livestreams (see dates below) and as on-demand replays for life
    • Automatically receive access to the replays immediately after the livestream

    THE VERY FIRST STEP

    First, it’s simply about understanding what in our bodies we need to target in order to create the required stability for the setup in Tripod Headstand. At the beginning of the video, Matt offers an explanation for why the shoulders are important and how to effectively activate the appropriate muscles. When practicing with Matt, we understand that any time the hands are making contact with our mats, particularly in an inversion or arm balance, “gripping the ground” begins to send the correct channel of energy into the rest of the body. With this understanding, we can begin to see how this action affects what’s required in the shoulders: To activate the rotator cuff muscles, we take that grip of the ground and dial it outwards. This encourages the biceps to turn outwards and the elbows to turn inwards. Once these steps are in place, we can feel the rotator cuff muscles.

    WATCH THE VIDEO

    TRIPOD HEADSTAND TO CROW POSE: SHOULDER TECHNIQUES FOR CONTROLLED  ACCESS

    TRIPOD CROW

    Before the legs go upright in Tripod Headstand, we can explore Tripod Crow, which Matt demonstrates. Although there is no wall behind him in the demonstration, he recommends using a wall in the early stages of exploration.

    Tripod Crow allows us to get comfortable with the hand and head placement. This is important because of the adjustments that are necessary regarding the neck muscles.  

    The hands are roughly shoulder-width apart, and the head is placed down just shy of an equilateral triangle. This way, when we roll onto our heads, it becomes more of that equilateral setup. From here, we switch on the rotator cuff muscles (as described above), and then instead of sending the legs all the way up, we bring the knees onto the outer arms. Sending our gaze towards the floor then turns on the rear neck muscles for additional stability.

    200 Hour Online Teacher Training Certification

    200 HOUR ONLINE TEACHER TRAINING

    GET CERTIFIED & DEEPEN YOUR YOGA PRACTICE

    • Deepen your yoga practice
    • Build confidence speaking in front of groups in person and online
    • Learn foundational class structures and templates
    • Learn techniques for a wide range of yoga postures
    • Get certified and highly qualified to teach yoga
    • Yoga Alliance Globally Recognized Certification Program

    LEAN INTO THE PROGRESSION

    In this next stage, Matt demonstrates the entry into Tripod Headstand along with how to begin transitioning into Crow Pose. First, we can add onto Tripod Crow by hugging the knees in and creating an anterior tilt of the pelvis to then send the legs upwards. The next step allows us to explore the movement towards Crow Pose with some momentum. Instead of pausing, activating, and holding Crow Pose, we can practice “sitting the bum down” on the way out of Headstand and then leaning back to move more quickly towards taking our feet to the ground. Slowly progressing with more “hang time” and a bigger push into Crow will help us master this transition. A new shoulder action is also layered on in order to press into Crow Pose.

    300 hour teacher training online

    300 HOUR ONLINE TEACHER TRAINING

    GET 500 HOUR CERTIFIED AS A MASTER TEACHER

    Master your skill set as a teacher through refined techniques, anatomy, biomechanics, sequencing, philosophy, meditation techniques, theming, yoga business, and much more!

    • Get 500 hour certified
    • Learn anatomy, biomechanics, asana techniques
    • Expand your teaching skills
    • Masterful sequencing and verbal delivery
    • Learn meditation and breathwork techniques
    • Transformative tools: theming, dharma talks, satsang

    PUT IT ALL TOGETHER

    Finally, the shoulder action that brings the final pieces of the puzzle together is the protraction of the scapulae. Once we’ve leaned back and practiced hanging in the longer balances between Tripod Headstand and the initial stages of Crow, we push the floor away, which encourages the protraction. Coupled with the external rotation of the upper arm bones, this action assists in realizing the safe, controlled access and stabilization of Crow. The shoulder actions ultimately dictate the experience we’ll have when working on this transition between the two postures. Moving from Tripod Headstand to Crow Pose requires a steadiness but also involves precise movement.  

    In Matt’s 3-part workshop, Shoulder Mastery, he broke down the vital steps for the shoulders when it comes to arm balances. In the upcoming final phase of the workshop, Matt will focus on inversions and binds. Register here for lifetime access!

    The 200 Hr. Teacher Training: Click Here to See the Next Start Date

    The 300 Hr. Advanced Teacher Training: Click Here to See the Next Start Date

    Article by Trish Curling

    Videos Extracted From: Shoulder Mastery

    lotus pose online yoga classes

    ONLINE ANATOMY COURSE

    • Accessible, exciting, and easy to learn
    • Anatomy and biomechanics for yoga
    • Appropriate for both teachers and students
    • Learn joint alignment vs pose alignment
    • Demystify yoga poses and transitions
    • Release aches and pains
    • Learn how to avoid common injuries
    • Caters to all levels with modifications and props
    • 20 hours Continued Education Credits with Yoga Alliance
    • 20 hours toward Chromatic Yoga Certification and 300 Hour
    • Lifetime access

    Continue Learning

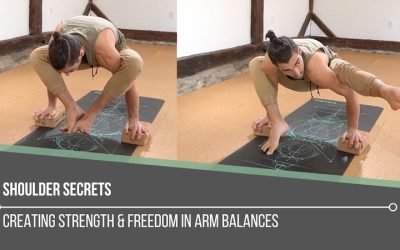
    Shoulder Secrets

    Shoulder Secrets

    Shoulder SecretsbhujapidasanaSHOULDER SECRETS When approaching arm balances, it’s not unusual to go straight to a focus on the wrists.  Having to bear our weight into the wrists while balancing our body weight can be an intimidating thought (especially if we don’t...

    read more
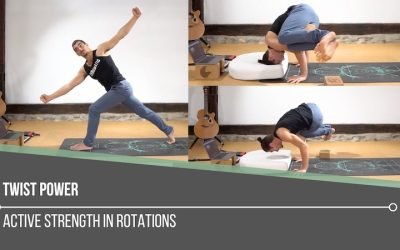
    Twist Power

    Twist Power

    Twist Powerparsva bakasanaTWIST POWER It’s interesting what unfolds along our journey with our yoga practice.  As we grow, learn, and begin to understand more about ourselves things change, we change.  Not only do we learn so many things along the way, but in the yoga...

    read more
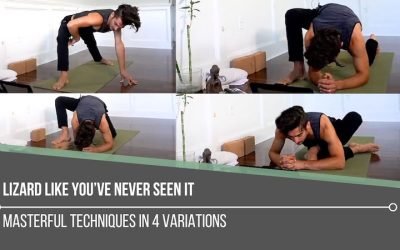
    Lizard Like You’ve Never Seen It

    Lizard Like You’ve Never Seen It

    Lizard Like You've Never Seen Itutthan pristhasanaLIZARD LIKE YOU'VE NEVER SEEN IT Familiarity in a yoga posture can feel really good.  There’s a comfort in knowing exactly what to do when we get on a mat.  The thing is, we can get caught up in thinking that the more...

    read more
    Internal Rotation: Strengthen From The Inside Out

    Internal Rotation: Strengthen From The Inside Out

    Internal Rotation: Strengthen from the Inside OutShoulder MobilityINTERNAL ROTATION: STRENGTHENING FROM THE INSIDE OUT It’s not unusual for us to find ourselves spending too much time in a slouched position. It could be due to a job, our poor habits on our electronic...

    read more
    Janu Sirsasana To Half Lotus

    Janu Sirsasana To Half Lotus

    Janu Sirsasana to Half LotusKurmasanaJANU SIRSASANA TO HALF LOTUS There’s never one single route to a posture we’re exploring. There are individual specifics we always need to consider.   When it comes to hip opening postures like Janu Sirsasana and Half Lotus, we may...

    read more
    Turtle Pose To Titibhasana

    Turtle Pose To Titibhasana

    Turtle Pose to TitibhasanaKurmasanaTURTLE POSE TO TITIBHASANA Turtle Pose is not tiny by any means! There is a great deal that goes into its preparation. It’s also an excellent preparatory posture for Titibhasana. The journey between these two poses is marked by a...

    read more

    THE FREE TECHNIQUE PACK

    When You Subscribe, You Will Get Instant Access to

    • the Technique Pack: 15 yoga pose breakdowns
    • exclusive online course discounts
    • exclusive blogs and videos
    • This field is for validation purposes and should be left unchanged.

    Strengthen Your “Shelf” For Mayurasana

    Strengthen Your “Shelf” for Mayurasana

    How to Prepare for This Unique Arm Balance

    DELTOIDS

    STRENGTHEN YOUR “SHELF” FOR MAYURASANA

    Let’s note that muscle groups do not work in isolation: The activation of accessory muscles, although not necessarily the focal point, are an integral part of the execution of a posture. In Mayurasana, the anterior deltoids and rotator cuff muscles may not be part of your first thoughts regarding how to execute this posture, but without considering the role they play, we simply will not be able to create the “shelf” required to create the balance we need in this posture. There is obvious core activation, not to mention strength and activation in the glutes and hamstrings, but the shelf Matt refers to in this class is the ability to hug the elbows in as tightly as possible so as to create an anchor for the pose. The anterior deltoids and rotator cuff muscles offer support, stability, and strength in Mayurasana.

    chromatic yoga 15 hour immersion

    SHOULDER MASTERY

    WORKSHOP SERIES

      •  3 livestream workshops and replays
      • Nondogmatic and effective alignment
      • Improve low-back health
      • Shoulder mobility + heart openers
      • Shoulder strength + arm balances
      • Inversions, binds, neck & shoulder release
      • 6 hours of continued education
      • Gain strength and stability
      • Increase range of motion, flexibility, and mobility
      • Step-by-step guidance: Everyone can follow and participate
      • Educationally infused: Learn while you embody
      • Livestream optional; all workshops available as livestreams (see dates below) and as on-demand replays for life
      • Automatically receive access to the replays immediately after the livestream

      BLOCK SQUEEZE DRILL

      In terms of teaching Mayurasana, Matt notes that it’s not an easy pose to sequence towards. Not many other postures mimic the mandatory actions, but there are certainly creative movements and drills we can incorporate into our practice in order to cultivate the inescapable strength required for Mayurasana. Of course, Matt demonstrates the actions we can take to strengthen the appropriate muscle groups. Included in this preparation, in particular for the shelf in Mayurasana, are the biceps, pectoralis muscles, anterior deltoids, and rotator cuff.

      Today’s video starts off with a “block squeeze” drill. The block is squeezed between the forearms with bent elbows, while the arms are externally rotated. Our palms are facing forward, and the upper back is rounded while we “sit” in a Chair Pose position. The pectoralis muscles are engaged, but it’s the external rotation that helps us target the rotator cuff muscles.

      WATCH THE VIDEO

      STRENGTHEN YOUR “SHELF” FOR MAYURASANA: HOW TO PREPARE FOR THIS UNIQUE ARM BALANCE

      MAYURASANA AT THE WALL AND ON YOUR BACK

      Mayurasana at the Wall

      Here, we can practice mimicking what we did in the block drill—squeezing our elbows in towards each other. In addition, the feeling of “trying to pull the wall up” turns on the pectoralis major, the anterior deltoids, and the biceps. We can’t lift our legs here, but we can practice the sensation of pulling our feet back to activate the glutes and hamstrings.

      Mayurasana on Your Back

      By pressing our feet into the ground in this variation, we can get more feedback and activation of the glutes and hamstrings. In the upper body, we practice the shape by rounding the back and placing our arms as if to set up the shelf on top of the rib cage. 

      200 Hour Online Teacher Training Certification

      200 HOUR ONLINE TEACHER TRAINING

      GET CERTIFIED & DEEPEN YOUR YOGA PRACTICE

      • Deepen your yoga practice
      • Build confidence speaking in front of groups in person and online
      • Learn foundational class structures and templates
      • Learn techniques for a wide range of yoga postures
      • Get certified and highly qualified to teach yoga
      • Yoga Alliance Globally Recognized Certification Program

      MAYURASANA “MASTERY”

      In the full class, Matt reminds us that creating the shelf with our arms doesn’t mean that we are resting on top of them. What we’re actually doing is setting up a strong base, our negotiating point for balance. To achieve the final expression of the posture, it’s the angle of the bend at the elbows, the grip of the ground with the fingers, and the strength in the shoulders and upper body that allow us to shift and find the sweet spot that supports the lift of the legs. In today’s video, you’ll see how Matt shifts his weight back and forth before he locks in to the next step, where he finds authentic balance and uses the strength of the core, glutes, and hamstrings to lift his legs. The trust in the foundation that’s been created allows for this masterful execution of Mayurasana.

      300 hour teacher training online

      300 HOUR ONLINE TEACHER TRAINING

      GET 500 HOUR CERTIFIED AS A MASTER TEACHER

      Master your skill set as a teacher through refined techniques, anatomy, biomechanics, sequencing, philosophy, meditation techniques, theming, yoga business, and much more!

      • Get 500 hour certified
      • Learn anatomy, biomechanics, asana techniques
      • Expand your teaching skills
      • Masterful sequencing and verbal delivery
      • Learn meditation and breathwork techniques
      • Transformative tools: theming, dharma talks, satsang

      KEY ACTIONS IN THIS ARM BALANCE

      Here are the 2 key actions Matt outlines for Mayurasana (we’ll find them in most arm balance postures):

      1. Bending the elbows at an open angle (helps to stop us from falling)
      2. Intentionally leaning forward while trying to stop at the same time

      For Mayurasana, more than building strength in the shoulders, biceps, core, glutes, and hamstrings, it’s about how to be very intentional in the drills we implement in our yoga practice. The only way to become masterful is to be informed and guided through drills like these and, of course, to practice the posture itself.

      In Matt’s upcoming 3-part series, Shoulder Mastery, he’ll delve into more about shoulder strength for arm balances, along with a deeper understanding of the shoulders when it comes to inversions, binds, and even releasing the neck.

      Strength without action offers no direction. Register for the workshop series today!

      The 200 Hr. Teacher Training: Click Here to See the Next Start Date

      The 300 Hr. Advanced Teacher Training: Click Here to See the Next Start Date

      Article by Trish Curling

      Videos Extracted From: Anatomy of Arm Balances

      lotus pose online yoga classes

      ONLINE ANATOMY COURSE

      • Accessible, exciting, and easy to learn
      • Anatomy and biomechanics for yoga
      • Appropriate for both teachers and students
      • Learn joint alignment vs pose alignment
      • Demystify yoga poses and transitions
      • Release aches and pains
      • Learn how to avoid common injuries
      • Caters to all levels with modifications and props
      • 20 hours Continued Education Credits with Yoga Alliance
      • 20 hours toward Chromatic Yoga Certification and 300 Hour
      • Lifetime access

      Continue Learning

      Shoulder Secrets

      Shoulder Secrets

      Shoulder SecretsbhujapidasanaSHOULDER SECRETS When approaching arm balances, it’s not unusual to go straight to a focus on the wrists.  Having to bear our weight into the wrists while balancing our body weight can be an intimidating thought (especially if we don’t...

      read more
      Twist Power

      Twist Power

      Twist Powerparsva bakasanaTWIST POWER It’s interesting what unfolds along our journey with our yoga practice.  As we grow, learn, and begin to understand more about ourselves things change, we change.  Not only do we learn so many things along the way, but in the yoga...

      read more
      Lizard Like You’ve Never Seen It

      Lizard Like You’ve Never Seen It

      Lizard Like You've Never Seen Itutthan pristhasanaLIZARD LIKE YOU'VE NEVER SEEN IT Familiarity in a yoga posture can feel really good.  There’s a comfort in knowing exactly what to do when we get on a mat.  The thing is, we can get caught up in thinking that the more...

      read more
      Internal Rotation: Strengthen From The Inside Out

      Internal Rotation: Strengthen From The Inside Out

      Internal Rotation: Strengthen from the Inside OutShoulder MobilityINTERNAL ROTATION: STRENGTHENING FROM THE INSIDE OUT It’s not unusual for us to find ourselves spending too much time in a slouched position. It could be due to a job, our poor habits on our electronic...

      read more
      Janu Sirsasana To Half Lotus

      Janu Sirsasana To Half Lotus

      Janu Sirsasana to Half LotusKurmasanaJANU SIRSASANA TO HALF LOTUS There’s never one single route to a posture we’re exploring. There are individual specifics we always need to consider.   When it comes to hip opening postures like Janu Sirsasana and Half Lotus, we may...

      read more
      Turtle Pose To Titibhasana

      Turtle Pose To Titibhasana

      Turtle Pose to TitibhasanaKurmasanaTURTLE POSE TO TITIBHASANA Turtle Pose is not tiny by any means! There is a great deal that goes into its preparation. It’s also an excellent preparatory posture for Titibhasana. The journey between these two poses is marked by a...

      read more

      THE FREE TECHNIQUE PACK

      When You Subscribe, You Will Get Instant Access to

      • the Technique Pack: 15 yoga pose breakdowns
      • exclusive online course discounts
      • exclusive blogs and videos
      • This field is for validation purposes and should be left unchanged.

      Awaken Your Rotator Cuff Muscles

      Awaken Your Rotator Cuff Muscles

      6 Exercises for a More Stable Side Plank

      BELIEF

      AWAKEN YOUR ROTATOR CUFF MUSCLES

      The rotator cuff muscles carry a great deal of responsibility. When healthy and strong, they help to keep the head of the humerus inside of the glenoid fossa, the cavity of the joint. Because it’s a ball and socket joint, the shoulder joint can be quite vulnerable, so awareness of its positioning in postures that require stability is essential. On the mat, there are many opportunities to bear weight on the shoulders, which can prove challenging if we don’t know how to stabilize in postures that require this type of support. Moreover, if we neglect to maintain activation where necessary, we miss opportunities to build strength.  

      A posture like Vashistasana, Side Plank, requires a vast amount of stability and strength. In today’s video, Matt demonstrates 6 essential exercises that help strengthen our rotator cuff muscles for maximum stability.

      chromatic yoga 15 hour immersion

      THE SHOULDER RESET

      2-HOUR LIVESTREAM WORKSHOP!

        • Technique-infused 2-hour workshop
        • Non-dogmatic alignment awareness
        • Chest/heart flexibility
        • Increase active range of motion of the shoulder
        • Learn shoulder anatomy as you practice
        • Strengthen rotator cuff for stability and shoulder health
        • Gain access to shoulder-focused postures
        • Debunk popular alignment
        • Skillfully guided sequence by the founder of Chromatic Yoga, Matt Giordano

        ROTATOR CUFF: GET IN TOUCH WITH THE ANATOMY

        There are 5 muscles in the rotator cuff group: the subscapularis, supraspinatus, infraspinatus, teres major, and teres minor. These are the muscles of internal and external rotation and of abduction.

        The subscapularis and teres major are responsible for internal rotation, while the teres minor and infraspinatus are both external rotators. The last muscle, supraspinatus, contributes to the abduction of the arms.

        When all of these muscles are co-activated, they suction and secure the head of the humerus into the shoulder socket. In the full class, Matt explains that these muscles are often stretched during our asana practice. For yoga practitioners, it’s therefore vital to create opportunities to strengthen these muscles for overall function, health, and longevity. This can be integrated into our practice on the mat, particularly if we understand the anatomy involved in performing a given exercise to strengthen the rotator cuff muscles.

        WATCH THE VIDEO

        AWAKEN YOUR ROTATOR CUFF MUSCLES: 6 EXERCISES FOR A MORE STABLE SIDE PLANK

        6 EXERCISES FOR STRENGTH

        Strengthen with a Strap

        1. Matt demonstrates ways to strengthen the infraspinatus and teres minor by pulling the strap apart into external rotation of the humerus, along with some retraction of the shoulder blades.  
        2. Adding extra rotation and resistance will uplevel the activation.

        Towel Rotations

        1. In Tabletop position, drawing circles with a towel under one hand will immediately activate the rotator cuff muscles due to the weight-bearing nature of the exercise.
        2. Here, understanding the difference between rotation at the radioulnar joint and the upper arm bone is key in connecting to the rotator cuff.

        Block Raises

        1. Supraspinatus goes to work while holding yoga blocks and abducting your arms in slight internal rotation.
        2. Pushing the blocks back behind us while hugging in will again help activate the infraspinatus and teres major and minor.

        200 Hour Online Teacher Training Certification

        200 HOUR ONLINE TEACHER TRAINING

        GET CERTIFIED & DEEPEN YOUR YOGA PRACTICE

        • Deepen your yoga practice
        • Build confidence speaking in front of groups in person and online
        • Learn foundational class structures and templates
        • Learn techniques for a wide range of yoga postures
        • Get certified and highly qualified to teach yoga
        • Yoga Alliance Globally Recognized Certification Program

        STABILIZE YOUR SIDE PLANK

        There are articulations and joint alignments that are essential in creating healthy stability in Side Plank. In this variation, Matt demonstrates Extended Side Plank, utilizing a wall as a prop. The wall creates feedback that helps us better negotiate where and how to align the wrist and shoulder and to determine the distance between the standing hand and the feet.

        In order to create stability in this posture, it’s imperative to retract the shoulder blade and externally rotate the humerus, which activates the infraspinatus and teres minor. Moving our hips (and thus more weight) towards the wall takes the shoulder away from directly stacking over the wrist, which helps to reduce the load on the shoulder joint. Once the foundation is set, expanding into the rest of the posture becomes more accessible.

        300 hour teacher training online

        300 HOUR ONLINE TEACHER TRAINING

        GET 500 HOUR CERTIFIED AS A MASTER TEACHER

        Master your skill set as a teacher through refined techniques, anatomy, biomechanics, sequencing, philosophy, meditation techniques, theming, yoga business, and much more!

        • Get 500 hour certified
        • Learn anatomy, biomechanics, asana techniques
        • Expand your teaching skills
        • Masterful sequencing and verbal delivery
        • Learn meditation and breathwork techniques
        • Transformative tools: theming, dharma talks, satsang

        AWARENESS AND FOCUS FOR STRENGTH

        If resistance bands or weights are unavailable, strengthening of the rotator cuff muscles can still take place with a variety of yoga props.

        The exercises Matt demonstrates might appear to be simple in nature, but my goodness will they be a challenge! When executed with accuracy, they exhaust the muscles, which breaks them down in order for them to renew with increased strength.  

        It’s the well-placed effort (Abhyasa) that will inform our experience and translate into larger movements and postures like (Extended) Side Plank. Yes, it’s possible to strengthen the rotator cuff muscles with a variety of different tools and exercises, but when we apply technique and focus, our true potential unfolds.  

        Register for Matt’s upcoming Shoulder Reset workshop to learn and refine techniques to create strong, healthy shoulders.

        The 200 Hr. Teacher Training: Click Here to See the Next Start Date

        The 300 Hr. Advanced Teacher Training: Click Here to See the Next Start Date

        Article by Trish Curling

        Videos Extracted From: Anatomy In Motion

        lotus pose online yoga classes

        ONLINE ANATOMY COURSE

        • Accessible, exciting, and easy to learn
        • Anatomy and biomechanics for yoga
        • Appropriate for both teachers and students
        • Learn joint alignment vs pose alignment
        • Demystify yoga poses and transitions
        • Release aches and pains
        • Learn how to avoid common injuries
        • Caters to all levels with modifications and props
        • 20 hours Continued Education Credits with Yoga Alliance
        • 20 hours toward Chromatic Yoga Certification and 300 Hour
        • Lifetime access

        Continue Learning

        Shoulder Secrets

        Shoulder Secrets

        Shoulder SecretsbhujapidasanaSHOULDER SECRETS When approaching arm balances, it’s not unusual to go straight to a focus on the wrists.  Having to bear our weight into the wrists while balancing our body weight can be an intimidating thought (especially if we don’t...

        read more
        Twist Power

        Twist Power

        Twist Powerparsva bakasanaTWIST POWER It’s interesting what unfolds along our journey with our yoga practice.  As we grow, learn, and begin to understand more about ourselves things change, we change.  Not only do we learn so many things along the way, but in the yoga...

        read more
        Lizard Like You’ve Never Seen It

        Lizard Like You’ve Never Seen It

        Lizard Like You've Never Seen Itutthan pristhasanaLIZARD LIKE YOU'VE NEVER SEEN IT Familiarity in a yoga posture can feel really good.  There’s a comfort in knowing exactly what to do when we get on a mat.  The thing is, we can get caught up in thinking that the more...

        read more
        Internal Rotation: Strengthen From The Inside Out

        Internal Rotation: Strengthen From The Inside Out

        Internal Rotation: Strengthen from the Inside OutShoulder MobilityINTERNAL ROTATION: STRENGTHENING FROM THE INSIDE OUT It’s not unusual for us to find ourselves spending too much time in a slouched position. It could be due to a job, our poor habits on our electronic...

        read more
        Janu Sirsasana To Half Lotus

        Janu Sirsasana To Half Lotus

        Janu Sirsasana to Half LotusKurmasanaJANU SIRSASANA TO HALF LOTUS There’s never one single route to a posture we’re exploring. There are individual specifics we always need to consider.   When it comes to hip opening postures like Janu Sirsasana and Half Lotus, we may...

        read more
        Turtle Pose To Titibhasana

        Turtle Pose To Titibhasana

        Turtle Pose to TitibhasanaKurmasanaTURTLE POSE TO TITIBHASANA Turtle Pose is not tiny by any means! There is a great deal that goes into its preparation. It’s also an excellent preparatory posture for Titibhasana. The journey between these two poses is marked by a...

        read more

        THE FREE TECHNIQUE PACK

        When You Subscribe, You Will Get Instant Access to

        • the Technique Pack: 15 yoga pose breakdowns
        • exclusive online course discounts
        • exclusive blogs and videos
        • This field is for validation purposes and should be left unchanged.

        full side plank and modifications

        FULL SIDE PLANK WITH MODIFICATIONS

        STEP-BY-STEP VASHISTHASANA BREAKDOWN

        FULL SIDE PLANK

        FULL SIDE PLANK AND MODIFICATIONS: VASHISTHASANA

        USING THE WALL AS A PROP

        Full Side Plank (Vashisthasana) has many modification options and variations to help make it more accessible or more challenging. I love teaching this posture with a foot on the wall to increase stability and provide a frame of reference for shifting the weight out of the hand and into the foot. 

        Some people avoid props, thinking of them as a “crutch.” For sure, they can be used as a way to avoid challenges if that is your intention, but they can also be used to increase body awareness and help you develop technique. Props are neither good nor bad; it’s just a matter of how and why you are using them. Is it that you want to avoid challenge or that you want to face challenge intelligently and appropriately?

        In the video tutorial below, I show how to modify side plank by placing your top foot on the wall. This reduces the required balance and will allow you to focus on the foundations of the posture, like the strength of your hand and wrist. Press your thumb and pinky fingers into the ground. Then focus on your bottom foot, pressing the instep of your foot into the wall. Eventually, you will be able to place the whole standing foot on the ground, which will give you strength and the power to lift the hips up. Lastly, keep your shoulder externally rotating, as indicated in the video.

        Arm Balances Online Yoga Classes

        VITALITY: RIGOR & RELEASE

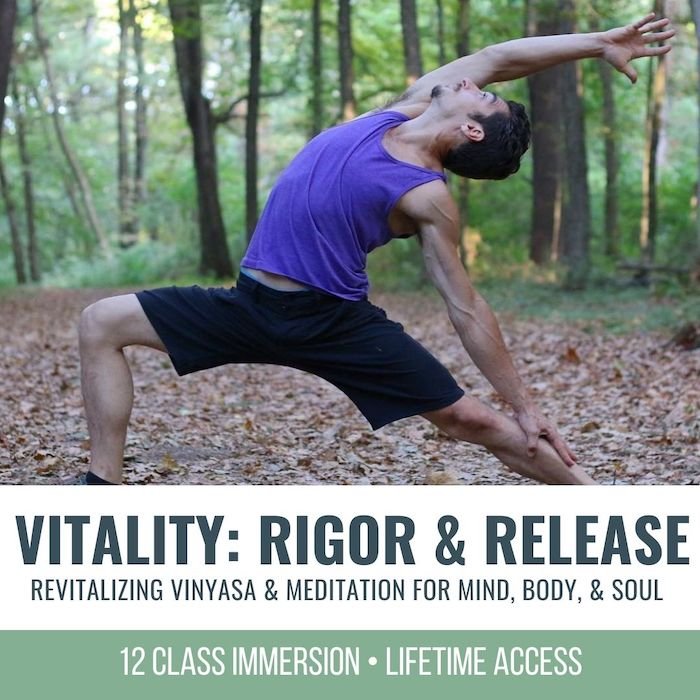
        Get back to feeling energized and alive — 12 all-levels vinyasa & meditation classes to increase your energy, focus, and mental clarity


        • GET BACK TO FEELING ENERGIZED
        • ALL-LEVELS VINYASA CLASSES
        • HIPS, TWISTS, HEART, SHOULDERS, NECK, AND CORE
        • GUIDED MEDITATIONS TO DE-STRESS, INCREASE FOCUS, AND GAIN MENTAL CLARITY

        Full Side Plank & Modifications • Vashisthasana at the Wall

        This Side Plank tutorial footage is taken from the July 2021 Immersion, titled BALANCE

        Full Side Plank Setup

        What I don’t discuss in this particular clip is how the setup of this posture is exactly like Wild Thing. This means your pelvis is more open toward the sky, while in standard Side Plank, your feet are stacked. The spine is in a backbend as well, unlike the standard variation, where the spine is neutral.

        There are other alignments you could explore, but these will tend to give you the greatest access to the full Side Plank variation where you grab the top foot and extend the leg. If you want to practice the full class, be sure to check out Class #9 of the July 2021 Immersion, called Balance


        300 hour teacher training online

        300 HOUR ONLINE TEACHER TRAINING

        GET 500 HOUR CERTIFIED AS A MASTER TEACHER

        Master your skill set as a teacher through refined techniques, anatomy, biomechanics, sequencing, philosophy, meditation techniques, theming, yoga business, and much more!

        • Get 500 hour certified
        • Learn anatomy, biomechanics, asana techniques
        • Expand your teaching skills
        • Masterful sequencing and verbal delivery
        • Learn meditation and breathwork techniques
        • Transformative tools: theming, dharma talks, satsang

        Three Full Side Plank Modifications and Variations

        1. Foot on the Wall: Once you rise up into Wild Thing, place the back foot on the wall and push your weight toward the wall, even if it means both knees are bent. This is not only okay but an indication that you are doing it properly.
        2. Tree Pose: The next step is infinitely more challenging because it requires greater balance and flexibility. Take the foot off the wall, similar to Tree Pose but without placing the foot on your inner thigh (though that is also another variation). I suggest pushing your knee into your hand to get your hip flexors active. Hip flexor strength becomes key when you attempt to straighten the leg. Often the tension of the hamstrings is too much and people have to let go of the foot. If your hip flexors are strong and used to engaging in this position, then they can help out by keeping the top leg closer to your upper body, lessening the chances that you’ll have to let go of the foot when extending the leg up to the sky.
        3. Full Side Plank or “Extended Vashisthasana”: Pull your knee in as tight as possible in order to grab your foot. Either stay as a modification or begin to kick the foot to the sky, straightening the top leg. Pro tip: It’s helpful to keep the bottom, weight-bearing leg bent while extending the top leg upward. 
        Arm Balances Online Yoga Classes

        VITALITY: RIGOR & RELEASE

        Get back to feeling energized and alive with 12 all-levels vinyasa & meditation classes to increase your energy, focus, and mental clarity.


        • GET BACK TO FEELING ENERGIZED
        • ALL-LEVELS VINYASA CLASSES
        • HIPS, TWISTS, HEART, SHOULDERS, NECK, AND CORE
        • GUIDED MEDITATIONS TO DE-STRESS, INCREASE FOCUS, AND GAIN MENTAL CLARITY

        Can’t Straighten Your Legs?

        This is normal and really shouldn’t be your focus. This is an incredibly physically demanding posture that requires extreme flexibility. Even with slightly bent knees, the posture is still visually stunning and, I would argue, even more biomechanically sound because bent knees typically trigger more muscle engagement.


        Edited by 300-hour Chromatic yoga teacher, Donna Morin.


        TOP RELEVANT RECOMMENDATIONS

        1. Balance Immersion: 12 Classes Focused on Balance (video above is taken from this immersion) 

        2. Arm Balance Immersion: 12 Classes – 12 Arm Balances

        MORE WAYS TO DEVELOP YOUR PRACTICE

        1. Live Immersions: 3 classes per week
        2. 200 Hour Training: Get certified
        3. 300 Hour Online Training: Get 500hr certified
        Arm Balances

        ARM BALANCES

        Learn 12+ arm balances while expanding your knowledge of the body and increasing your body awareness. All classes are 75 minutes and ALL-levels appropriate 

        • Crow Pose, Side Crow, and variations
        • Flying Pigeon, Koundinyasana 1 & 2
        • Titibhasana, Bhujapidasana
        • Handstand, Forearm Stand, and many more!


        SALE PRICE: $198.00 $128.00

        Continue Learning

        Shoulder Secrets

        Shoulder Secrets

        Shoulder SecretsbhujapidasanaSHOULDER SECRETS When approaching arm balances, it’s not unusual to go straight to a focus on the wrists.  Having to bear our weight into the wrists while balancing our body weight can be an intimidating thought (especially if we don’t...

        read more
        Twist Power

        Twist Power

        Twist Powerparsva bakasanaTWIST POWER It’s interesting what unfolds along our journey with our yoga practice.  As we grow, learn, and begin to understand more about ourselves things change, we change.  Not only do we learn so many things along the way, but in the yoga...

        read more
        Lizard Like You’ve Never Seen It

        Lizard Like You’ve Never Seen It

        Lizard Like You've Never Seen Itutthan pristhasanaLIZARD LIKE YOU'VE NEVER SEEN IT Familiarity in a yoga posture can feel really good.  There’s a comfort in knowing exactly what to do when we get on a mat.  The thing is, we can get caught up in thinking that the more...

        read more
        Internal Rotation: Strengthen From The Inside Out

        Internal Rotation: Strengthen From The Inside Out

        Internal Rotation: Strengthen from the Inside OutShoulder MobilityINTERNAL ROTATION: STRENGTHENING FROM THE INSIDE OUT It’s not unusual for us to find ourselves spending too much time in a slouched position. It could be due to a job, our poor habits on our electronic...

        read more
        Janu Sirsasana To Half Lotus

        Janu Sirsasana To Half Lotus

        Janu Sirsasana to Half LotusKurmasanaJANU SIRSASANA TO HALF LOTUS There’s never one single route to a posture we’re exploring. There are individual specifics we always need to consider.   When it comes to hip opening postures like Janu Sirsasana and Half Lotus, we may...

        read more
        Turtle Pose To Titibhasana

        Turtle Pose To Titibhasana

        Turtle Pose to TitibhasanaKurmasanaTURTLE POSE TO TITIBHASANA Turtle Pose is not tiny by any means! There is a great deal that goes into its preparation. It’s also an excellent preparatory posture for Titibhasana. The journey between these two poses is marked by a...

        read more

        THE FREE TECHNIQUE PACK

        When You Subscribe, You Will Get Instant Access to

        • the Technique Pack: 15 yoga pose breakdowns
        • exclusive online course discounts
        • exclusive blogs and videos
        • This field is for validation purposes and should be left unchanged.

        Chaturanga Alignment Part 2

        Chaturanga Alignment Part 2

        3 Steps to Apply Shoulder Actions

        CHATURANGA

        CHATURANGA: Integrating Shoulder Actions

        Integrating the 3 Necessary Shoulder Actions into your practice can be complicated, so to help you I have come up with 3 Steps to Master your Chaturanga. If you haven’t yet watched Chaturanga Alignment: 3 Necessary Shoulder Actions  then it is best to start there and come back to this afterwards. The 3 step process will help you develop “Muscle Intelligence” or the awareness of how to create specific actions in your body to find less complicated positions which require less strength and give you the space to explore new sensations. If done consecutively, these steps will build the strength over time that will make chaturanga feel light and free.

        Most of us sitting at our computers are not able to get up and start practicing, but if you do have the liberty of doing so, practice along with this video. If not, then simply watch and come back to it at another time so you can practice along. This is meant to help you apply the actions, not just understand them.

        Be patient with yourself as you work through each of the exercises – techniques take time to embody.

        The Intention 

        Perhaps the most confusing thing in the yoga community is the myriad of opinions about how to do each pose. Part of the reason for this is the differences each of us have from body type, to personality, to experience. Additionally, however,  each of us offering a path has a different intention behind our set of alignment cues or muscle actions. It is for this reason that I want to be clear that this is only one approach, and I am happy to provide for you the benefits and the challenges that come with this way. This approach to Chaturanga comes with the intention to build strength in multiple forearm muscles, the seratus anterior, triceps, external rotators of the the humerus, and the pectorals major. With all of these muscles working together to build strength you will inevitably feel more stable and light in your chaturanga and jump back to chaturanga, and also you will be well prepared for arm balances. If you have no intention of building strength in your upper body or practicing arm balances, there might be better ways of practicing Chaturanga. If you have a movement pattern that does not allow you to do protraction without upward tilt of the scapula then you might be better suited to a softer approach for a while. If you are experiencing chronic strain or compression in your wrist joints you may find leaning back in your chaturanga may be either better or worse for you. I mention this not to deter you from fully understanding and integrating this approach to chaturanga, but to help you to understand that there is never and will never be one correct approach to anything. What is good for you now may not be good for you later, and what was good for you yesterday may not be good for you today. This may be hard to grasp but if you try to keep an open mind and let yourself explore various approaches with the utmost attention to detail, you may find a greater sense of mastery in your body than you could ever find by doing one posture “the right way.” If you are ready to build strength, and/or set your self up for arm balances and jump backs, then let’s get started together!

        3 Step Integration

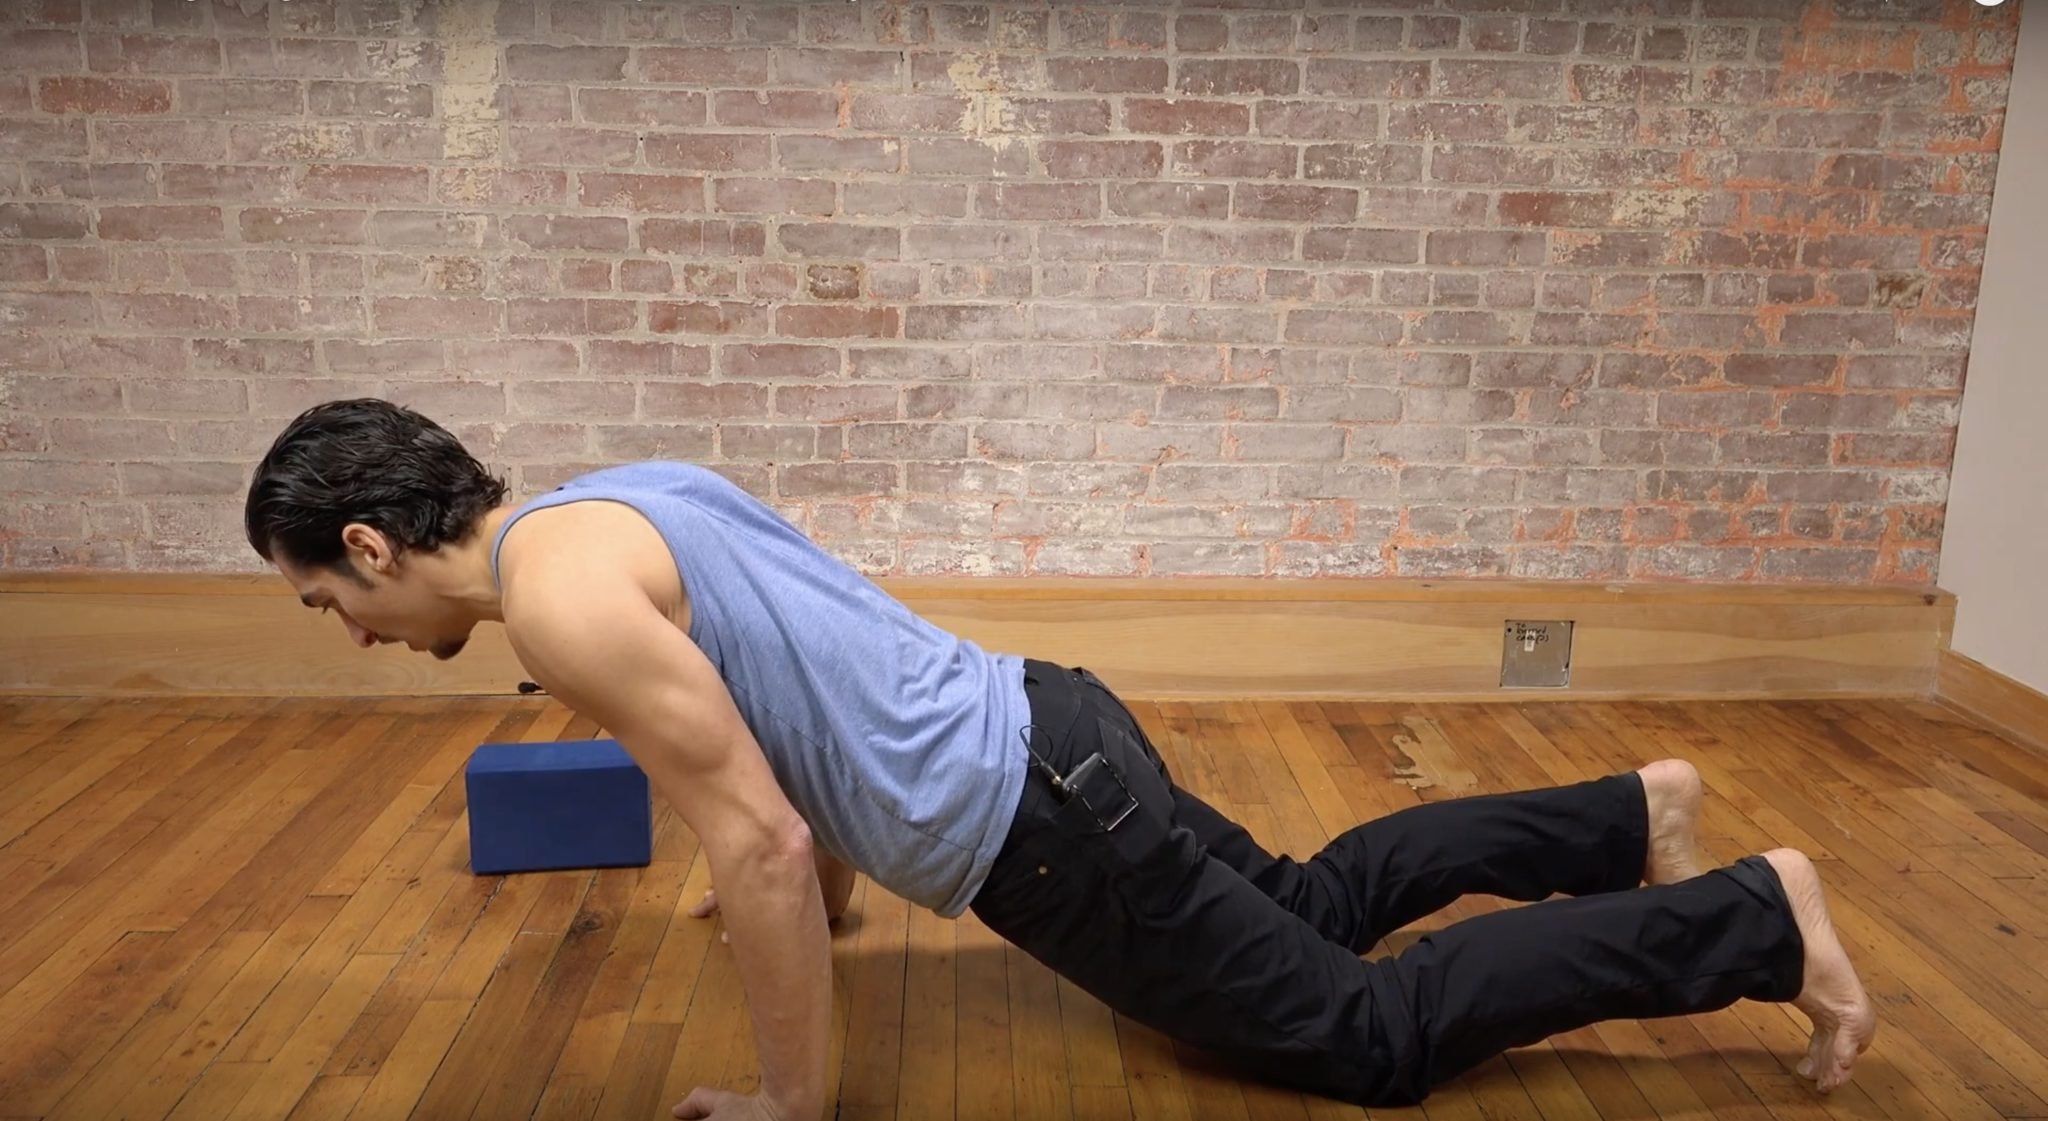
        When learning to integrate new muscle engagements or structural alignments into your practice, it is beneficial to simulate the shape with less stress on the muscles and joints. This usually entails changing your relationship to gravity. In the video and in the 3 steps below, I show you how to do this by doing chaturanga at the wall first, and then on your knees before trying the full posture. Doing these steps often provides a greater proficiency than simply trying it all out right away. This is because your body will always fall into its normal patterns when it’s asked to hold all your weight. We have to shake things up a bit to learn something new.

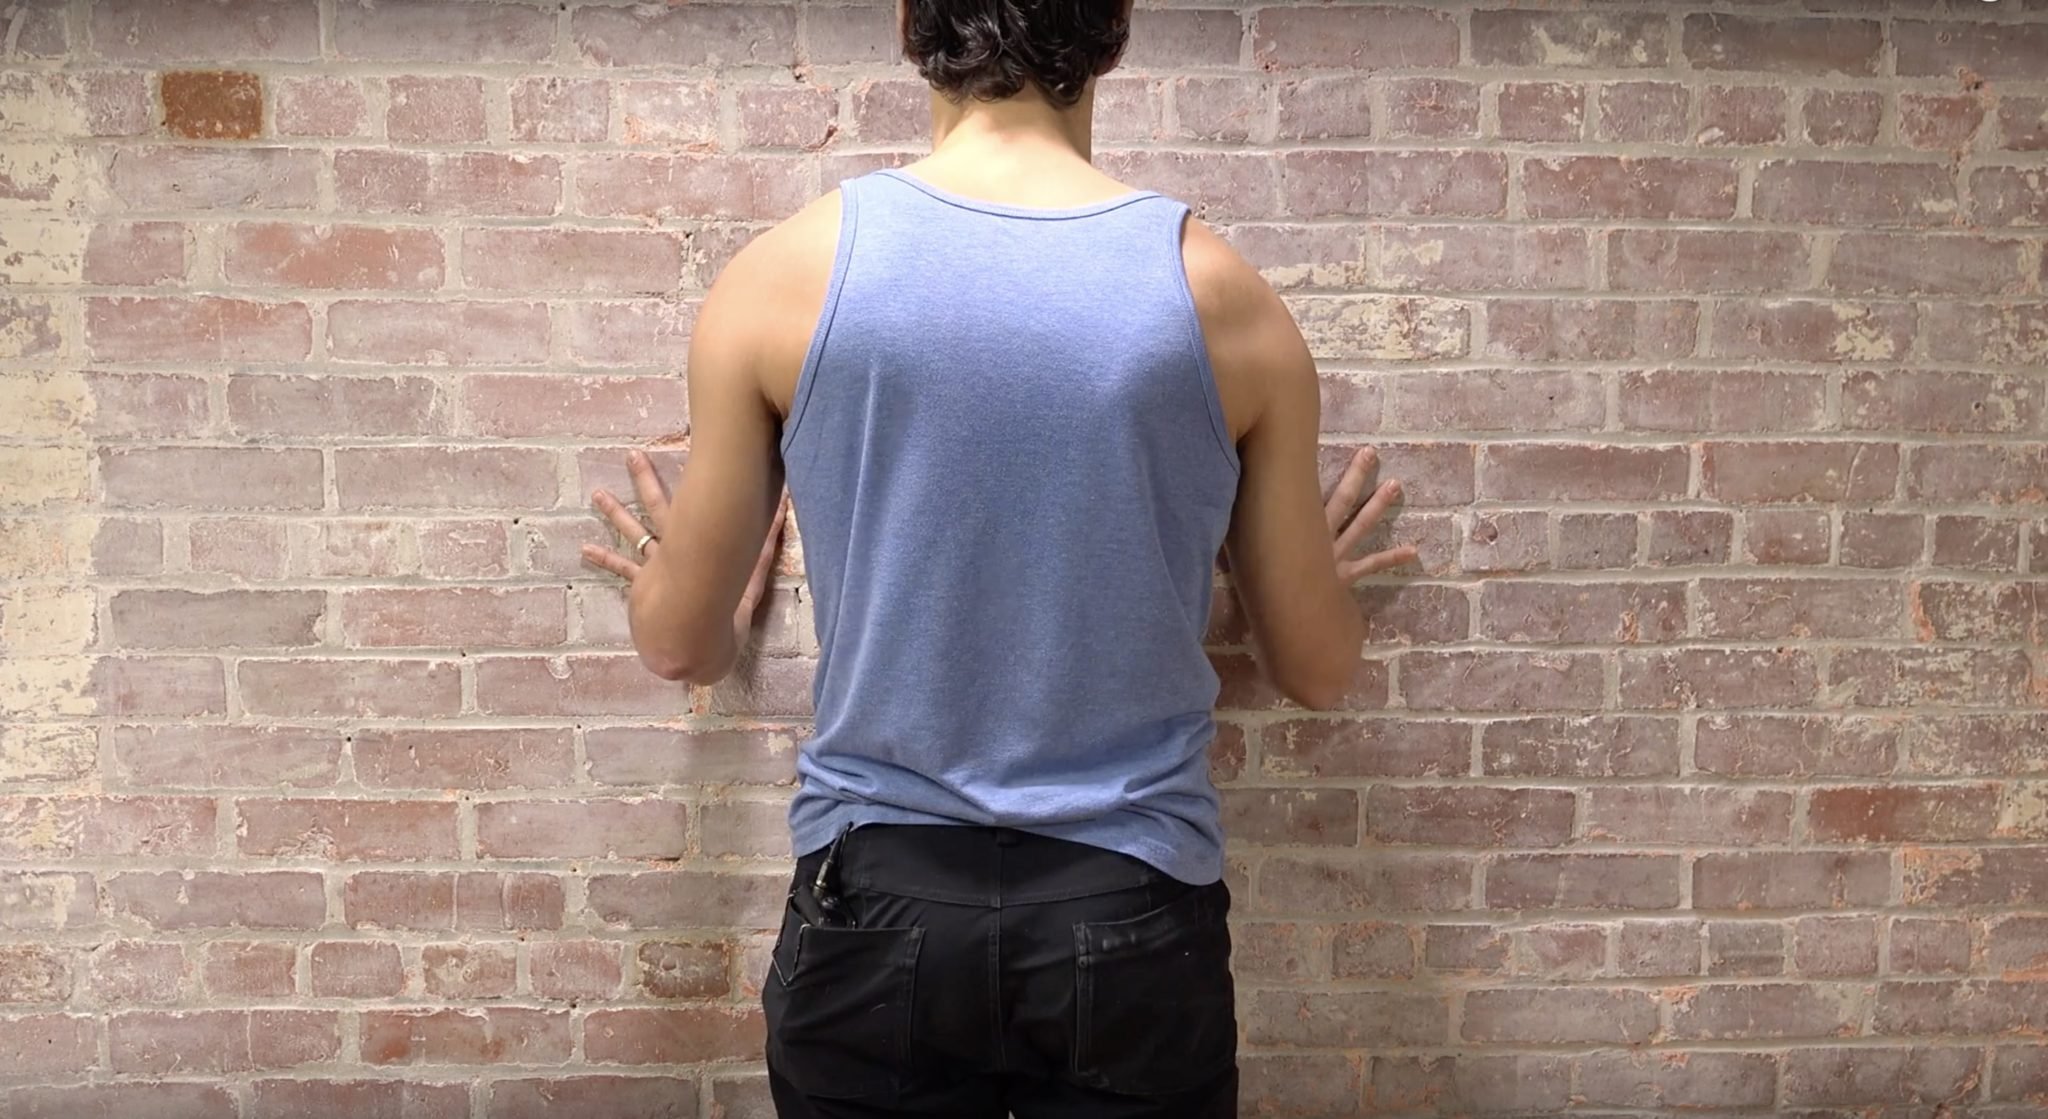
        Step 1 - Chaturanga at The Wall

        Regardless of your level, doing chaturanga at the wall and applying the three shoulder actions is huge in helping build masterful proprioception. This is the most important step in my eyes, especially since you’ll have plenty of time in class to practice step 2 and 3. Taking all the weight off of your body and just applying the actions until it is fully integrated and completely clear in both mind and body will be the best thing you can do. Mastery is not about halfway getting something, but rather nailing it down so that it will never be forgotten regardless of how long you leave the subject of study. Rock this exercise several times for several days/weeks and you will be well set up for building strength rapidly. Strength builds rapidly when our actions are precise in our body.

        Step 2: Chaturanga on Knees

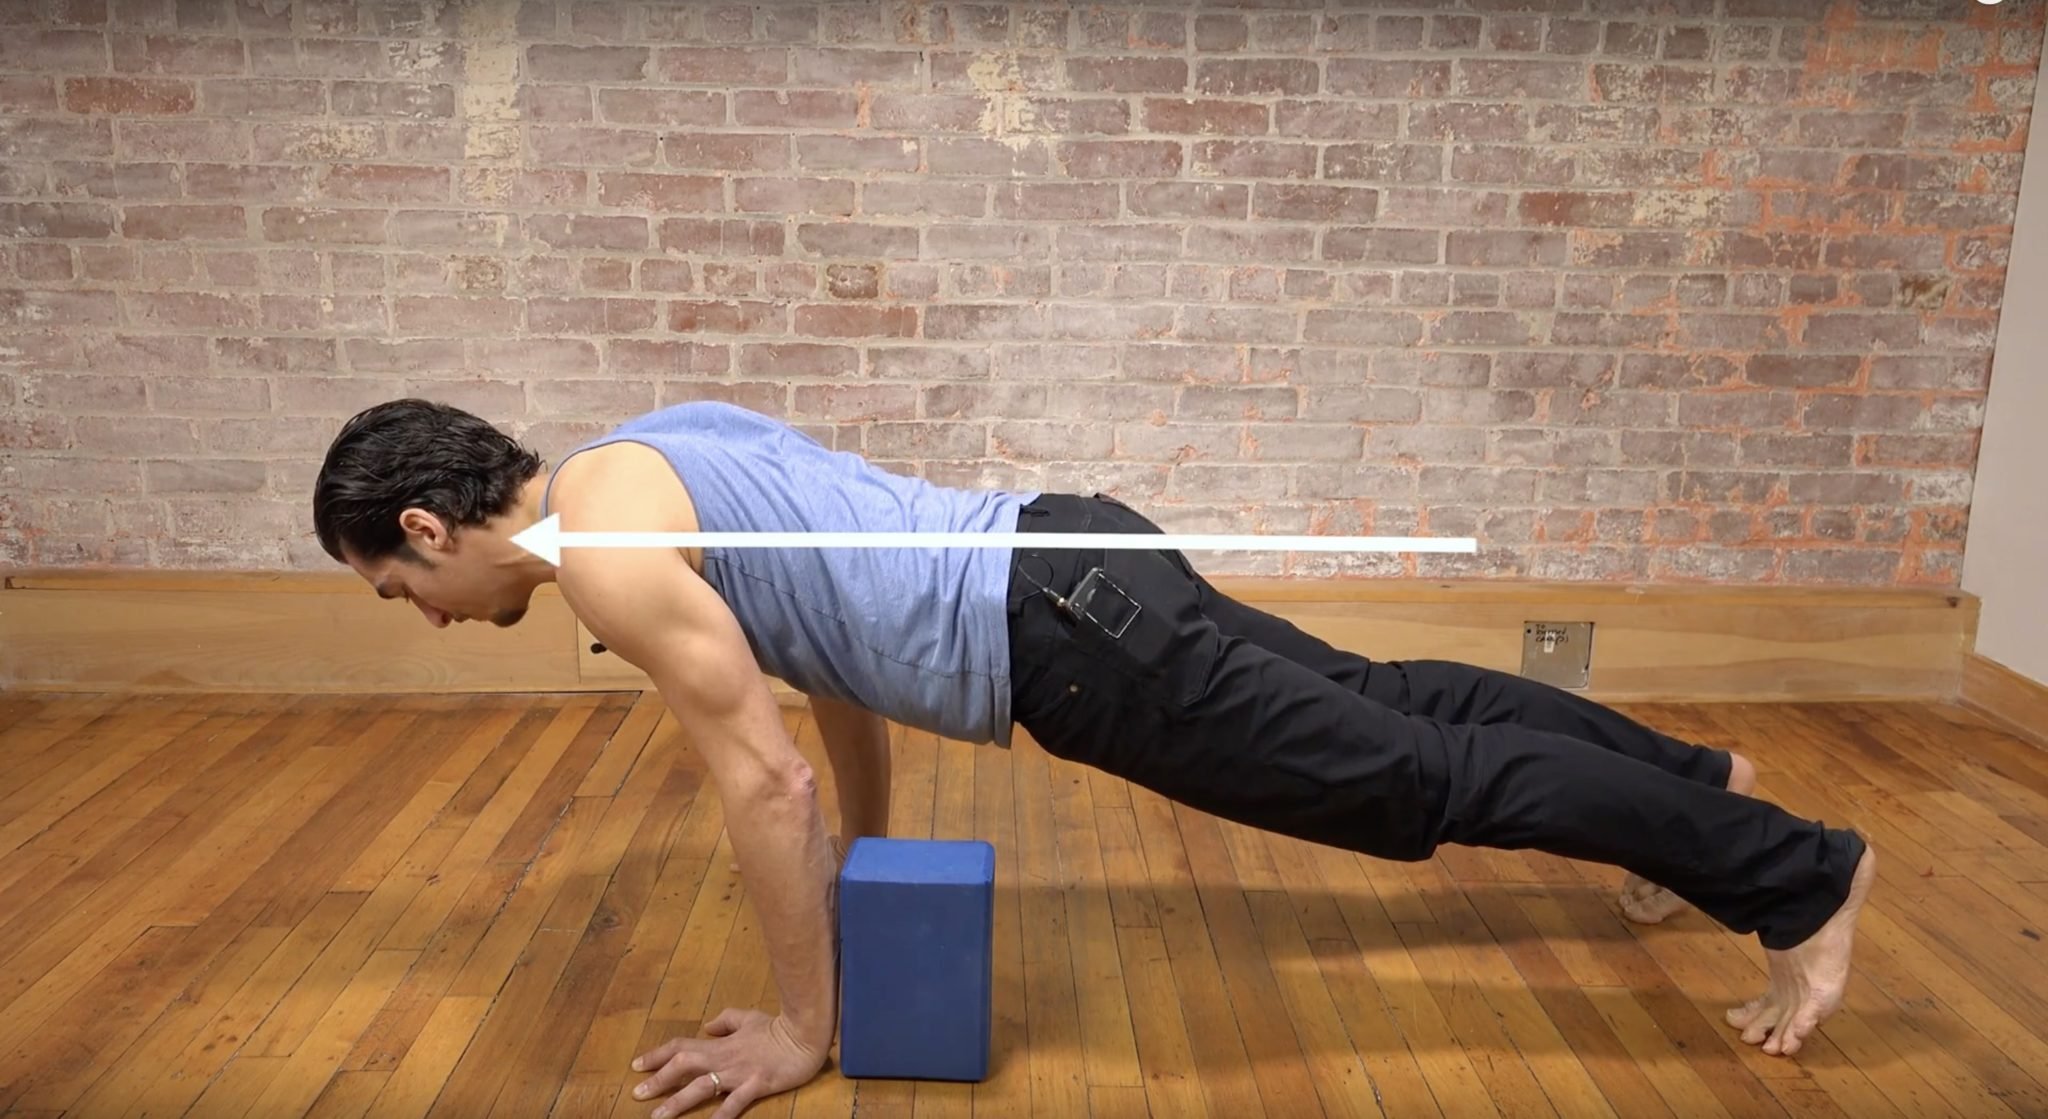
        To be honest, when I take a vinyasa class, I do the first 5-10 chaturangas on my knees to get my body and mind linked together prior to floating back. Chaturanga on the knees is a great way to practice the actions with slightly less body weight. This is where you will begin building muscles appropriately, so be as precise and mindful as possible so you are strengthening the muscles required for the 3 shoulder actions. My best advice is start with your shoulders a little bit past the wrists to simulate the leaning forward when coming from plank. With your knees on the ground you can’t actually shift forward so you’ll have to begin by placing your knees closer to your wrists than you normally would. Second, make sure you create one long line from shoulders to knees, without breaking at the hips.

        Step 3: Plank To Chaturanga

        When attempting full chaturanga with a block, it becomes easier to compensate and “fake it” and either over engage in muscles that are not efficient for the actions, or simply getting caught up in compression – placing your bones in the way of the movement in order to slow the movement down – SEE  FIRST VIDEO when I talk about “Upward Tilt” of the scapula.

        Mastering these shoulder actions will not only make your practice of chaturanga easier and more enjoyable, but will open up a whole new world of power and strength in your arm balances.

        If you find yourself struggling to integrate the actions in this version, I highly recommend focusing on the first two options for about 3-5 months and then coming back to this.

        Complexity

        The shoulders are incredibly complex and as a result, it takes quite a lot of self-practice and study to gain any sort of mastery.  I break things down into small steps so that you are able to integrate the actions in your body more easily, however these steps are just the beginning. Let these actions settle into your body over time; rather than forcing them into every chaturanga, pick one action to focus on in your classes and first observe what you are doing before you make changes. Little by little, try to apply the action and notice what it feels like each time. This is a highly effective approach that builds patterns in the body and awareness in the mind. If you are interested in more shoulder strengtheners and stretches check out the Handstand Training. It comes with several videos that directly target the shoulders. Thank you for stopping by. Please share your comments, questions, or requests for other blog topics!

        Hips: Rock & Unlock 'Em

        Get 2 full hours with Matt Giordano focusing on the techniques that increase the range of motion in your hips and provide long lasting freedom. You will have immediate, unlimited access, and can enjoy the benefits today!

        Continue Learning

        Shoulder Secrets

        Shoulder Secrets

        Shoulder SecretsbhujapidasanaSHOULDER SECRETS When approaching arm balances, it’s not unusual to go straight to a focus on the wrists.  Having to bear our weight into the wrists while balancing our body weight can be an intimidating thought (especially if we don’t...

        read more
        Twist Power

        Twist Power

        Twist Powerparsva bakasanaTWIST POWER It’s interesting what unfolds along our journey with our yoga practice.  As we grow, learn, and begin to understand more about ourselves things change, we change.  Not only do we learn so many things along the way, but in the yoga...

        read more
        Lizard Like You’ve Never Seen It

        Lizard Like You’ve Never Seen It

        Lizard Like You've Never Seen Itutthan pristhasanaLIZARD LIKE YOU'VE NEVER SEEN IT Familiarity in a yoga posture can feel really good.  There’s a comfort in knowing exactly what to do when we get on a mat.  The thing is, we can get caught up in thinking that the more...

        read more
        Internal Rotation: Strengthen From The Inside Out

        Internal Rotation: Strengthen From The Inside Out

        Internal Rotation: Strengthen from the Inside OutShoulder MobilityINTERNAL ROTATION: STRENGTHENING FROM THE INSIDE OUT It’s not unusual for us to find ourselves spending too much time in a slouched position. It could be due to a job, our poor habits on our electronic...

        read more
        Janu Sirsasana To Half Lotus

        Janu Sirsasana To Half Lotus

        Janu Sirsasana to Half LotusKurmasanaJANU SIRSASANA TO HALF LOTUS There’s never one single route to a posture we’re exploring. There are individual specifics we always need to consider.   When it comes to hip opening postures like Janu Sirsasana and Half Lotus, we may...

        read more
        Turtle Pose To Titibhasana

        Turtle Pose To Titibhasana

        Turtle Pose to TitibhasanaKurmasanaTURTLE POSE TO TITIBHASANA Turtle Pose is not tiny by any means! There is a great deal that goes into its preparation. It’s also an excellent preparatory posture for Titibhasana. The journey between these two poses is marked by a...

        read more

        TOP RECOMMENDATIONS 

        Handstand Training

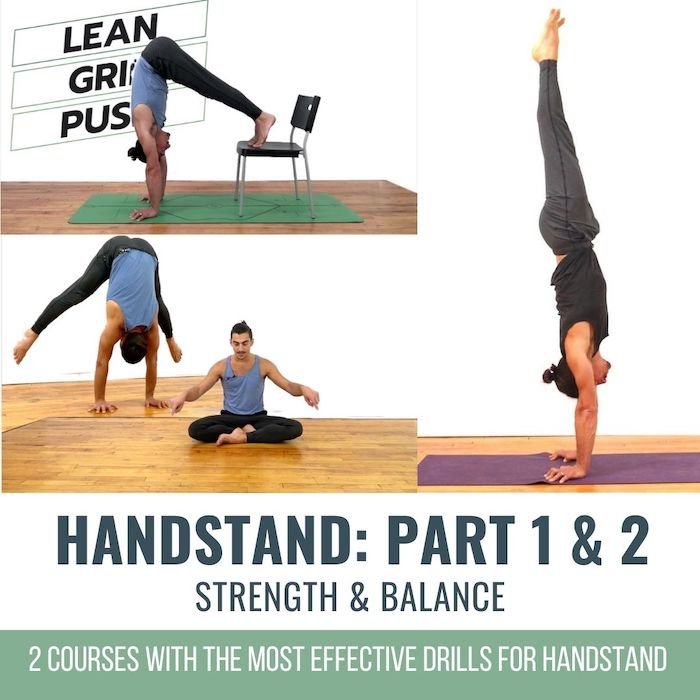
        Learn the techniques that make Handstand fun, easy and accessible! This 2 part course consists of the top most effective exercises will increase your strength and technique so you can easefully balance a handstand.

        View Details

        SHOULDER REVELATION

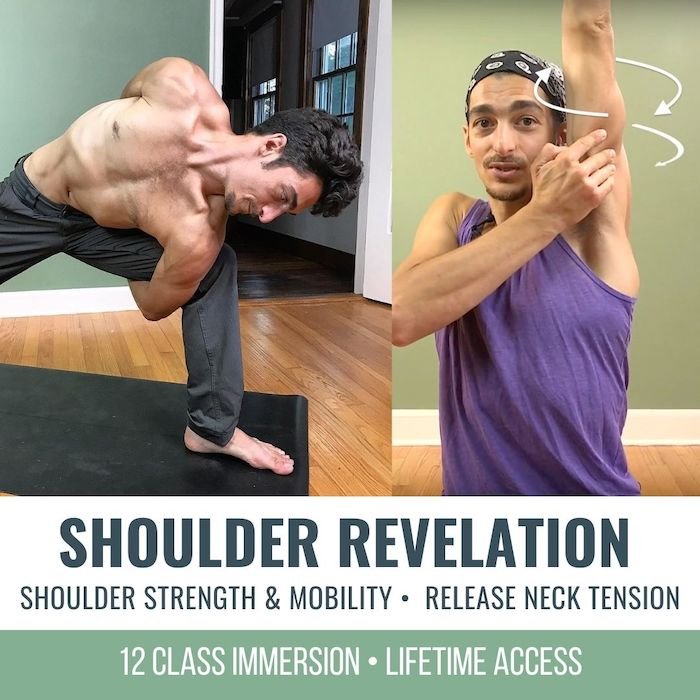
        In this 12 class immersion  you will practice specific techniques to strengthen and unlock your shoulders. Each class focuses on a specific joint articulation and muscle group so you gain mastery in the shoulders.

        View Details

        HEART OPENERS

        Finally, a 12 class immersion designed specifically to help you discover the freedom of heart openers. Learn how to avoid uncomfortable compression, and awaken your true range of motion in a step by step manner.

        View Details

        THE FREE TECHNIQUE PACK

        When You Subscribe, You Will Get Instant Access to

        • the Technique Pack: 15 yoga pose breakdowns
        • exclusive online course discounts
        • exclusive blogs and videos
        • This field is for validation purposes and should be left unchanged.

        BLACK FRIDAY: 30% OFF ALL ONLINE IMMERSIONS & WORKSHOPS !
        0
        days
        0
        hours
        0
        minutes
        0
        seconds
        BLACK FRIDAY: 30% OFF ALL ONLINE IMMERSIONS & WORKSHOPS!
        0
        days
        0
        hours
        0
        minutes
        0
        seconds
        BLACK FRIDAY SALE! Congratulations, your 30% discount code has been applied and will be reflected at the very bottom of the checkout page. All Immersions & Immersion Bundles are included in this sale. To get more info on each immersion click on the photo. On Demand and Lifetime Access To all
        Overlay Image
        BLACK FRIDAY SALE! Congratulations, your 30% discount code has been applied and will be reflected at the very bottom of the checkout page. All Immersions & Immersion Bundles are included in this sale. To get more info on each immersion click on the photo. On Demand and Lifetime Access To all

        Pin It on Pinterest