Plough Pose vs. Shoulder StandhalasanaPLOUGH POSE VS. SHOULDER STAND After we have engaged in postures that strengthen the posterior chain, Plough and Shoulder Stand offer a good stretch for these areas of the body. Plough in particular provides a more extensive...
3 Best Yoga Practices for the 5 Layered Self, Asana, Breathwork, & Meditation
3 BEST YOGA PRACTICES FOR THE 5 LAYERED SELF
ASANA “YOGA”, PRANAYAMA “BREATHWORK”, MEDITATION
3 BEST YOGA PRACTICES
5 LAYERED SELF AND THE 3 BEST YOGA PRACTICES
What are the 3 best yoga practices and why? You are likely already familiar with Asana, as it is the physical practice of yoga that has been widely popularized across the world. The other two practices are gaining popularity but not necessarily amongst yoga practitioners.
Imagine if someone came along and said here are the 3 magic herbs you need to take daily in order to heal your mind, body, and balance your energy. Yet instead of taking all 3 herbs, much of the world just got really excited about 1 of them. The recipe would be incomplete, and so would the benefits. This is what has happened with yoga, and we are missing out on massive benefits as a result.
Asana is for the body
If you have been reading my blogs, and following my work, you know that I love sharing tips about the physical practice. The human body is something I am particularly passionate about. I am not here to tell you that the physical practice isn’t important; it definitely is. I simply want to support your transition to the next phase so that you not only feel better physically, but you learn to cleanse the mind and balance and optimize your energy, which is what the yogis call prana.
What is Prana?
Prana is the word for the relatively unexplainable life force within each of us that causes our hearts to beat and our lungs to inflate and deflate. In its simplest explanation, prana is our energy system. The aspect of prana most asana practitioners are interested in is the energy channels- specifically Ida and Pingala, known in modern science as Parasympathetic and Sympathetic Nervous System. This is your “rest and digest” relaxing energy and your “Go Go” focused, alert energy. Learning to manage, balance, optimize, and utilize energy/prana is one of the major goals of the yoga practitioner. With the right practices, you can become masterful at sleep, wakefulness, alertness, rest, calm, focus, exercise, etc.

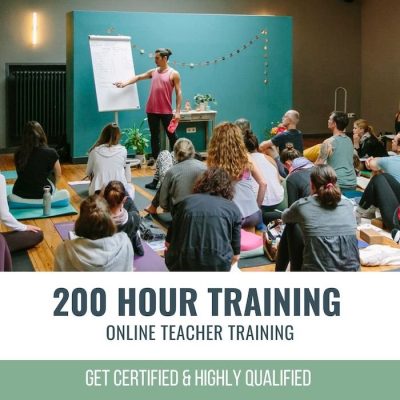
200 Hour Online Teacher Training
“The 200 Hour Online Teacher Training certification with Matt Giordano is hands down the most detailed, comprehensive, in-depth and effective trainings to learn how to teach yoga and deepen your yoga practice”
VIDEO PODCAST: THE 5(6) LAYERED SELF
+ 3 BEST YOGA PRACTICES
What is the Mind or Heart-Mind?
In a moment, we are going to get into the layers of our Self and the 3 practices for total well-being. But first let’s discuss something that is often ignored- the mind. What is the mind? This is no easy question to answer. Even the mental health industry struggles to define it. How can you establish the health of something you can’t even define?
It’s one of those interesting points of discussion. We know we have a mind, but the only tangible, physical representation of it is the brain and nervous system. No one has yet to dissect a mind or know for sure what thoughts are and how exactly they are formed. Fortunately, yogis have been contemplating and studying the mind for centuries, so we can turn to them for answers.
The mind is our way of experiencing the world by using thoughts and emotions to process time, space, physical sensations, and events. The mind is perhaps the most important system to take care of because it governs our entire perception of our existence. This is why yoga is most often defined as the study or science of the mind when we look at sacred texts. You will never see it defined as the study of the body, though that, too, is a part of studying the mind.
So, as magnificent as the physical practice of yoga is, it is limited- only targeting one layer of our being, called deha, or body. Yes, feeling better physically helps us energetically, mentally, and emotionally but it’s a temporary Bandaid. To get to the root of the challenges our mind present, we need a yoga practice that focuses on all the layers of our being, which include:
The 5 Layered Self, According to Tantra Yoga
- Deha: The Body
- Citta: Heart-Mind, thoughts & emotions
- Prana: Energy, life force, autonomic nervous system
- Shunya: The Void, calming, peaceful, clear, stillness
- Cit: Blissful Awareness

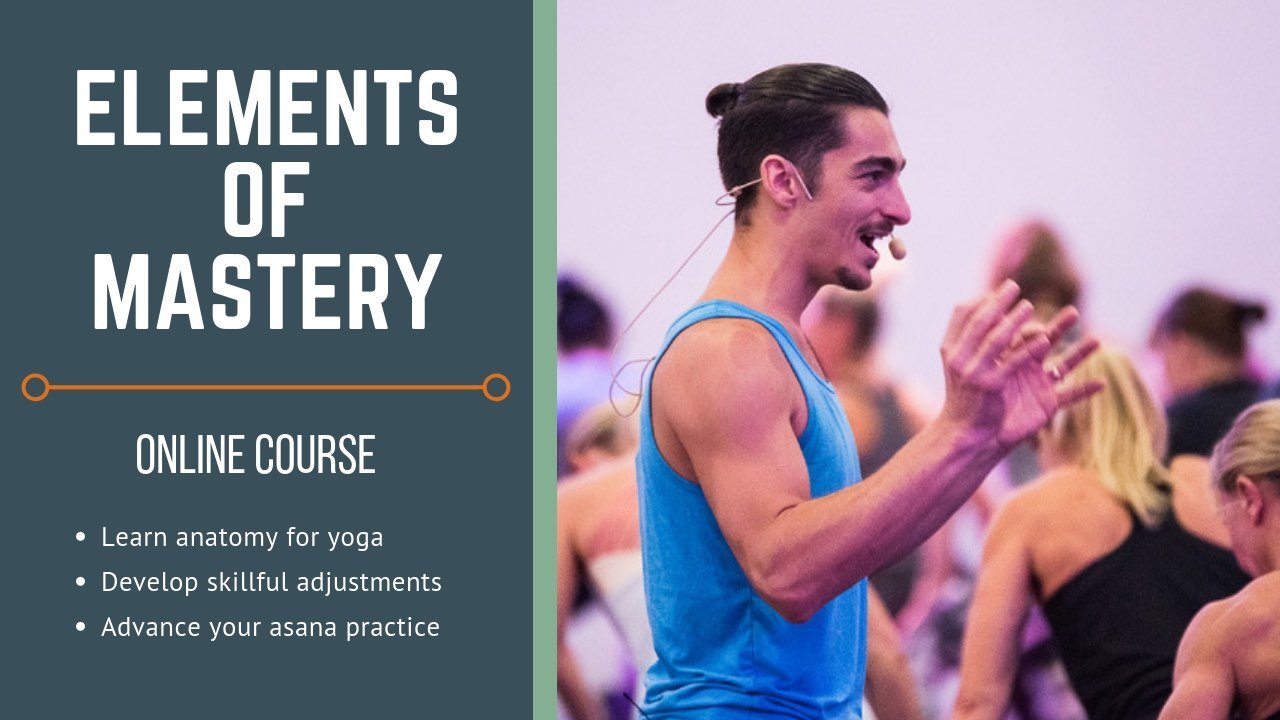
300 HOUR ONLINE TEACHER TRAINING
GET 500 HOUR CERTIFIED AS A MASTER TEACHER
Master your skillset as a teacher through refined techniques, anatomy, biomechanics, sequencing, philosophy, meditation techniques. theming, yoga business, and much more!
“THE TRIFECTA” THE 3 BEST YOGA PRACTICES
Under the umbrella of yoga, there are many amazing approaches to working with the 6 Layers of our Self, but if I am to recommend the top 3 best yoga practices, it would be as follows, not in any particular order:
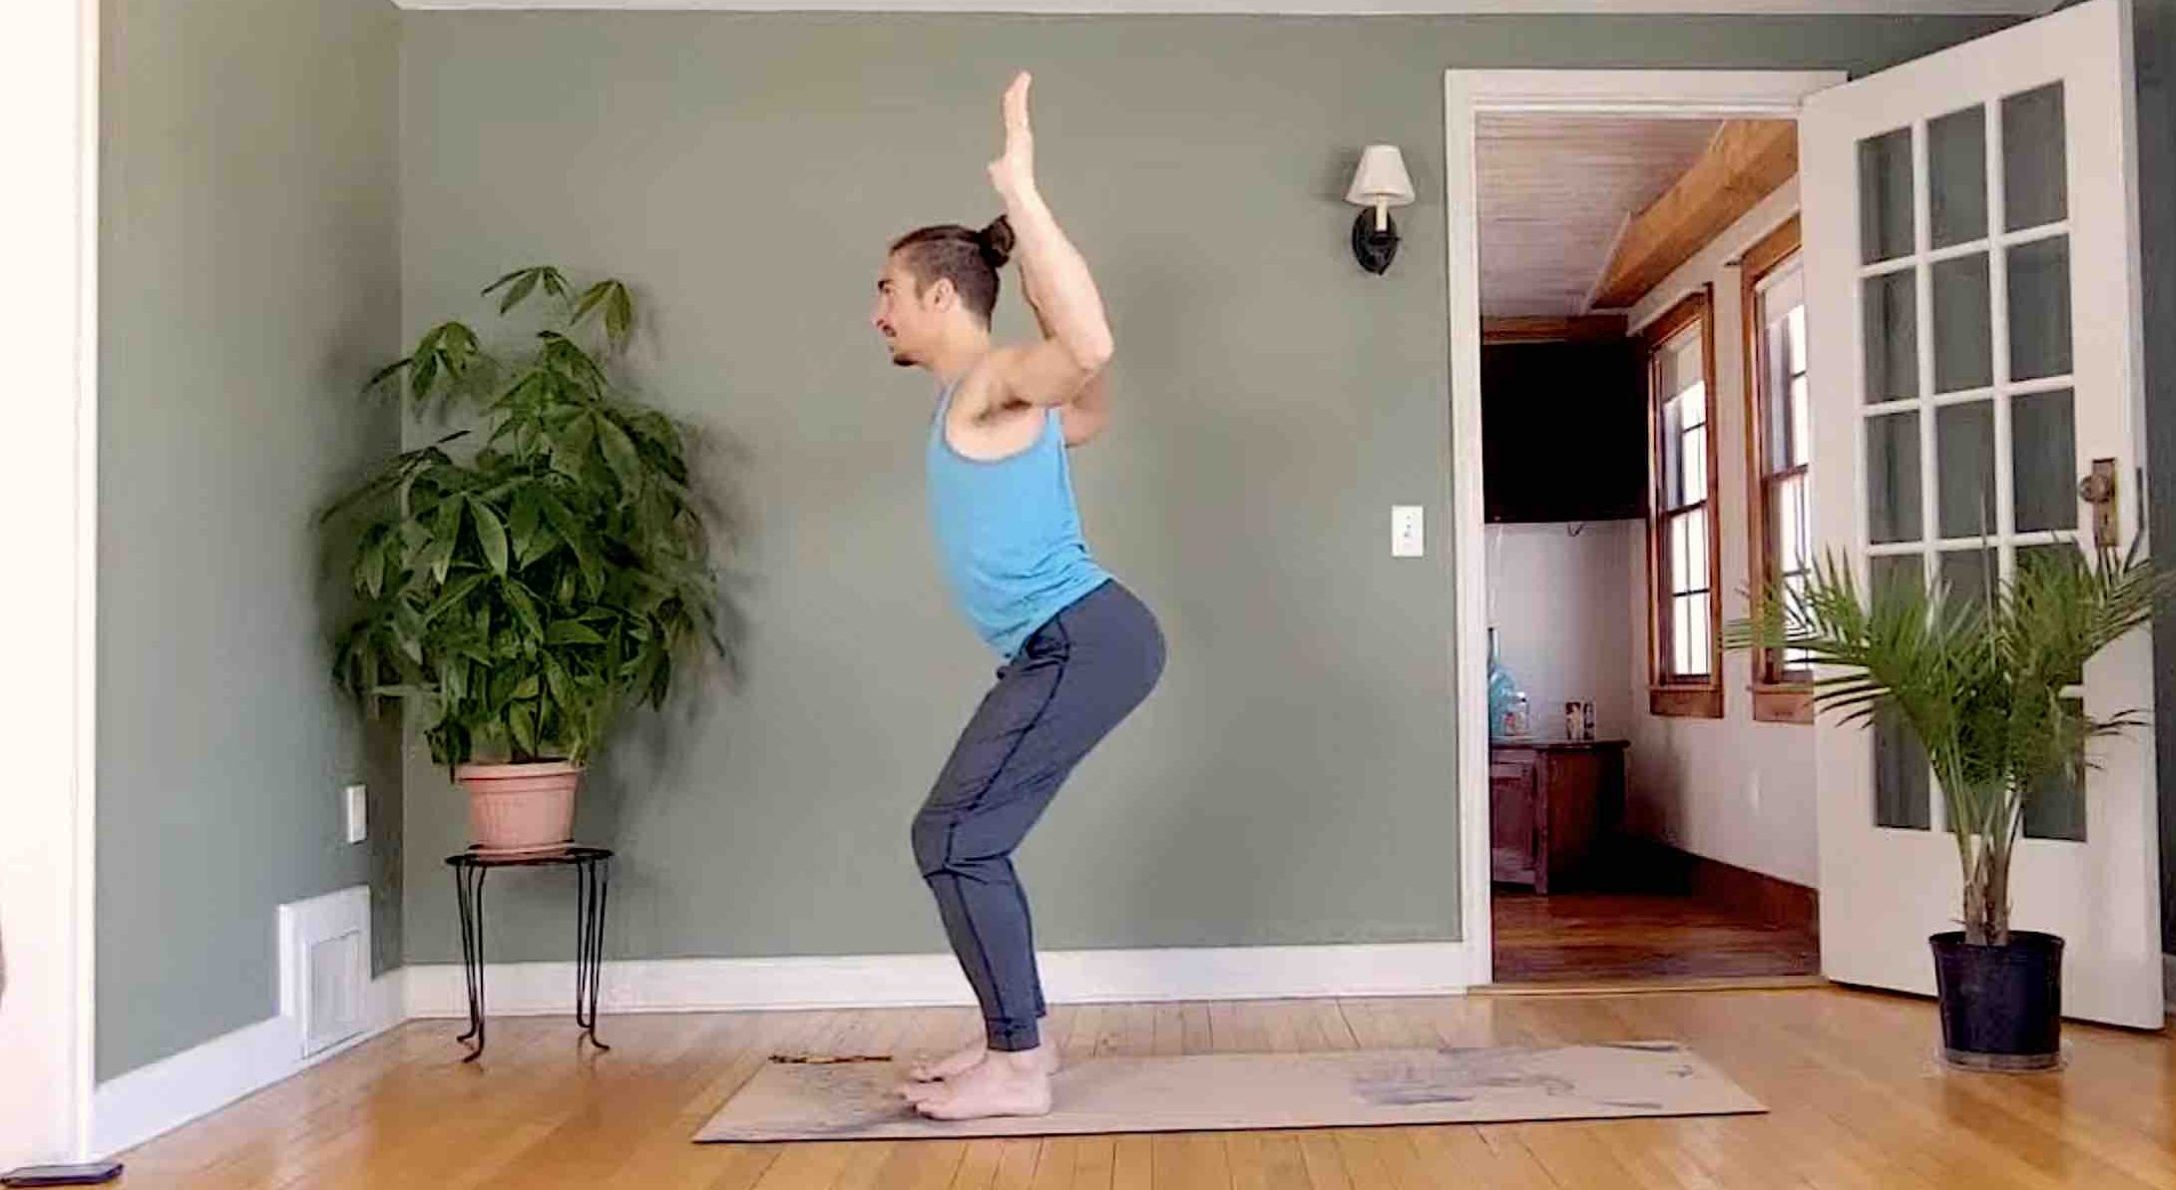
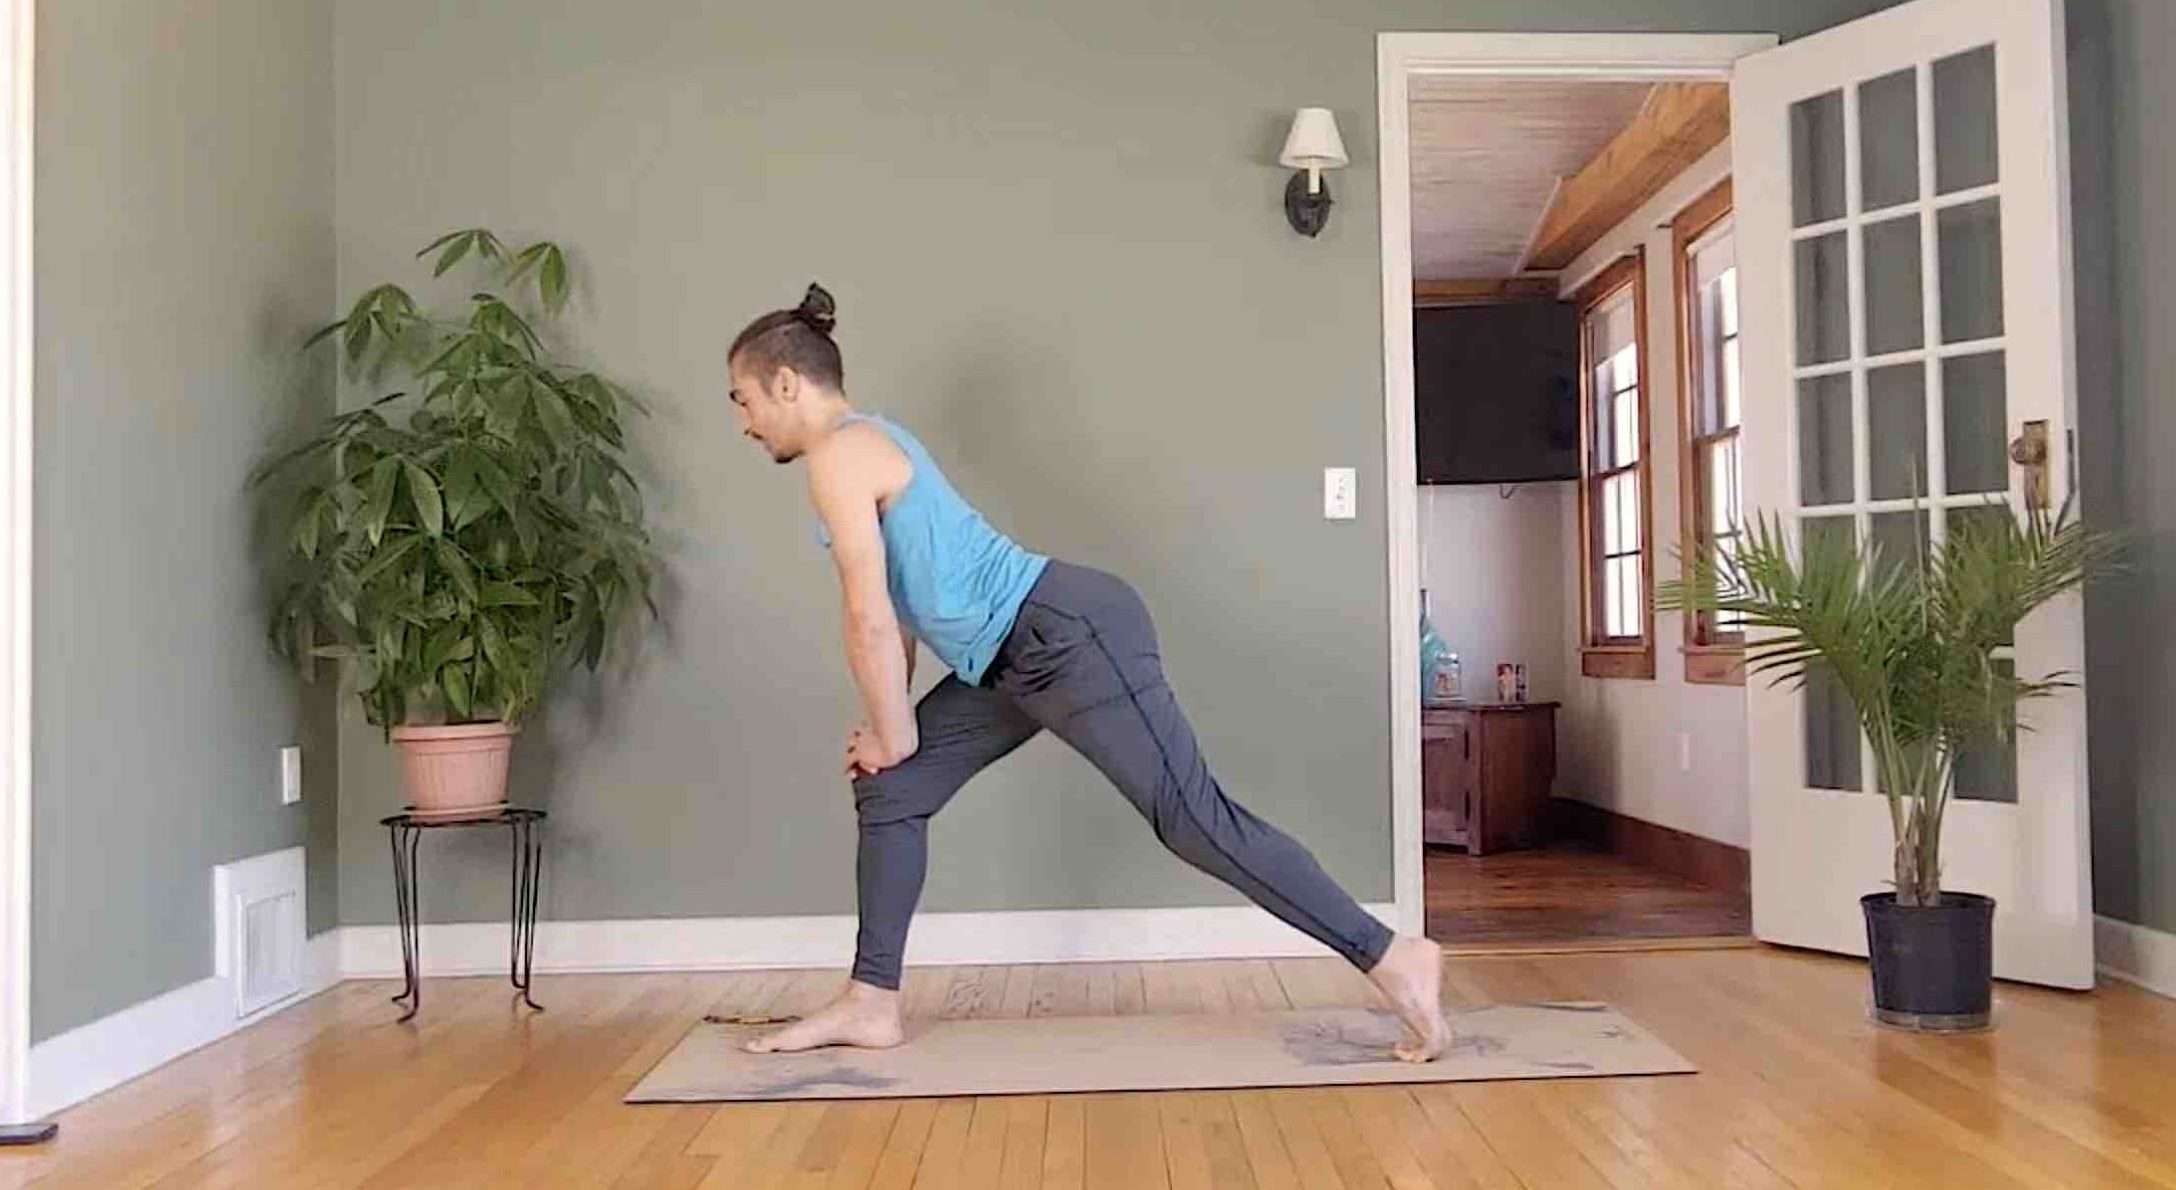
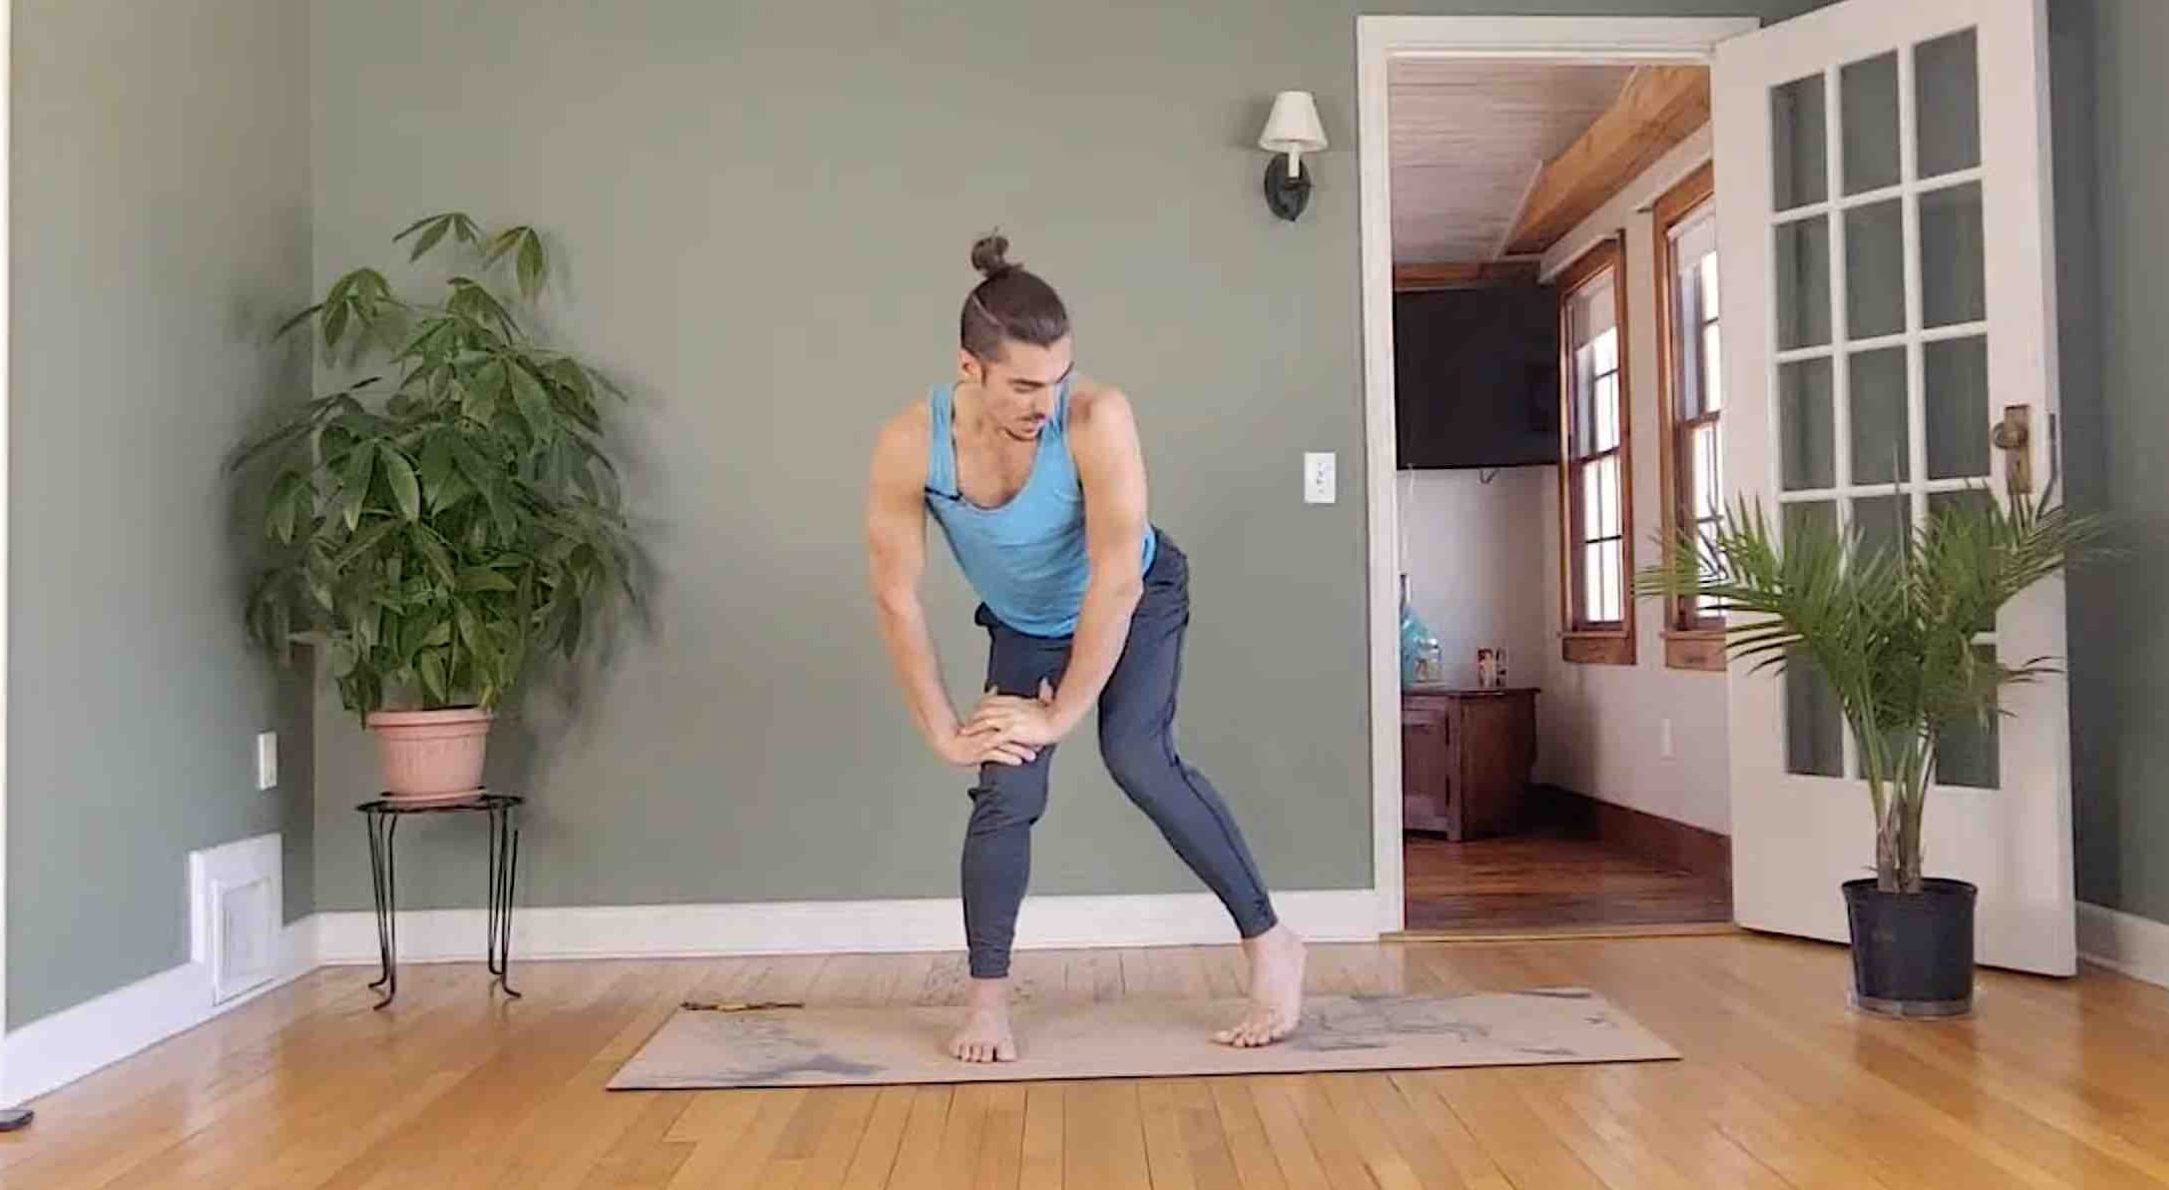
- Asana: (commonly referred to as yoga) Cleanses deha, the body.
- Meditation: cleanses the heart-mind first. With practice, allows us to root deeper into Shunya and Cit, pronounced “Chit”. Meditation cultivates our ability to experience Blissful Awareness, even in our day-to-day tasks.
- Pranayama: Balances out our energy levels.
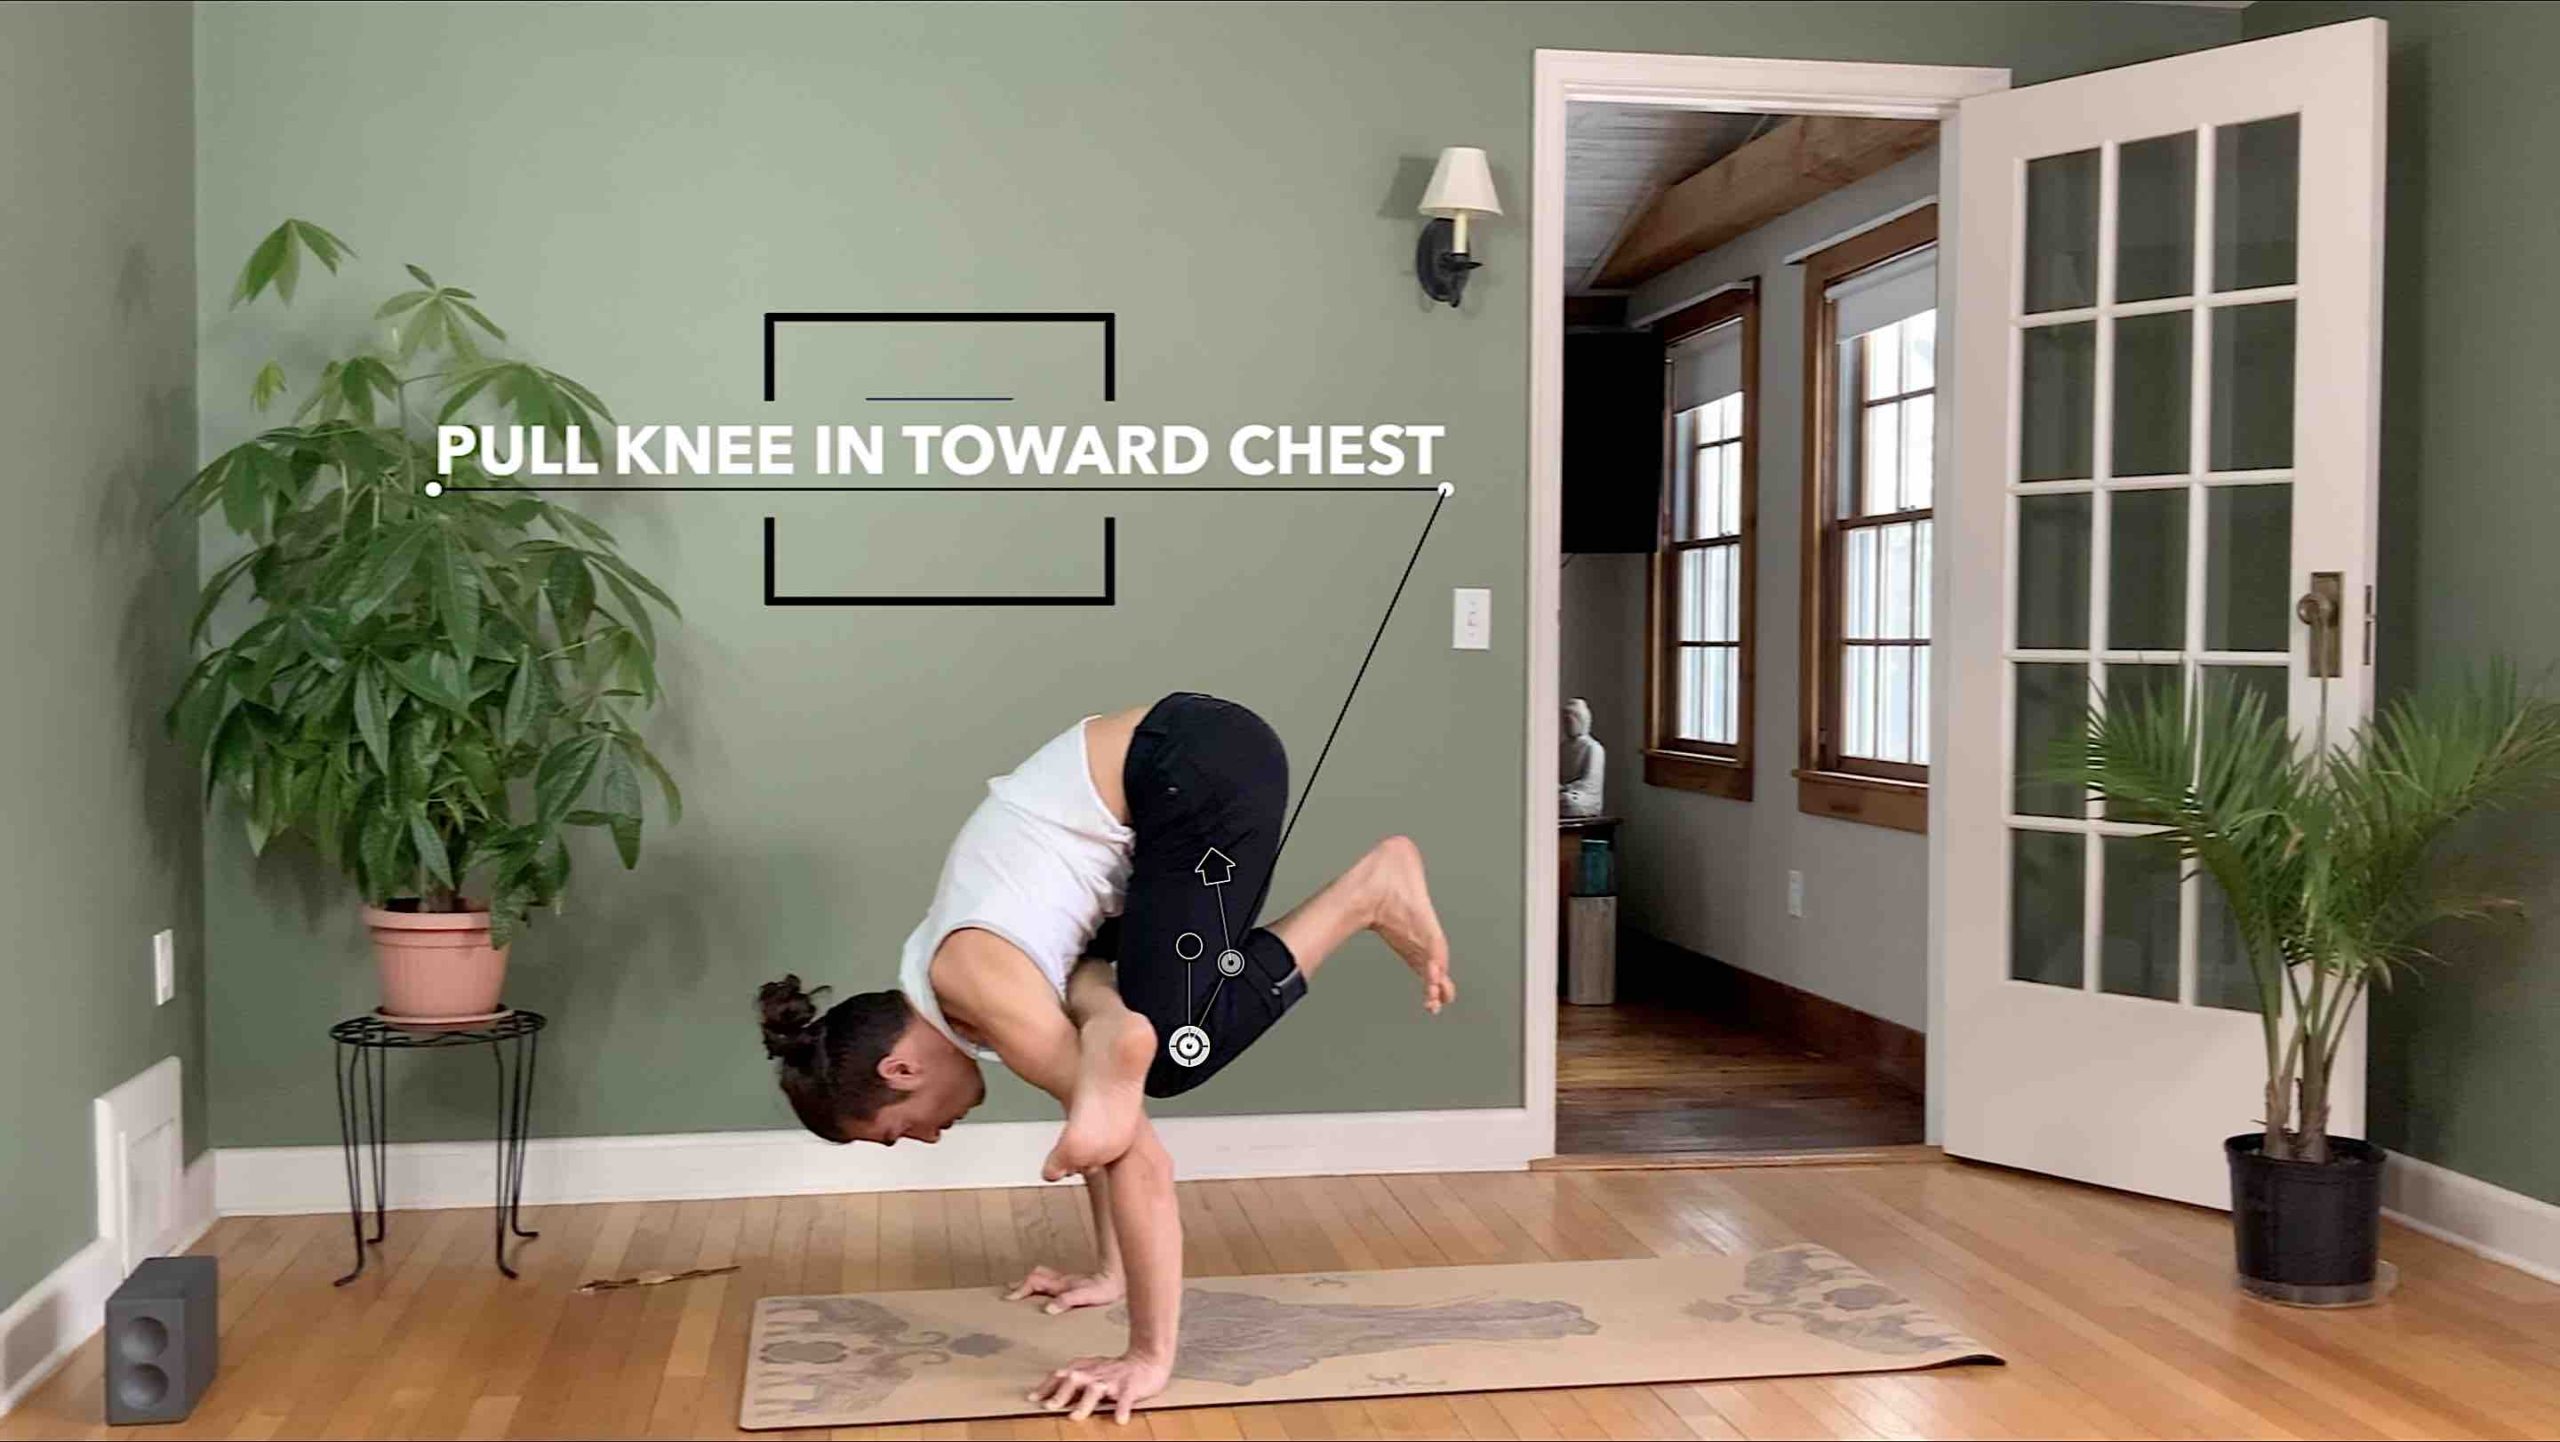
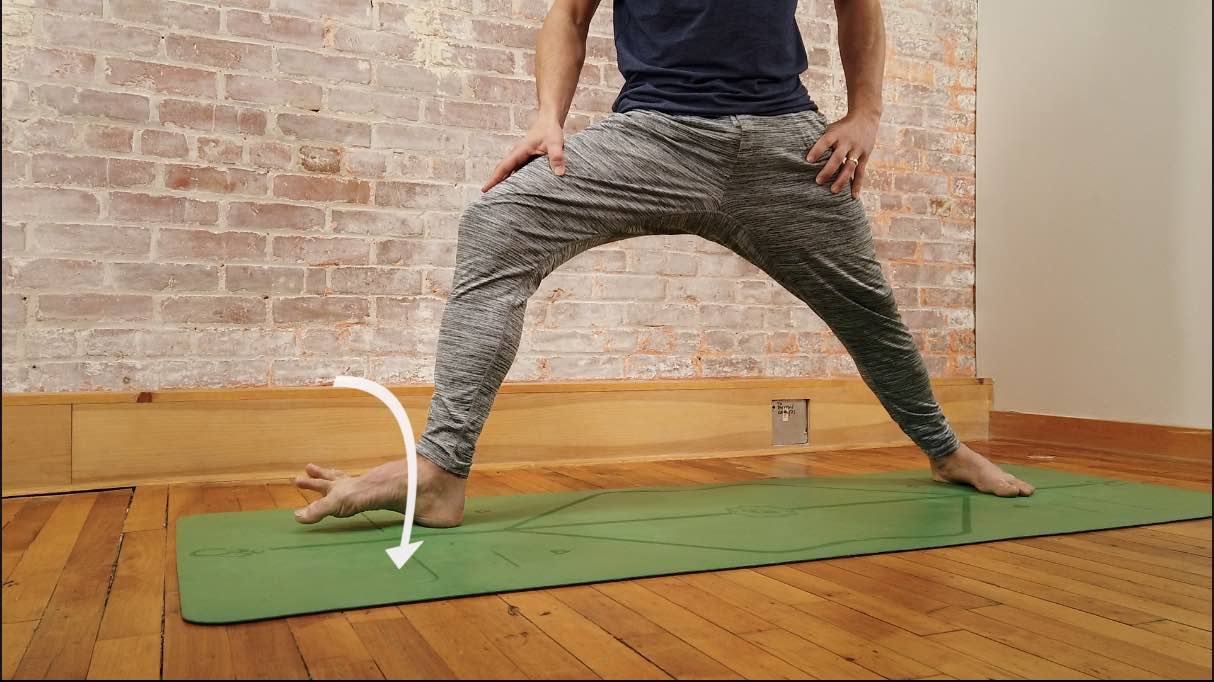
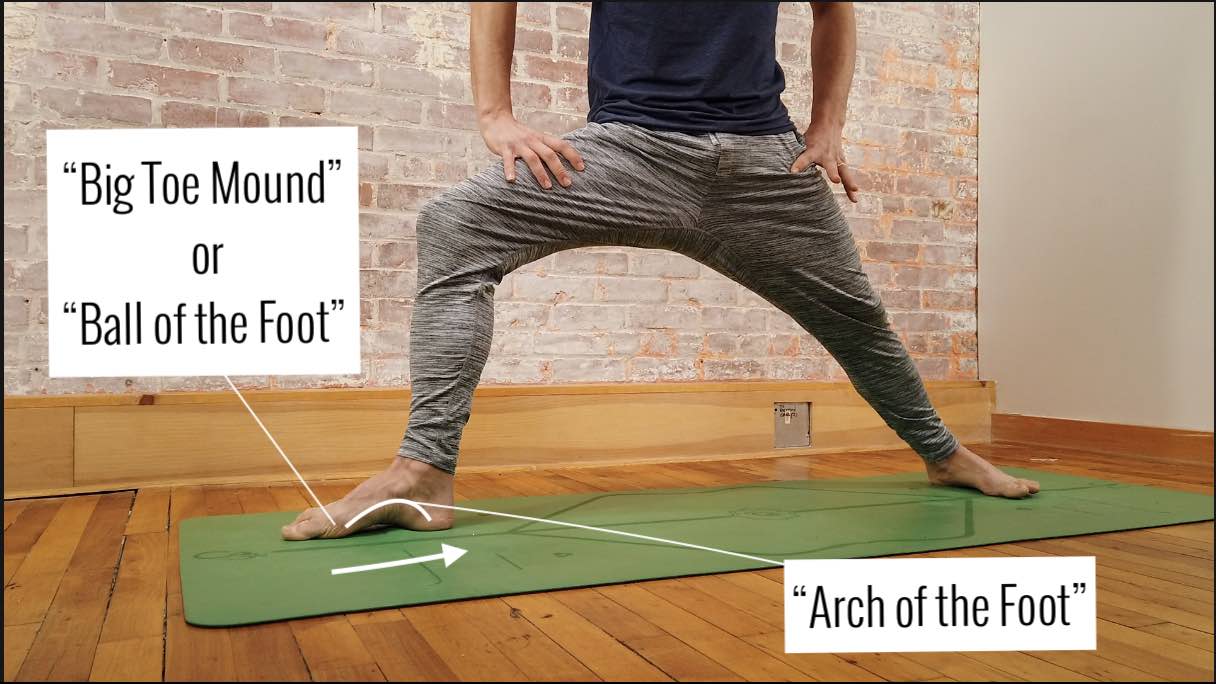
For each of these layers, there are specific yogic practices. Most familiar and most popular is Asana- movement of the body which helps develop awareness, strength, and flexibility. We can think of this as a cleanse for the physical form.
Then there is Citta, Heart-Mind. It’s unfortunate that many of us are not provided with the proper tools to keep the mind clean. We brush our teeth because plaque builds up daily on the teeth. Similarly, the mind builds up and collects unwanted toxicity but rarely do we learn how to take care of that. To cleanse the mind, we use the practice of meditation, specifically mantra– a repetitive phrase to cultivate the mind’s attention and strengthen our ability to focus.
For prana (Energy) there are incredible breathwork practices available to us in the yoga lineage, called pranayama. Breathwork helps balance the autonomic nervous system, so that we can harness the “go go” energy when we need it and cultivate “rest and digest” energy when our bodies and minds are stressed and overworked. Finding balance between the two allows us to live our lives with more intention rather than being driven by emotion.

MOVE•BREATHE•RELEASE
Yoga, Breathwork, Meditation!
Expand your yoga practice with asana for the body, breathwork to balance your energy, and meditation for greater peace of mind, focus, and clarity. This is the best way to establish a meditation practice while enjoying the benefits of a routine physical yoga practice.
THE PROBLEM
Now that we know these 3 practices help us to feel better physically, mentally, emotionally, AND energetically, why don’t we practice them routinely?
Well, the answer is simple. We created a habit, or pattern, of brushing our teeth, but haven’t yet created one for meditation and pranayama. Maybe you haven’t created one for yoga yet either?
THE SOLUTION
To create a habit, repetition is the only thing needed. However, repetition requires effort and prioritizing your time. Most adults struggle with this. I once read a quote that said something along the lines of “If you have the time, meditate for 20 minutes each morning. If you don’t have time, meditate for an hour each morning.” It’s funny but it’s also the unfortunate truth.The more you fill your day, the more time you need to process and digest everything coming in.
Let’s acknowledge that routinely showing up for yourself and practicing asana, pranayama and meditation might seem like a lot at first. This is why I have created an online program to make this easy for you. It’s called MOVE•BREATHE•RELEASE, consisting of 3 practices per week, each with all three elements, so you do not need to find time to do them separately. Each class is fully guided so all you have to do is commit. I will take care of the rest.
TOP RELEVANT RECOMMENDATIONS
- MOVE•BREATHE•RELEASE: 12 CLASS PACKAGE
- Journey To Bliss: 12 Class Immersion with 4 Guided Meditations
TEACHER TRAINING COURSES
MOVE • BREATHE • RELEASE
Yoga, Breath Work & Guided Meditation
- 12 ALL LEVELS LIVESTREAM CLASSES
- WATCH ANYTIME WITH LIFETIME ACCESS
- DEVELOP YOUR YOGA PRACTICE, RELEASE TENSION IN THE BODY AND MIND
$128.00
Continue Learning
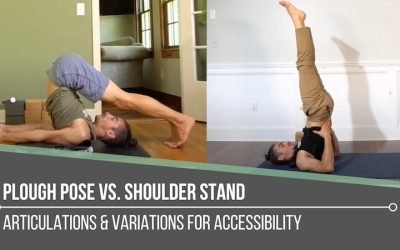
Plough Pose vs. Shoulder Stand
read more

Arm Balance Transitions
Arm Balance TransitionskakasanaARM BALANCE TRANSITIONS Arm balance postures can be challenging enough without attempting to layer on a smooth transition in and out of them. However, fluid transitions are a natural progression in our yoga practice; they also provide...
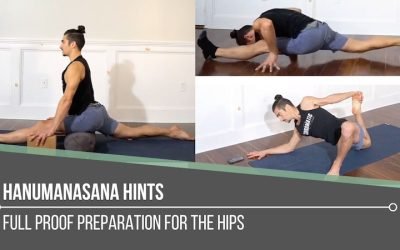
Hanumanasana Hints
Hanumanasana HintssplitsHANUMANASANA HINTS Applying intelligent techniques to a posture like Hanumanasana is crucial—simply hoping for the best is definitely not the way to go! That mindset leaves us vulnerable to injury. Hanumanasana is also the type of pose that can...
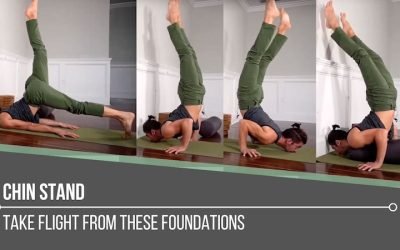
Chin Stand
Chin Standganda bherundasanaCHIN STAND Without a doubt, Chin Stand requires preparation. This posture must be approached with the utmost humility, essential in order to respect the potential risk. If this pose is not explored regularly in our physical practice, it may...
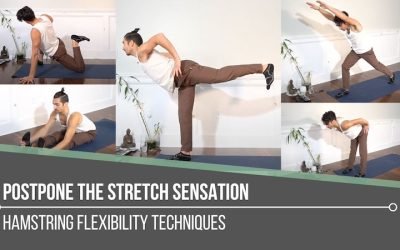
Postpone The Stretch Sensation
Postpone the Stretch SensationflexibilityPOSTPONE THE STRETCH SENSATION If one of the goals of our physical yoga practice is to increase flexibility, we may automatically believe that we just need to stretch more. It’s critical that we understand that increasing...
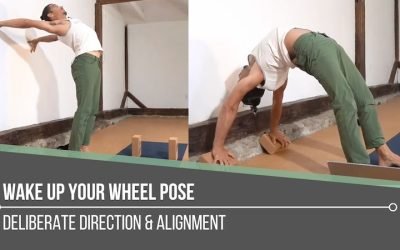
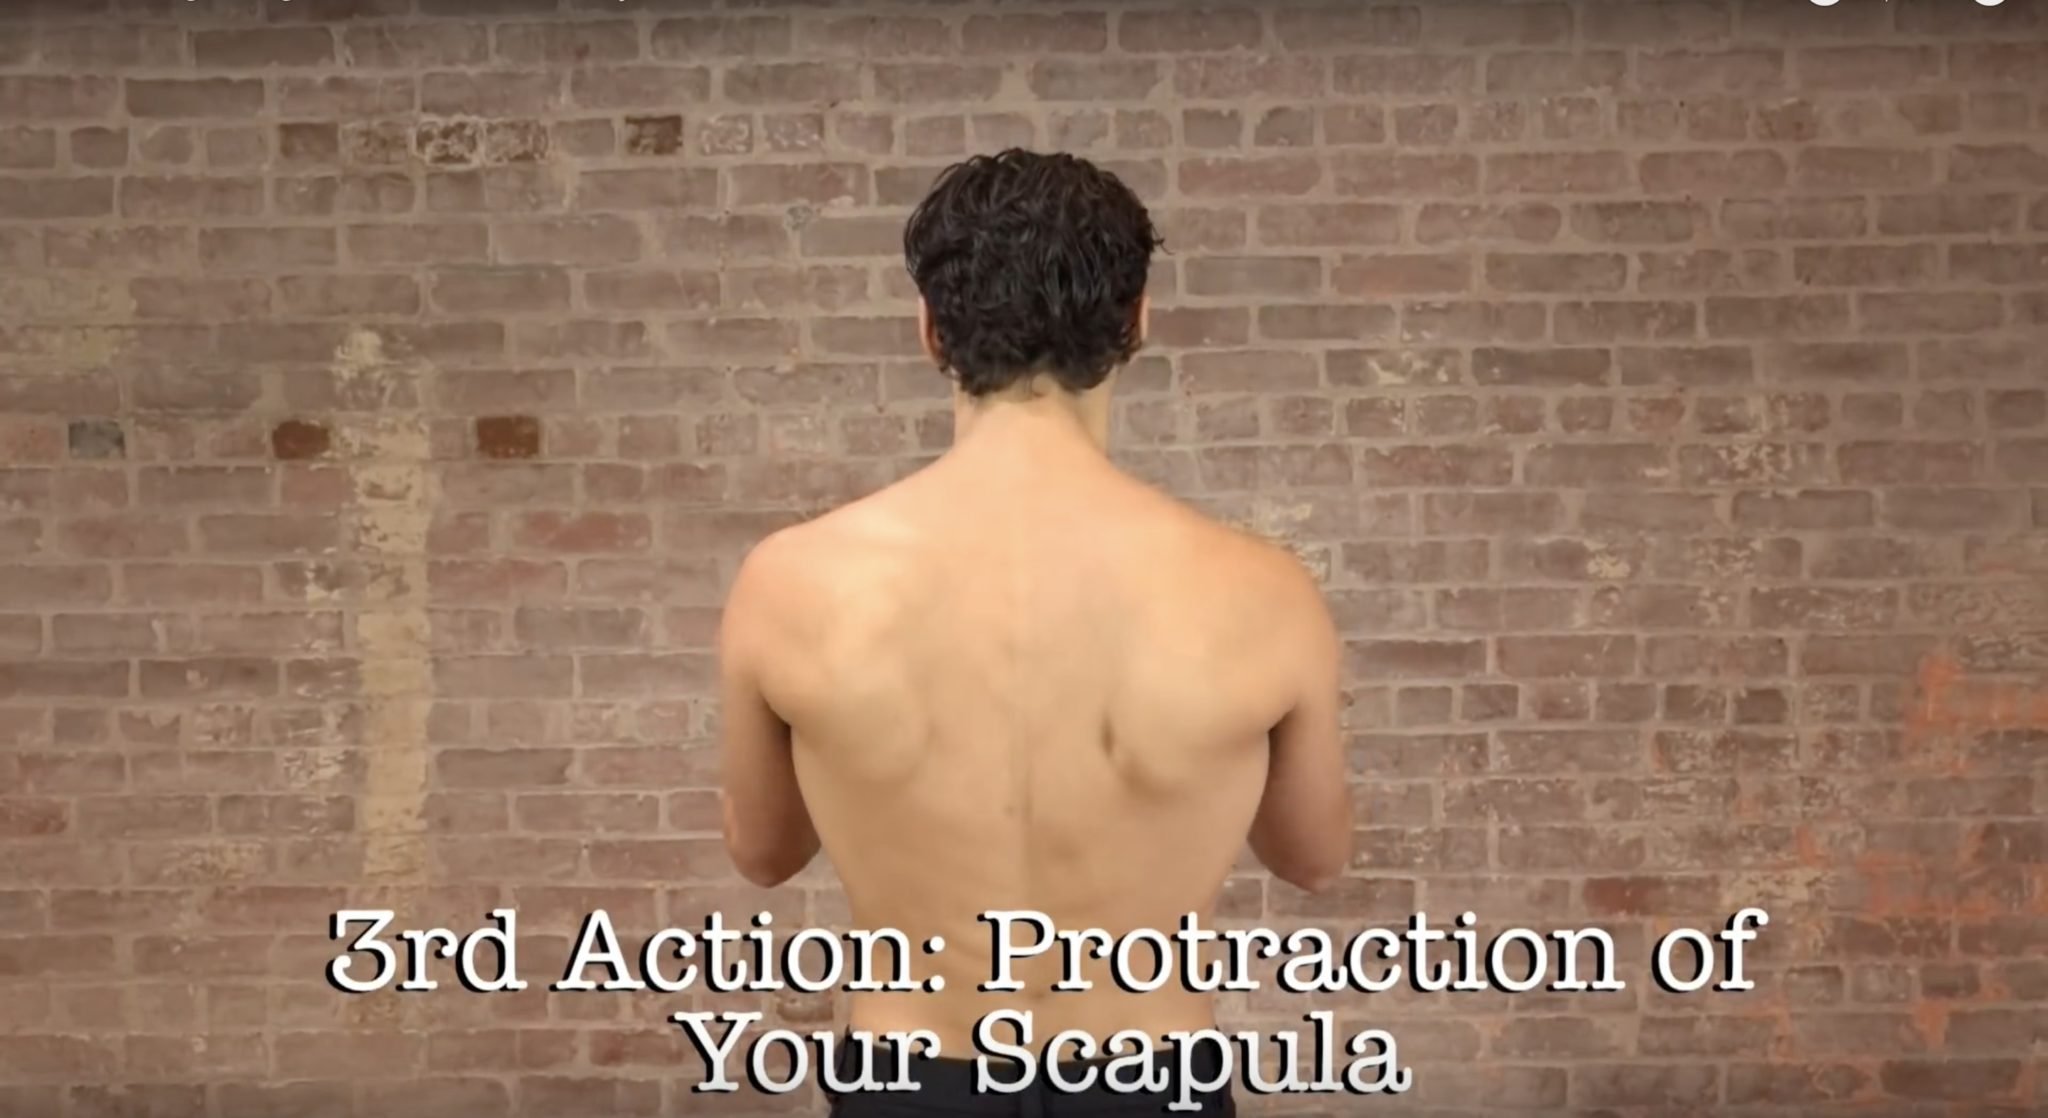
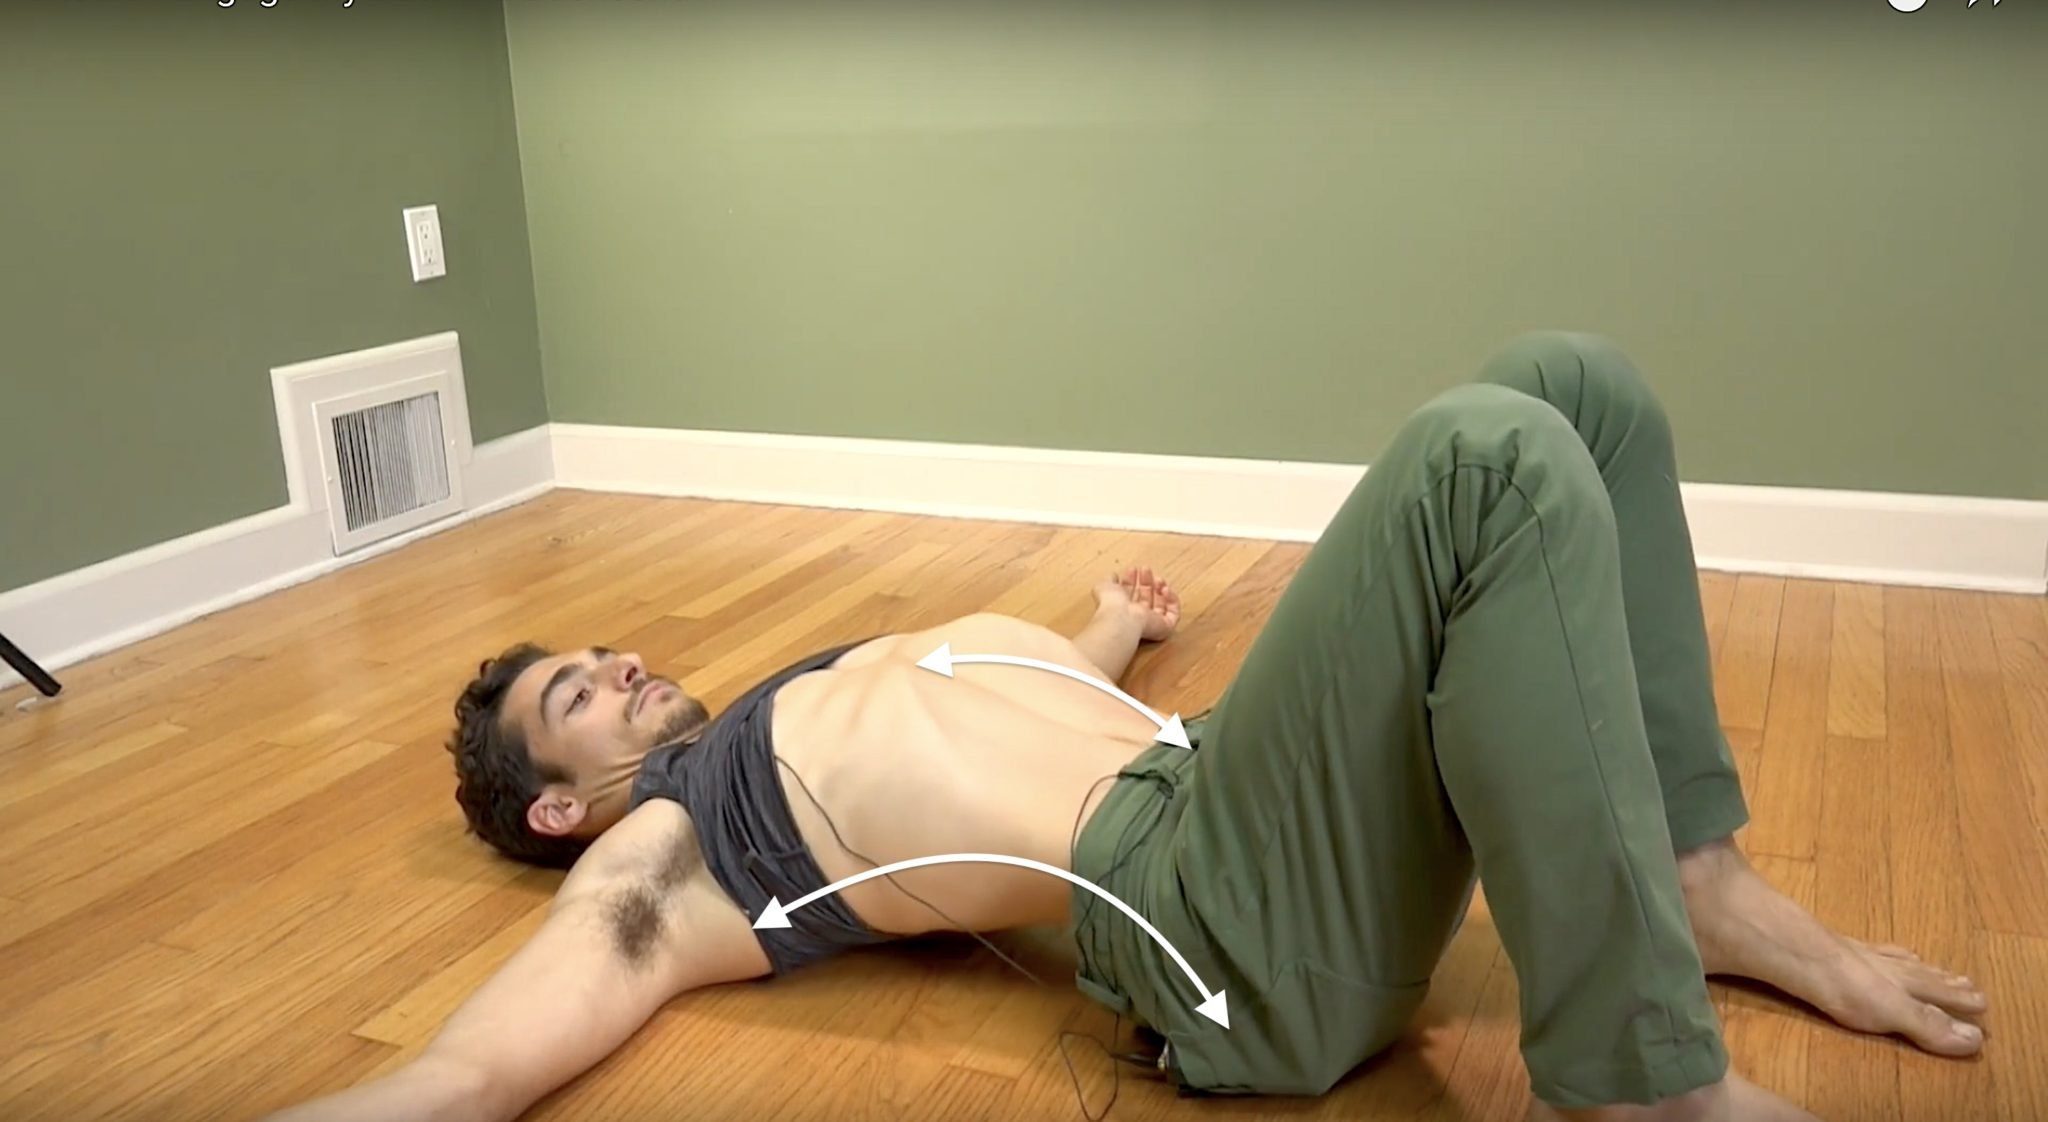
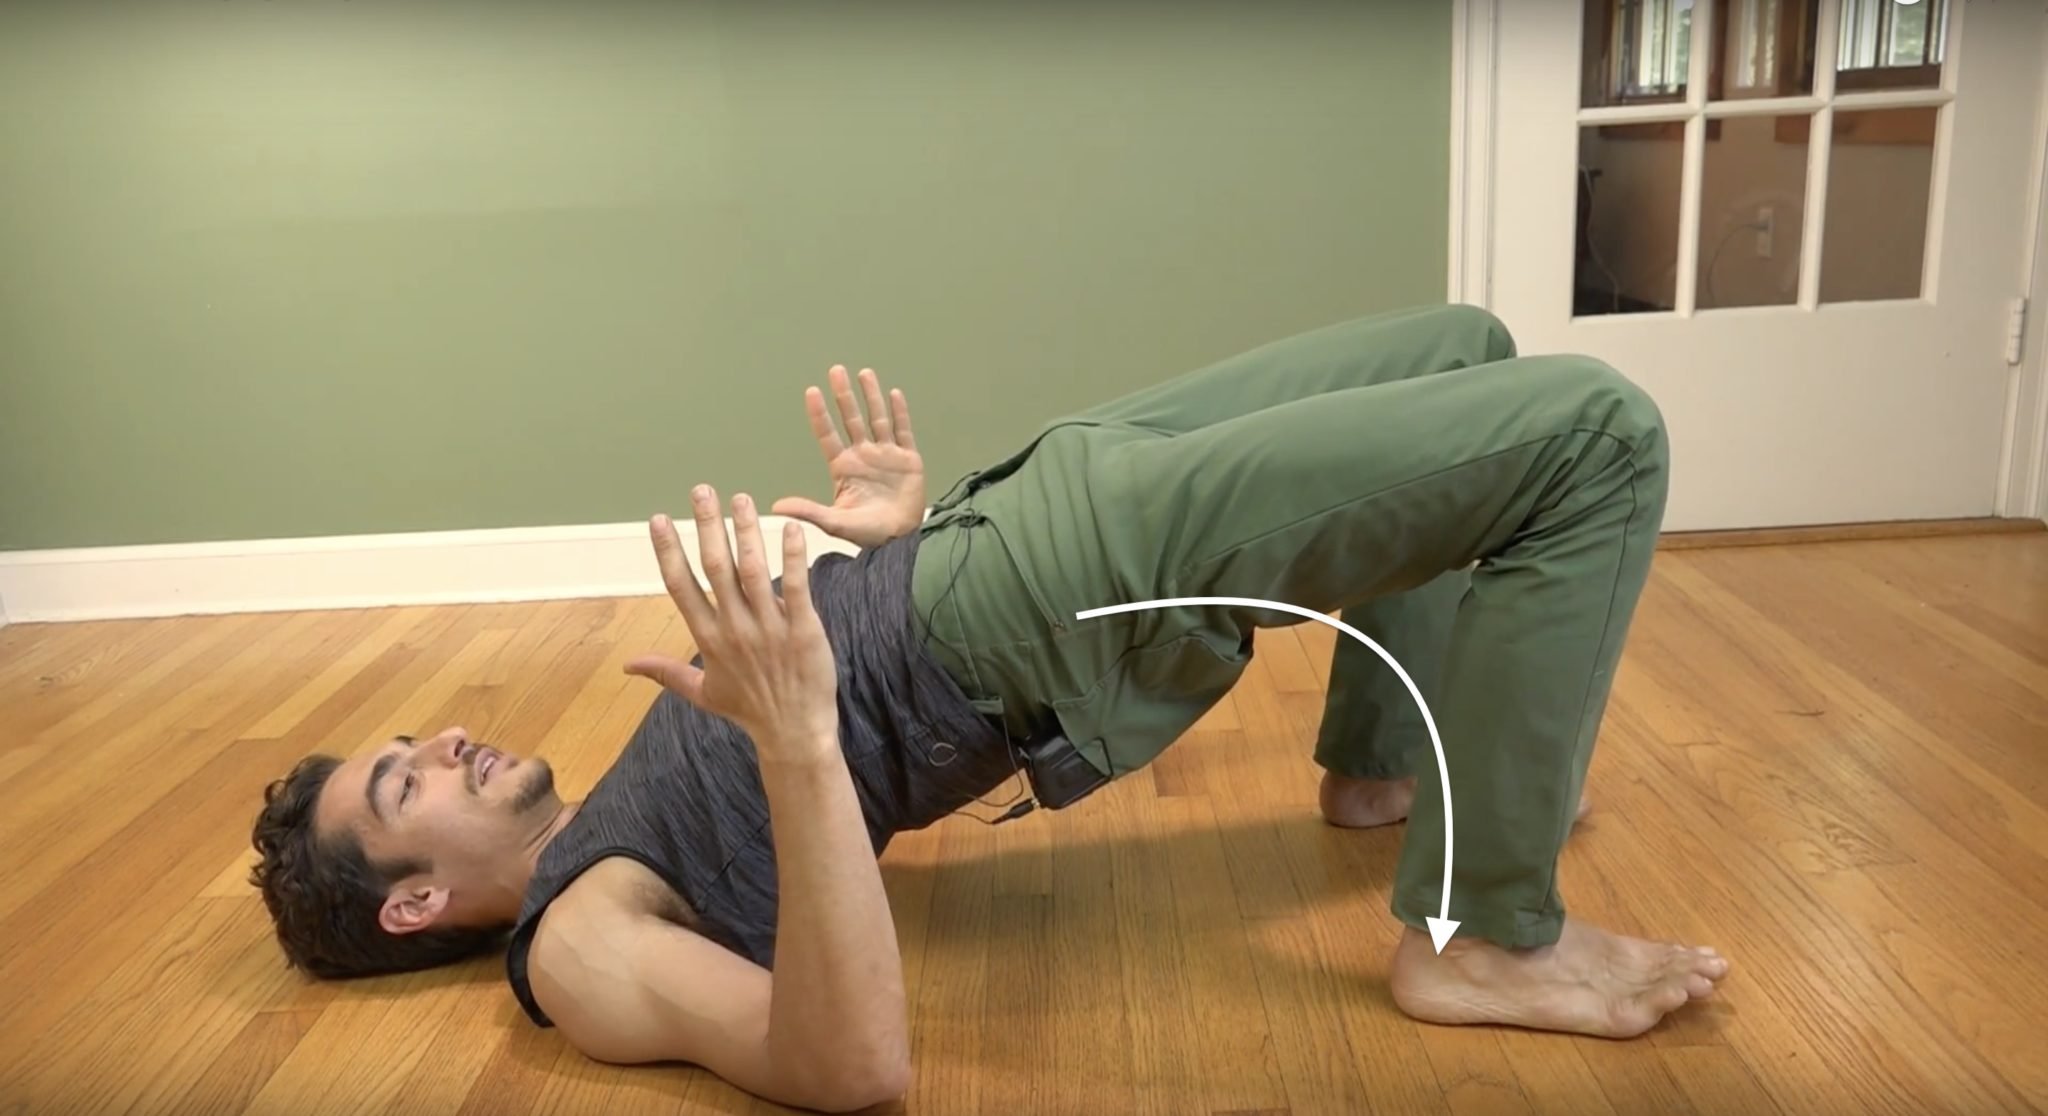
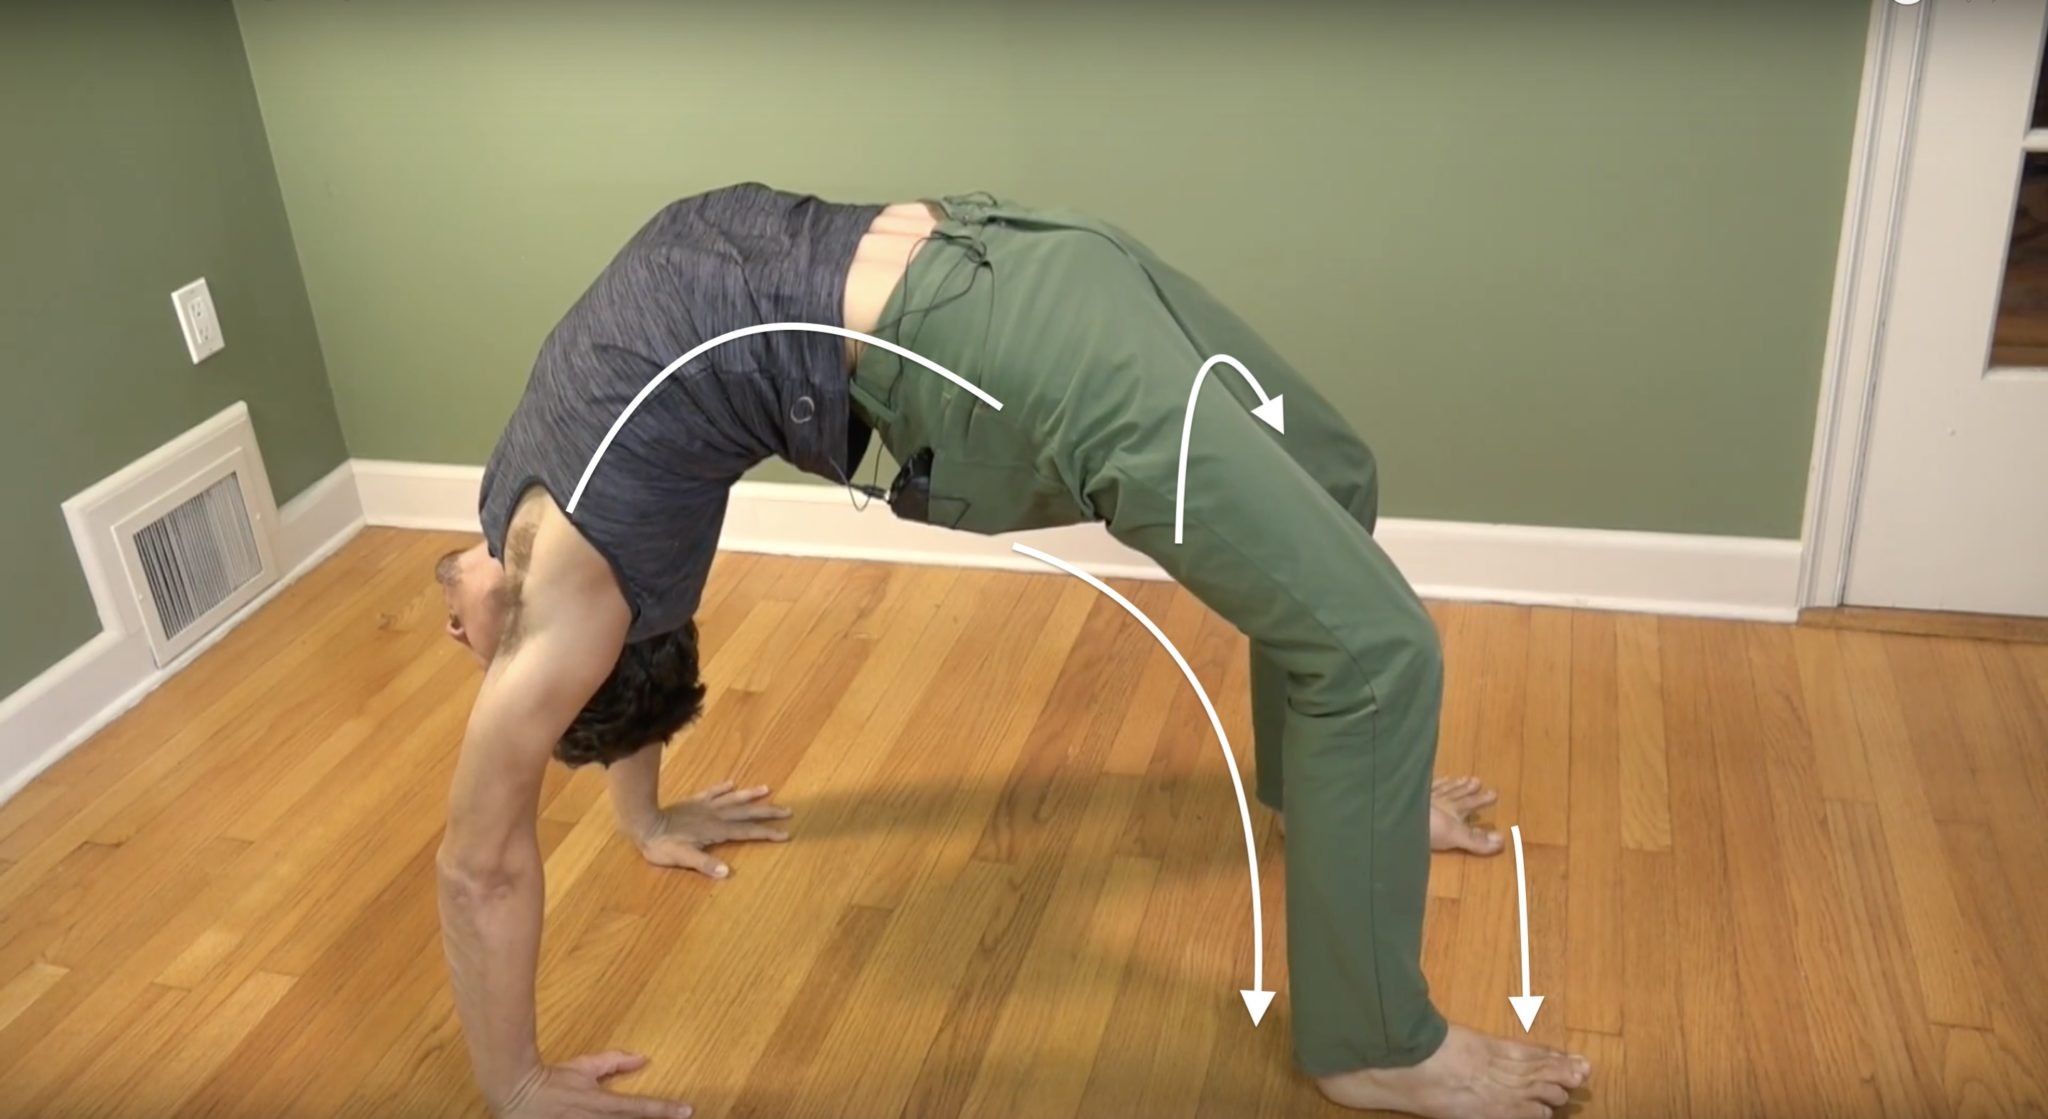
Wake Up Your Wheel Pose
Wake Up Your Wheel Poseheart openerWAKE UP YOUR WHEEL POSE We don’t have to question it—we know whether or not we’re feeling open, free, and strong in Wheel Pose. There’s a lightness and expansiveness that takes over when everything falls into place: From the initial...
THE FREE TECHNIQUE PACK
When You Subscribe, You Will Get Instant Access to
- the Technique Pack: 15 yoga pose breakdowns
- exclusive online course discounts
- exclusive blogs and videos


![yoga backbend techniques: 12 classes [backbend technique to relieve back pain "bowing the spine']](https://www.theyogimatt.com/wp-content/uploads/2021/10/Archna-Mohan-chromatic-5.jpg "Archna Mohan chromatic")


![yoga backbend techniques: 12 classes [backbend technique to relieve back pain "bowing the spine']](https://www.theyogimatt.com/wp-content/uploads/2021/10/Archna-Mohan-chromatic-6.jpg "Archna Mohan chromatic")