Strong Hands For HandstandSTABILITYSTRONG HANDS FOR HANDSTAND When it comes to building strength for handstand, it starts at the base: our hands. Developing strong hands means targeting the wrist flexors, the very muscles that help create a trustworthy foundation....
Supine Standing Splits
Supine Standing Splits
Boost Your Hamstring Flexibility
strength & flexibility
SUPINE STANDING SPLITS
Tight hamstrings are a common complaint, right? They may be showing up by way of limitations in various yoga postures and/or in restrictions in the way you move in your daily life. If you’ve been practicing with Matt for some time, then you’re well aware that to increase flexibility, you need to factor strength into the mix. Additionally, you can figure on the quality of the time spent in specific postures—the utilization of specific techniques. The deepening of the neuromuscular connection takes place when you’re very intentional with your execution. Supine Standing Splits offers time to explore specific techniques in an accessible way. Today, Matt shares these techniques, along with other postures and their techniques, to prepare you for greater potential in Supine Standing Splits and eventually for the balanced variation of the posture.

THE SPLITS
- Improve flexibility of hamstrings, adductors, hip flexors, and glutes
- Hanumanasana Splits
- Center Splits
- Vishvamitrasana
- Standing Splits / Ekapadasana
- Extended Side Plank / Vashisthasana
- Straddle entries for inversions, with modifications for all levels
- Moderate Vinyasa style with alignment, technique, and biomechanics
- Sequences are anatomically informed and carefully crafted
- 12 Classes: All levels appropriate
- Lifetime unlimited access to all
- Attend the livestream OR practice the replays any time that’s convenient for you
$148.00
PYRAMID STRETCH
First, the actions taken in this variation of a “Pyramid stretch” for the hamstrings offer an array of techniques for you to experiment with. It’s imperative to pay attention to the details. What’s comforting is that Matt offers very clear and explicit instruction. He starts off with a dorsiflexion of the front foot, which deepens the stretch sensation. Along with this lengthening, an important action is the tucking of the sit bone. Next, pressing down the front heel into the mat begins to incorporate the facilitated stretch (the strength component). This action is also important in minimizing the potential for injury by making the hamstring attachment at the sit bone less vulnerable. In the video, you’ll see the other options as regards the “direction of push.” Playing with diagonal activations targets other areas of the hamstrings and adductors.
WATCH THE VIDEO
SUPINE STANDING SPLITS: BOOST YOUR HAMSTRING FLEXIBILITY
SEATED HAMSTRING STRETCH
Next, the Seated Hamstring Stretch in the video starts to take on more of the qualities of Supine Standing Splits. A more accurate description of this stretch includes the fact that the leg is lifted while you move your head towards the knee or shin. This action mimics the standing leg in the upright version of standing splits. This variation potentially allows for deeper hip flexion than Supine Standing Splits because, as you draw your leg towards your face, you are not limited by the floor beneath you; as you hold your foot, you can pull your elbows back further than what may be available to you when you’re lying on your mat. That being said, exploring this variation can still be revaling as to what’s available to you in regard to hip flexion and hamstring flexibility. Even more telling is when you release the grip of your foot to reveal your level of active flexibility versus passive flexibility.

200 HOUR ONLINE TEACHER TRAINING
GET CERTIFIED & DEEPEN YOUR YOGA PRACTICE
- Deepen your yoga practice
- Build confidence speaking in front of groups in person and online
- Learn foundational class structures and templates
- Learn techniques for a wide range of yoga postures
- Get certified and highly qualified to teach yoga
- Yoga Alliance Globally Recognized Certification Program
HAMSTRING SLIDE DRILL
Before diving into Supine Standing Splits, Matt offers a drill to encourage the refining of strength in your hamstrings and glutes. If you’re ever unsure if you are doing enough to strengthen your hamstrings, you won’t be mistaken with this drill. It—is—intense!
At first, trying it out without wearing socks will remove some of the sliding component (Matt is wearing socks in the video). This does not necessarily make the drill easier, but it may help you feel connected to the strength required for the progressions. Matt compares this drill to Bridge Pose, but one of the major differences is that you keep your legs as straight as possible. This action will ignite your hamstrings as your feet attempt to slide toward your upper body. Comparatively, wearing socks in order to build upon the drill will increase the slide and therefore the contraction in your hamstrings and glutes.

300 HOUR ONLINE TEACHER TRAINING
GET 500 HOUR CERTIFIED AS A MASTER TEACHER
Master your skill set as a teacher through refined techniques, anatomy, biomechanics, sequencing, philosophy, meditation techniques, theming, yoga business, and much more!
- Get 500 hour certified
- Learn anatomy, biomechanics, asana techniques
- Expand your teaching skills
- Masterful sequencing and verbal delivery
- Learn meditation and breathwork techniques
- Transformative tools: theming, dharma talks, satsang
POSSIBILITY AFTER PREPARATION
Finally, your body is more primed and ready for Supine Standing Splits after all that’s been explored. There’s a sense of freedom and possibility that carries into the pose. That lifted leg again utilizes techniques from Seated Hamstring Stretch, but with more strength from the slides. Straightening your bottom leg, with a very slight lift away from the floor, will also activate your core. Being on your back for this posture doesn’t mean that it’s more relaxed but instead allows for time spent activating your body while focusing on deep hip flexion and nurturing increased hamstring flexibility.
To conclude, greater preparation only elevates your potential. You can explore more drills and techniques like this in Matt’s current Splits Immersion.
See you on the mat!
The 200 Hr. Teacher Training: Click Here to See the Next Start Date
The 300 Hr. Advanced Teacher Training: Click Here to See the Next Start Date
Article by Trish Curling
Video Extracted From: The Splits

BREATH OF FIRE
- Moderate Vinyasa-style classes
- Core strengthening & integration
- Master your breath with pranayama practices
- Access your core in arm balances, heart openers, twists, forward folds, inversions, and more
- Learn where and how to breathe in challenging postures
- Each class will include one pranayama (breathwork practice) and several core strengtheners
- Access your core muscles: deep, superficial, anterior, posterior, and lateral
- 12 Classes: All levels appropriate
- Lifetime unlimited access to all
- Attend the livestream OR practice the replays any time that’s convenient for you
$148.00
Continue Learning
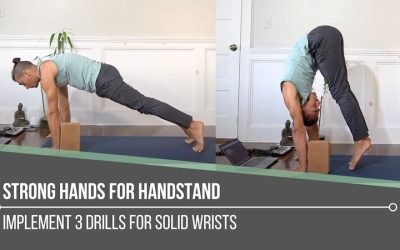
Strong Hands For Handstand
read more
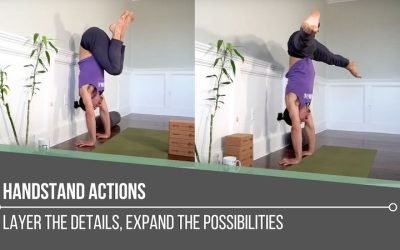
Handstand Actions
Handstand ActionsLEAN, GRIP, PUSHHANDSTAND ACTIONS Handstand isn’t something we conquer in a single class, it’s a layered process that demands repetition and refinement. There are certain key handstand actions that are non-negotiable: lifting the shoulders up to the...
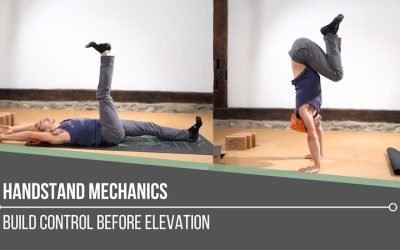
Handstand Mechanics
Handstand MechanicsINVERSIONHANDSTAND MECHANICS Stability, strength, and coordination come together in the pursuit of mastering handstand mechanics. One of the most critical foundations is internal rotation at the hip joints, which can aid with certain entries and...
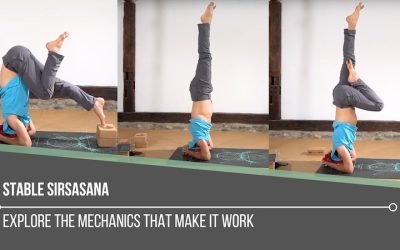
Stable Sirsasana
Stable SirsasanaHEADSTANDSTABLE SIRSASANA Creating a stable Sirsasana is less about the final pose and more about the mechanics that lead us there. From weight transfer and spinal alignment to hamstring flexibility and shoulder engagement, each layer matters. Unlike...
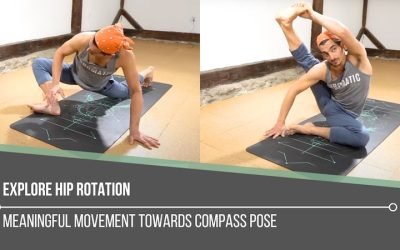
Explore Hip Rotation
Explore Hip RotationSURYA YANTRASANAEXPLORE HIP ROTATION Hip rotation isn’t just an anatomical concept—it’s an open invitation to become more intimate with our body’s story. In yoga, we often live in lateral (external) rotation, especially in hip-opening postures....
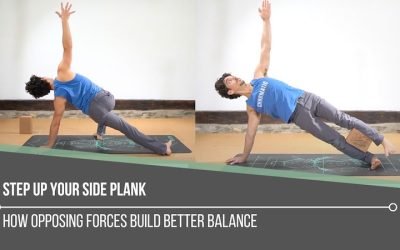
Step Up Your Side Plank
Step Up Your Side PlankVASISTHASANASTEP UP YOUR SIDE PLANK Side Plank might look simple, but true proficiency starts in the details. One of the keys to refining the posture is learning how opposing muscle groups create an isometric contraction—a subtle engagement that...
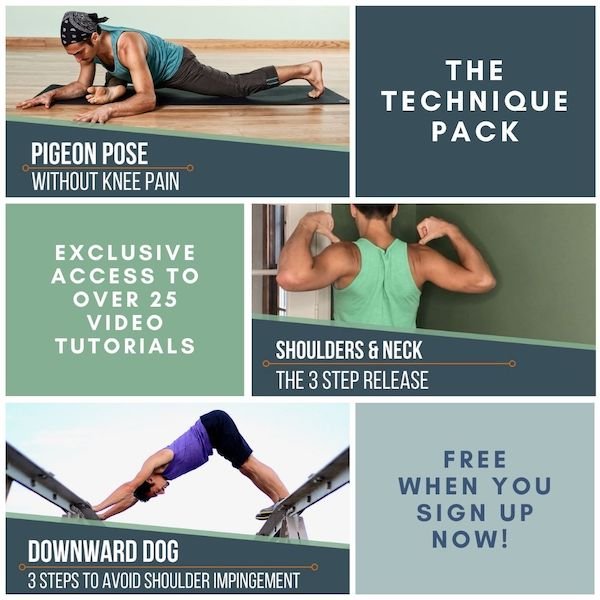
THE FREE TECHNIQUE PACK
When You Subscribe, You Will Get Instant Access to
- the Technique Pack: 15 yoga pose breakdowns
- exclusive online course discounts
- exclusive blogs and videos