Mastering BakasanaCrow PoseMASTERING BAKASANA We may never truly master a posture, but as we go on a journey of exploration towards our greatest potential within our asana practice, we most definitely become masters of our own awareness—cultivating the ability to...
Lotus Pose Variations
Lotus Pose Variations
Is There a Safer Option?
padmasana
LOTUS POSE VARIATIONS
One of my favorite episodes of Three’s Company is when John Ritter’s character (Jack) laughs at Joyce Dewitt ( Janet) and Suzanne Somers (Chrissy) when they are doing Lotus Pose during a yoga practice. He eggs them on about how easy it is, so they dare him to give it a try. Could he use the Lotus Pose variations that Matt offers? Most definitely! It wouldn’t be as hilarious though. In the episode, Jack struggles to get into the posture, pulling at the tip of his sock to set the top leg in place. It’s even worse when he tries to get out. Janet and Chrissy leave him begging for help. Definitely a good laugh and worth a search online. In our real life practice, however, we must be more intentional in how we explore Lotus in order to discover the safest options.

LOTUS
- Anatomy-informed classes
- Increase hip mobility and range of motion
- Balance flexibility and strength
- Skillful techniques for Lotus variations and many other hip openers
- Moderate Vinyasa-style classes
- Unlock your Lotus Pose
- Learn the 4 Quadrants of the Hips
- 8 Classes: All levels appropriate
- Lifetime unlimited access to all
- Attend the livestream OR practice the replays any time that’s convenient for you
$128.00 $108.00
IS LOTUS POSE FOR YOU?
First, how can you answer this question? The answer may be easy, or it may be quite layered. If you have room for exploration, Matt not only offers these Lotus pose variations to try but also reminds you to examine the sensations in your hips, knees, and ankles while practicing. Lotus pose is a deep hip opener, so there is a lot involved. Besides the hips, the state of your knees is one of the biggest considerations when it comes to deciding whether the posture is for you. And as much as you may associate the posture with extensive flexibility and mobility, it also requires stability. Generating stability in your knees, for example, is quite important and may be more accessible than you think. The magic exists in the finer details, so paying attention to your knees and ankles may ultimately provide the answer you’re looking for.
WATCH THE VIDEO
LOTUS POSE VARIATIONS: IS THERE A SAFER OPTION?
KNEES AND ANKLES
Now, your body can change at any time. A definitive answer for the safest option for Lotus Pose doesn’t really exist, but it’s through the exploration of these Lotus pose variations that you can always find the answer you need at any stage of your yoga practice.
The angle of your knees is a great point of focus. The 2 variations Matt offers in today’s video are Lotus on Your Back and Lotus Seated Upright. In either variation, the angle of your knees is a factor in determining whether or not you will find the full posture. The more “closed” you are at the knee joint, the more stable your knees, which minimizes the chances of injury. Once you are in Lotus, a respectable amount of eversion of the ankles is imperative to reduce the pressure that may build from inversion—which is also required.

200 HOUR ONLINE TEACHER TRAINING
GET CERTIFIED & DEEPEN YOUR YOGA PRACTICE
- Deepen your yoga practice
- Build confidence speaking in front of groups in person and online
- Learn foundational class structures and templates
- Learn techniques for a wide range of yoga postures
- Get certified and highly qualified to teach yoga
- Yoga Alliance Globally Recognized Certification Program
THE HIP JOINT
This deep hip opener requires great attention to detail and a tremendous amount of preparation. Part and parcel of this preparation are patience and focus. From an anatomical point of view, you may tend to focus on the external rotators of the hip. This is not wrong, because the shape of the posture requires that they perform efficiently to open the hip. What is also vital, however, is preparing in a way that honors the integrity of the hip as a whole. If you’ve practiced with Matt before, you’ll be familiar with what he calls “the 4 quadrants of the hips.” To delve into this concept, I highly recommend the Hips & Hamstrings immersion. Loosely defined, the 4 quadrants include the adductors, abductors, hamstrings, and hip flexors & quadriceps. Activating these muscle groups helps to exhaust the muscular system until they are ready to stretch, lengthen, and open.

300 HOUR ONLINE TEACHER TRAINING
GET 500 HOUR CERTIFIED AS A MASTER TEACHER
Master your skill set as a teacher through refined techniques, anatomy, biomechanics, sequencing, philosophy, meditation techniques, theming, yoga business, and much more!
- Get 500 hour certified
- Learn anatomy, biomechanics, asana techniques
- Expand your teaching skills
- Masterful sequencing and verbal delivery
- Learn meditation and breathwork techniques
- Transformative tools: theming, dharma talks, satsang
LOTUS ON YOUR BACK VS. LOTUS SEATED UPRIGHT
Matt offers Lotus on Your Back as the safer option when comparing it directly to Lotus Seated Upright. In the video, Matt talks about the risk of straining the knees in the upright variation. Sometimes the use of props may minimize this risk, but again, it’s about exploring what works for you. There may be less risk on your back. In the video, Matt’s entry to Lotus on his back shows that in this variation, you have more time and room to consider the sensations in your knees, particularly the second leg. The floor under your legs is out of the equation, so you can roll to the side, and you can play with how much you press the first knee away from your body to see if it is accessible for you to place the second leg on top. This doesn’t mean that the variation is easy, but it does offer more room to play.
NAVIGATING THIS DEEP HIP OPENER
Attention to your body is paramount in this sophisticated posture. In both Lotus Pose variations, the hips are flexing and abducting while in external rotation, the knees are in flexion, and the feet are in plantar flexion. Add to this the key action of some eversion of the ankles, and the pose can be quite complicated to navigate.
Jack’s pursuit of the posture in the Three’s Company episode is hysterical, but definitely not the model to follow. Forcing ourselves into postures can only lead to unwanted outcomes like injuries. In the full class, Matt reminds us about what yoga truly is by saying, “Postures are something we can utilize in order to pursue the practice of yoga: the practice of self-inquiry and self awareness.”
Register for Matt’s March 2023 Immersion Lotus to safely navigate this beautiful and elaborate posture.
See you on the mat!
The 200 Hr. Teacher Training: Click Here to See the Next Start Date
The 300 Hr. Advanced Teacher Training: Click Here to See the Next Start Date
Article by Trish Curling
Video Extracted From: Hips & Hamstrings Immersion

BREATH OF FIRE
- Moderate Vinyasa-style classes
- Core strengthening & integration
- Master your breath with pranayama practices
- Access your core in arm balances, heart openers, twists, forward folds, inversions, and more
- Learn where and how to breathe in challenging postures
- Each class will include one pranayama (breathwork practice) and several core strengtheners
- Access your core muscles: deep, superficial, anterior, posterior, and lateral
- 12 Classes: All levels appropriate
- Lifetime unlimited access to all
- Attend the livestream OR practice the replays any time that’s convenient for you
$148.00
Continue Learning
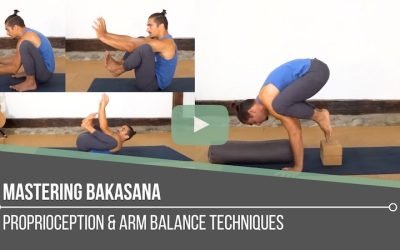
Mastering Bakasana
read more
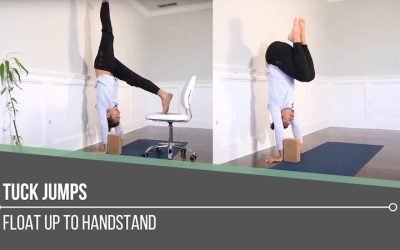
Tuck Jumps
Tuck JumpsHandstandTUCK JUMPS Tuck jumps can be a confidence booster when it comes to preparing for handstands. They're not the first step in the course of preparation, but they're definitely a way of identifying where strength and proprioception require attention. ...
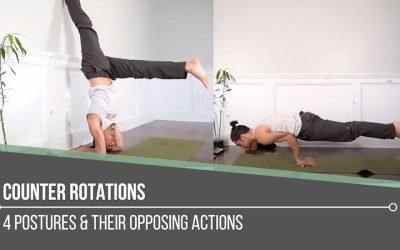
Counter Rotations
Counter RotationsStabilityCOUNTER ROTATIONS The isolation of specific articulations in a yoga posture can be tricky to implement when we’re still learning how our bodies move. When we begin to explore counter rotations, this layer might feel confusing or even...
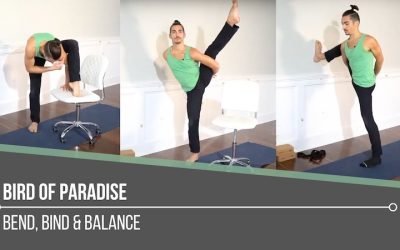
Bird Of Paradise
Bird of ParadiseSvarga DvijasanaBIRD OF PARADISE In Bird of Paradise, we’re balancing while binding, which can be quite an undertaking. Preparation for this posture requires shoulder mobility, hip mobility, and a tremendous amount of strength. What we also need to be...
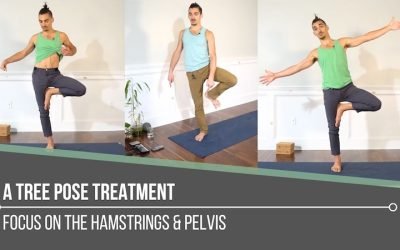
A Tree Pose Treatment
A Tree Pose TreatmentVrksasanaA TREE POSE TREATMENT Tree Pose may appear to be a posture we can just “jump into” because of its “accessibility” from anywhere we might be standing, but it definitely requires more refinement than we might think. A treatment to revive...
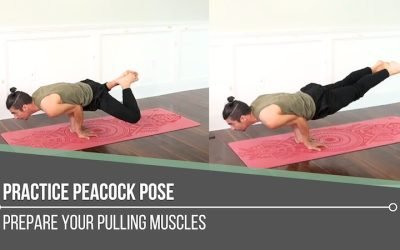
Practice Peacock Pose
Practice Peacock PoseMayurasanaPRACTICE PEACOCK POSE We go to our yoga practice for many different reasons at any given time. In our asana practice, we are sometimes seeking softness and ease. At other times, we might be striving for vigour and strength. Peacock Pose...
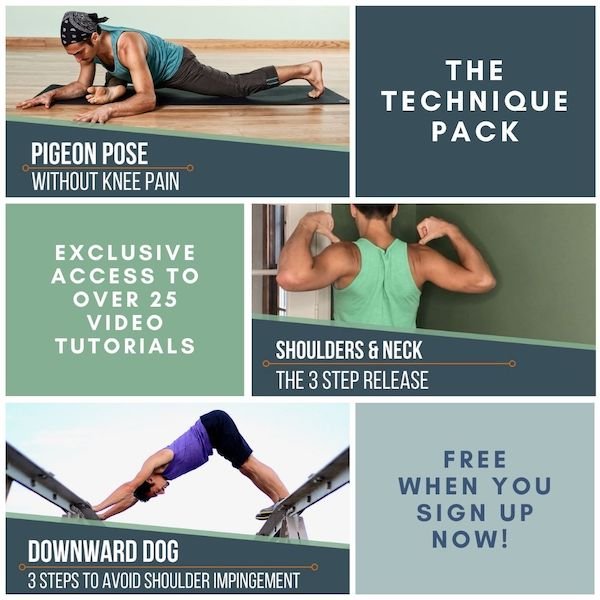
THE FREE TECHNIQUE PACK
When You Subscribe, You Will Get Instant Access to
- the Technique Pack: 15 yoga pose breakdowns
- exclusive online course discounts
- exclusive blogs and videos