REVERSE WARRIOR INCREASE BACK FLEXIBILITY WITH THIS PARTICULAR ALIGNMENTREVERSE WARRIORREVERSE WARRIOR: PREPARE FOR BACKBENDSFull expansion, widespread freedom, release, and openness -- this might describe what we feel as yogis when it comes to the shape of a backbend...
reverse warrior for better back bend flexibility
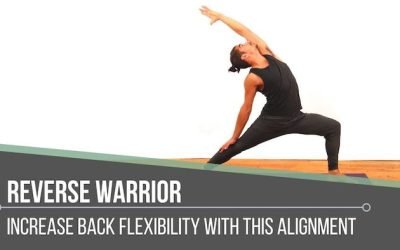
REVERSE WARRIOR
INCREASE BACK FLEXIBILITY WITH THIS PARTICULAR ALIGNMENT
REVERSE WARRIOR
REVERSE WARRIOR: PREPARE FOR BACKBENDS
Full expansion, widespread freedom, release, and openness — this might describe what we feel as yogis when it comes to the shape of a backbend or heart-opening posture in our yoga practice. We might see ourselves floating easily into this posture and enjoying the lengthening in our front body along with the confidence and strength we embody in our upper and back body (depending on the posture).
Alternatively, we might think about pain, tension, injury, constriction, fear, limitation, even inadequacy if we can’t “achieve” the posture. These are all real experiences, thoughts, and emotions we may have when it comes to backbends. We must always consider, however, what our intent is when it comes to our practice and how we can still find enjoyment and expansion within our bodies, hearts, and mind.
Backbends are also referred to as heart openers because they are associated with doing just that: opening your heart from what may be closed off, such as buried energy and/or emotions like fear, mistrust, sadness, or frustration and anger. We may go to backbends in our practice to shift this energy, to release it. Through this idea, we can create more space between ourselves and our pain. If we can’t make these shapes with our bodies for various reasons, do we not have the ability to shift these energies? The answer: Of course we do.

SPINAL AWAKENING
November 2021 Immersion
- Twists • side bends • forward folds • heart openers
- Learn techniques to strengthen and mobilize your spine
- Release back tension and discomfort
- Twelve 75-minute classes, all levels appropriate
- Advance your postural practice
- Lifetime unlimited access to all
$148.00 $118.00
If it’s not an injury or condition that is preventing you from creating these shapes, you can approach a backbend through preparation. (This is not to say you can’t experience release in other ways, like using pranayama to unlock freedom, but that is for another discussion.) Begin by stepping back from what you envision as the end result and looking at placing your attention on areas that focus your mind, prepare your body, and allow you to let go of outcomes.
I’ll show you how we can do this with Reverse Warrior. If we place our awareness specifically on how we execute lateral flexion with the torso in this posture, it offers solid preparation for backbends. It takes our focus into the process. We are investing “well-placed effort” in how we deconstruct the appropriate actions. We can then experience and feel more expansion, opening, freedom, and release with this “preparatory posture.”
The required flexibility in this posture is directly parallel to the flexibility required in a backbend. I’ll discuss this further. Let’s talk about this well-placed effort first.
Abhyasa and Vairagya in Our Asana Practice
In Tantra of the Yoga Sutras, Alan Finger eloquently explains the ideas of abhyasa and vairagya, “the forces of effort and surrender” [Sutras 1.12 – 1.16], in our asana practice:
“Abhyasa means making your best effort to focus all the vritti* on one single point, whether it is an action, object, thought, or image … Vairagya is the second part of the recipe. Vairagya is the ability to let go of any desire for the fruits of our efforts to focus the mind. This allows our consciousness to take action in the world without attachment.”
*Vritti is the Sanskrit word for all the images, thoughts, emotions, reactions, and belief patterns that are the activity of the mind.
Finger, Alan. Tantra of the Yoga Sutras Pg.22 – 27 )
With this understanding of abhyasa, we can place our attention on how we execute Reverse Warrior for better preparation for heart openers.

300 HOUR ONLINE TEACHER TRAINING
GET 500 HOUR CERTIFIED AS A MASTER TEACHER
Master your skill set as a teacher through refined techniques, anatomy, biomechanics, sequencing, philosophy, meditation techniques, theming, yoga business, and much more!
- Get 500 hour certified
- Learn anatomy, biomechanics, asana techniques
- Expand your teaching skills
- Masterful sequencing and verbal delivery
- Learn meditation and breathwork techniques
- Transformative tools: theming, dharma talks, satsang
Required Flexibility For Backbends
Wheel Pose (Urdva Dhanurasana) and Camel Pose (Ustrasana)
Just by simply looking at the shapes below, we can see the similarities.
Both of these postures require flexibility in the pectorals, front deltoids, abdominals, and hip flexors.


How does this compare to Reverse Warrior?
Reverse Warrior requires lateral flexion of the spine, opening the internal and external oblique muscles because of the side bend. It requires flexibility of the latissimus dorsi, rectus abdominis, and the lower fibers of the pectoralis major for greater extension of the spine.
In the video, Matt demonstrates the added “lift of the heart more forward and up.” This is in fact that well-placed effort (abhyasa). Lifting and turning the heart may seem like a small action, but it is actually how we prepare with much more intent for the backbend. Matt describes how with this action, we open the obliques, crossing the whole mid-section into the linea alba, opening up the side body muscles. Adding the turn, we stretch the rectus abdominis to provide us with greater extension of the spine. Greater extension also means more access to a particular backbend.
SPINAL AWAKENING
November 2021 Immersion
- Twists • side bends • forward folds • heart openers
- Learn techniques to strengthen and mobilize your spine
- Release back tension and discomfort
- Twelve 75-minute classes, all levels appropriate
- Advance your postural practice
- Lifetime unlimited access to all
$148.00 $118.00
Bringing It All Together
What is our intention? We must ask ourselves this question. Is it the outcome or the experience? If we can settle and focus the mind with well-placed effort (abhyasa) at the same time as releasing expectation for the outcome (vairagya), we can let go of the mind attachments and just experience. Abhyasa and vairagya, when practiced together, help us to release, even dissolve our attachments. Is it not then arguable that in this state, we are experiencing the freedom, openness, vulnerability, and expansion we desire from backbends?
Let’s actualize this state of being in our practice as a whole. Let’s step into this in Matt’s current immersion, Spinal Awakening, where he explores movements of the spine, always through the lens of abhyasa and vairagya.
The focus in this immersion is on heart openers, twists, side bends, and forward folds.
Matt’s intention and emphasis is always about you getting to know your body in order for you to tap into your own individual highest potential. This looks like and is expressed in many different ways. Matt invites you to let go of defining yourself as a specific kind of practitioner and encourages you to delve into your own path without any burden of what the outcomes may look like.
Let’s meet with open hearts on the mat in Spinal Awakening.
It’s never too late to join in. Click here to gain lifetime access to the immersion and to yourself!
Written By Trish Curling @anioyoga
Continue Learning
reverse warrior for better back bend flexibility
read more
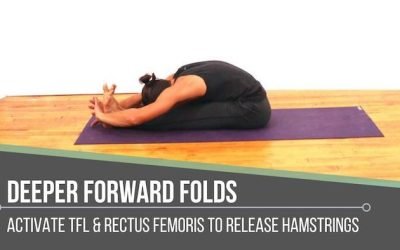
Deeper Forward Folds with TFL Technique
TECHNIQUE FOR DEEPER FORWARD FOLDS ACTIVATE TFL & RECTUS FEMORIS TO INCREASE HAMSTRING FLEXIBILITYFORWARD FOLDSDEEPER FORWARD FOLDS: PRASARITA PADOTTANASANAIt’s not unusual to feel “stuck” in our yoga practice at times. We may come to a place in our physical...
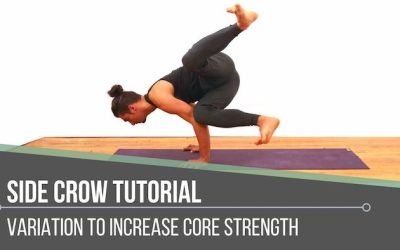
side crow tutorial
SIDE CROW: POSE TUTORIAL UNLOCK YOUR ARM BALANCE PRACTICESIDE CROWSIDE CROW: POSE TUTORIALSide Crow is a challenging yoga posture, but it is more accessible than most people think. There are ways of “cheating” in the posture that can make the shape more attainable,...
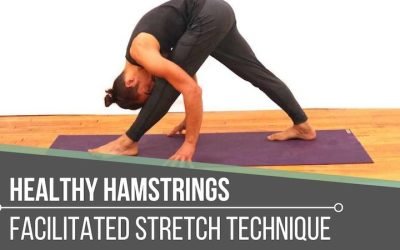
HEALTHY HAMSTRINGS
HEALTHY HAMSTRINGS FACILITATED STRETCH TECHNIQUE Hamstrings Hip And Hamstring Flexibility Why Is Hip Mobility Important? Tight hamstrings are a common complaint. This may be because it’s one of the most noticeable things to show up in our yoga practice and in...
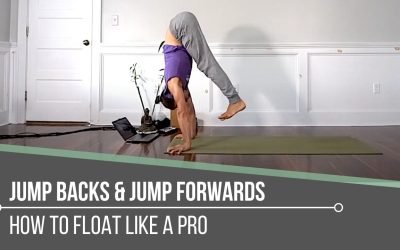
Yoga Jump Backs and Jump Forwards
YOGA JUMP BACKS & JUMP FORWARDS THE DREAMY, MYSTICAL FLOATSIDE ANGLEdreamy yoga jump backs and jump forwardsWe’ve all seen those yoga teachers and/or practitioners who float through the transitions of jumping back from Uttanasana to Chaturanga and/or jumping...
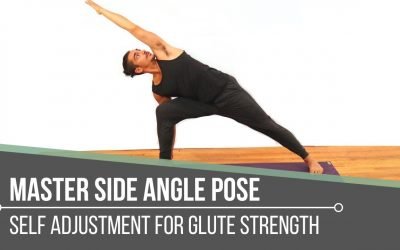
Side Angle Self Adjustment for Hip Strength
SELF ADJUSTMENT IN SIDE ANGLE POSE ACTIVATE YOUR GLUTES FOR GREATER GAINSSIDE ANGLESELF ADJUSTMENT IN SIDE ANGLE POSE -- ACTIVATE YOUR GLUTES FOR GREATER GAINS Glute gains! Who doesn’t want those, right? When we think about glute gains though, our minds may go...
NEW RELEASES
-
Sale!
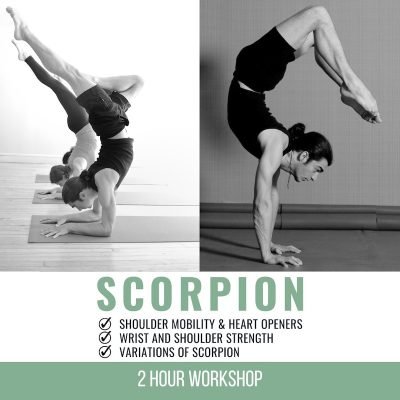
Scorpion-handstand
Original price was: $48.00.$34.00Current price is: $34.00. Add to cart -
Sale!
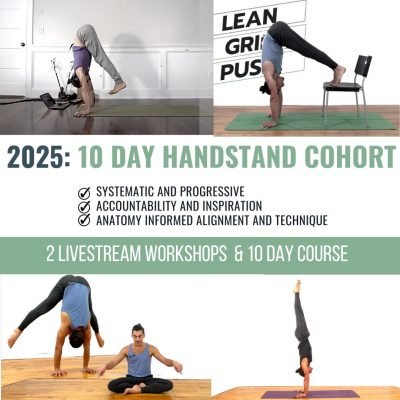
10 Day Handstand Training 2025
Original price was: $498.00.$297.00Current price is: $297.00. Add to cart -
Sale!
Handstand 3 Day Training Payment Plan
Original price was: $232.00.$165.00Current price is: $165.00. / month for 3 months Sign Up Now -
Sale!
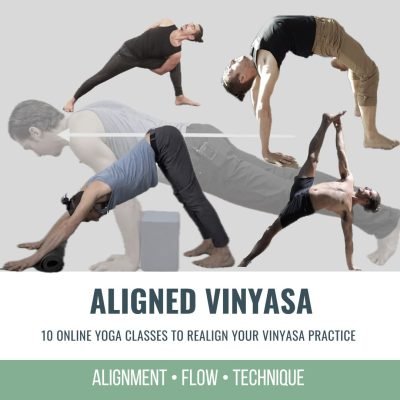
aligned vinyasa
Original price was: $168.00.$128.00Current price is: $128.00. Add to cart -
Sale!
Handstand 3 Day Training
Original price was: $995.00.$695.00Current price is: $695.00. Add to cart -
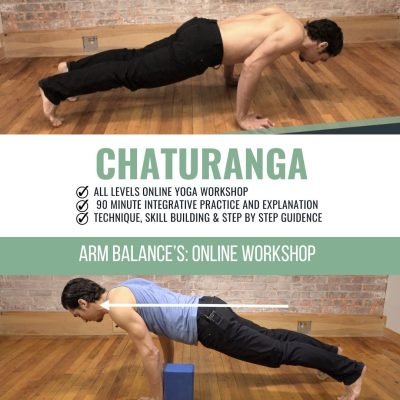
Chaturanga Workshop
$18.00 Add to cart -
Sale!
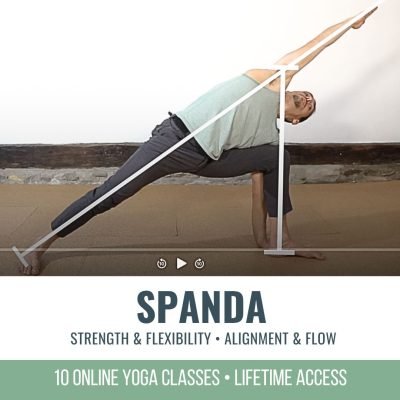
SPANDA
Original price was: $168.00.$128.00Current price is: $128.00. Add to cart -
Sale!
Therapeutics
Original price was: $198.00.$98.00Current price is: $98.00. Add to cart
THE FREE TECHNIQUE PACK
When You Subscribe, You Will Get Instant Access to
- the Technique Pack: 15 yoga pose breakdowns
- exclusive online course discounts
- exclusive blogs and videos


![yoga backbend techniques: 12 classes [backbend technique to relieve back pain "bowing the spine']](https://www.theyogimatt.com/wp-content/uploads/2021/10/Archna-Mohan-chromatic-5.jpg "Archna Mohan chromatic")