Inversion SuccesshandstandINVERSION SUCCESS We all have different definitions of success. Success in our yoga practice could look anything like effortlessly engaging in inversions, being able to participate in breathwork techniques, and/or simply showing up for a...
Lifting The Arches of Your Feet
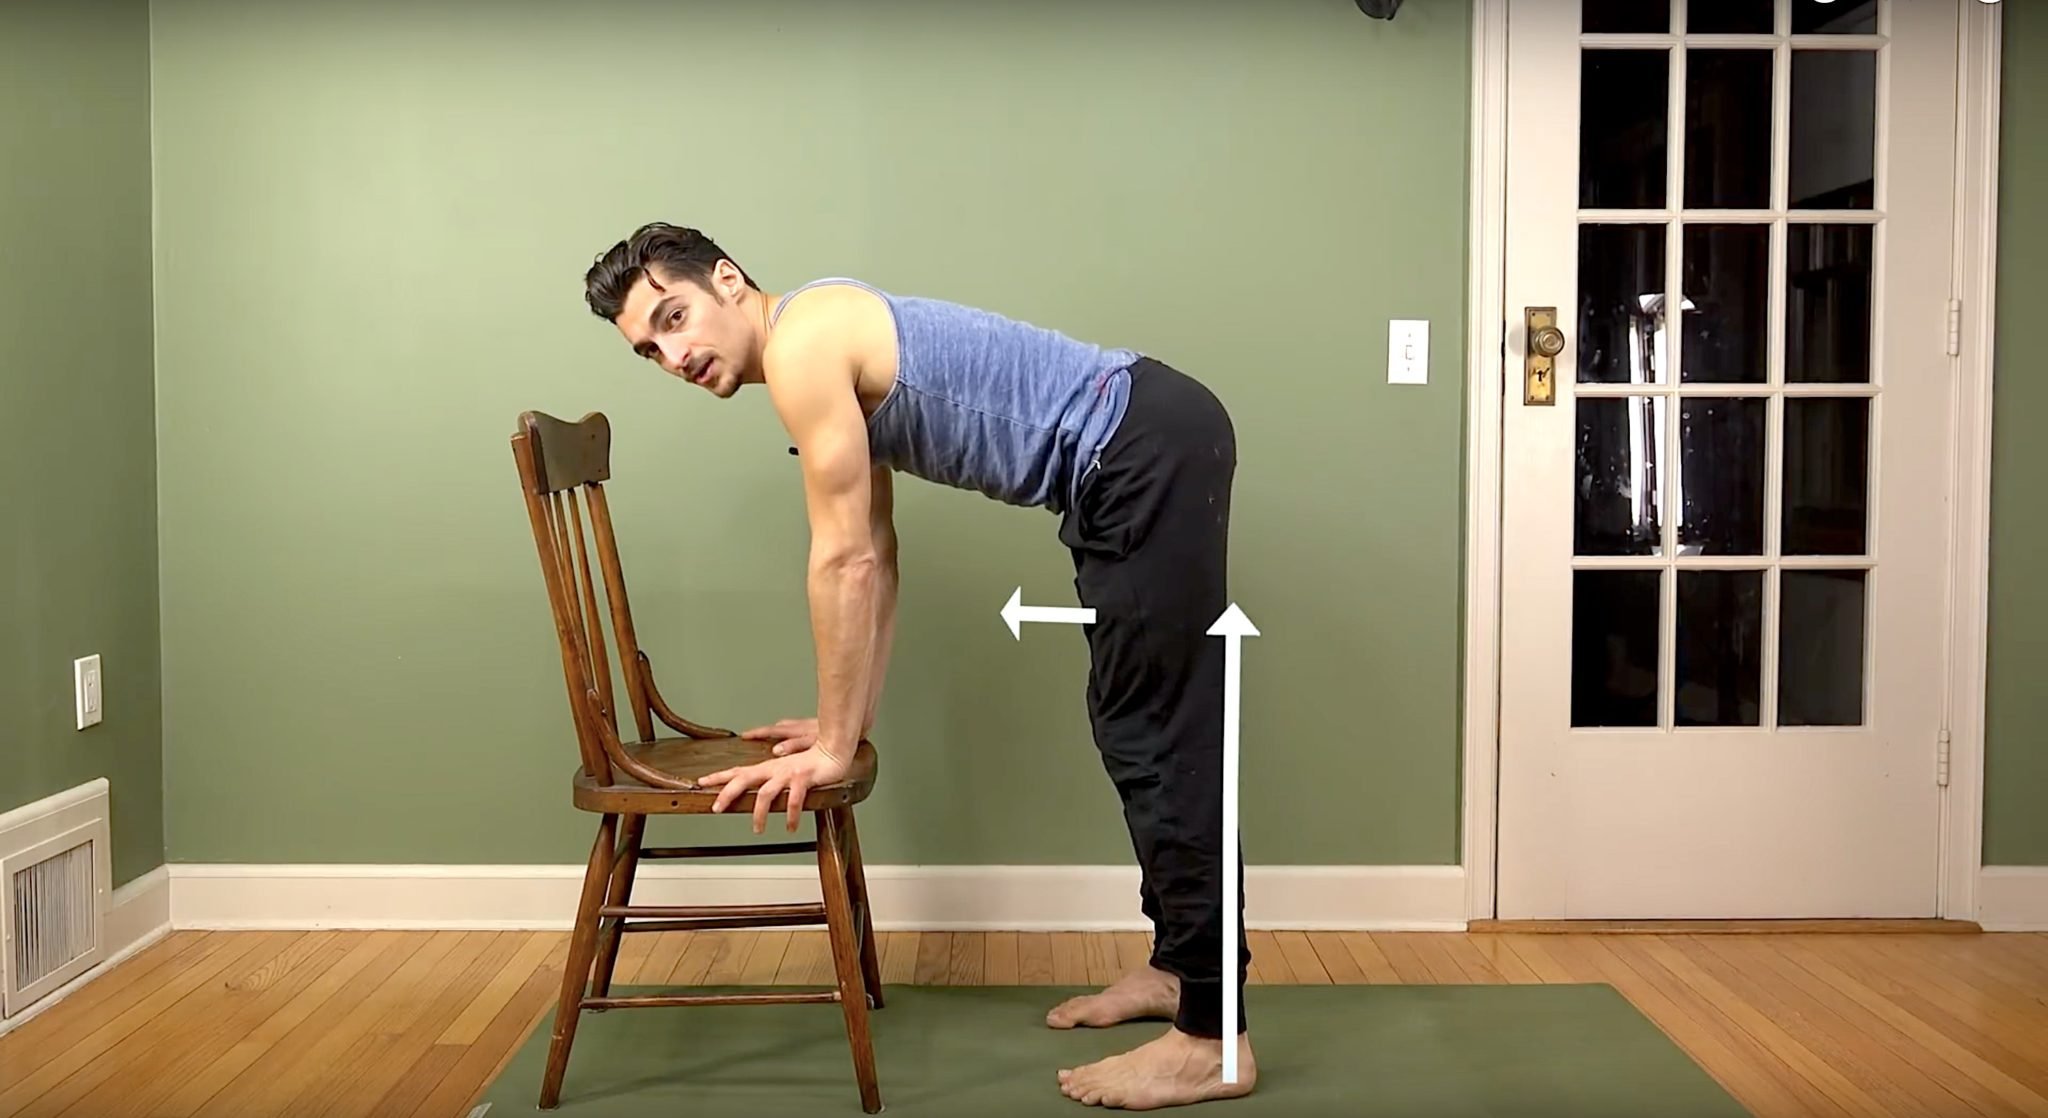
Is your foundation trong?
Setting the foundation of any posture is arguably the most important step you can take aside from breathing of course, which you can simply consider a part of the foundation. You probably have heard me talk about the foundation of arm balances and handstands a million times, but how about standing postures? If you have practiced with me on retreat or at the Elements of Mastery, you already know the importance of what I am about to share with you. If you have not worked with me before, no problem, I am going to take you through a step-by-step approach to building a strong, solid foundation for all your standing postures.
Have you been asked to lift the arches of your foot in a class? Did you know how to do that on your own? Maybe you were told to lift your toes in order to do so, and you probably noticed a loss of connection to stability. Lifting your toes can be a great way to strengthen some of the muscles I am about to share with you, but it is literally just the beginning.
Does it really matter?
This is a great question and I wouldn’t blame you for asking because ultimately knowing the why behind anything we do gives our actions power. So why lift the arches? Consider your feet the foundation of all standing postures. Would you build your extremely expensive one-of-a-kind house on mud, or would you prefer a solid foundation you know will hold up over time? Picture it, a strong, heavy house resting on a muddy foundation, eventually part of the house would start to sink downward while other parts remained strong. The pressure would build and the weakest parts would start to break. This happens in our body, and the weakest points are typically our joints. The joints are weak because they are the place where two or more bones come together for the purpose of movement. If they were too strong, no movement would be available. Gravity is always upon us and pulling us downward. When our bones are properly aligned there is less stress on the joints. However, what if we have an imbalance at the ankle that causes our weight to fall to the inside or outside of the foot? Not only is the ankle or foot at risk but ALL of the joints that exist above it are too because they have to compensate for the new alignment. This is why you could have a pain in your neck that stems from weakness and miss-alignment at the ankle. You feel it in the neck because the neck is compensating for everything below it. This is very important to understand especially if you are a yoga teacher or in any field of physical health. Does it matter…? YES!
The Anatomy
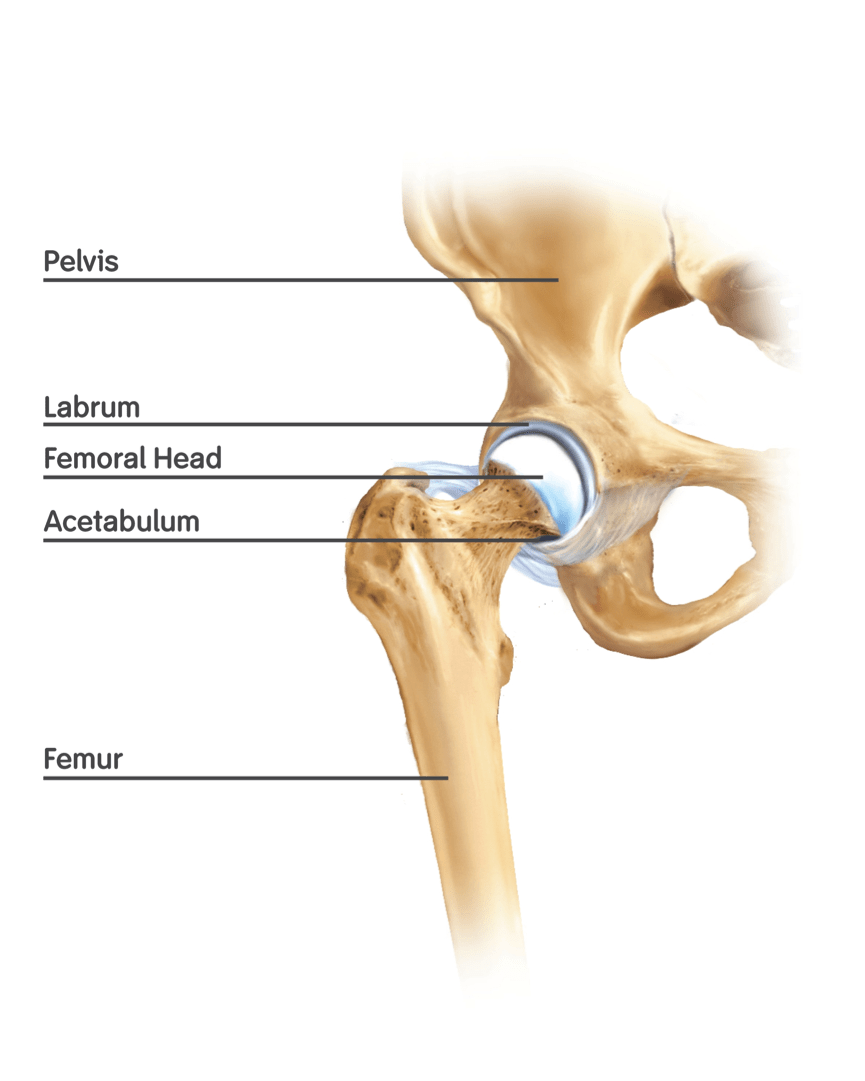
For the purposes of this article, we will talk about two joint actions and the muscle groups that create them: Eversion and Pronation of the ankle which occurs at the subtalar joint. The subtalar joint is just below the ankle joint. The ankle joint allows for the up and down movements of plantar flexion (pointing the foot) and dorsiflexion (flexing the foot), while the subtalar joint allows the foot to rock from side to side. For the purpose of simplicity, we will refer to both of these joints as a collective – “the ankle”.
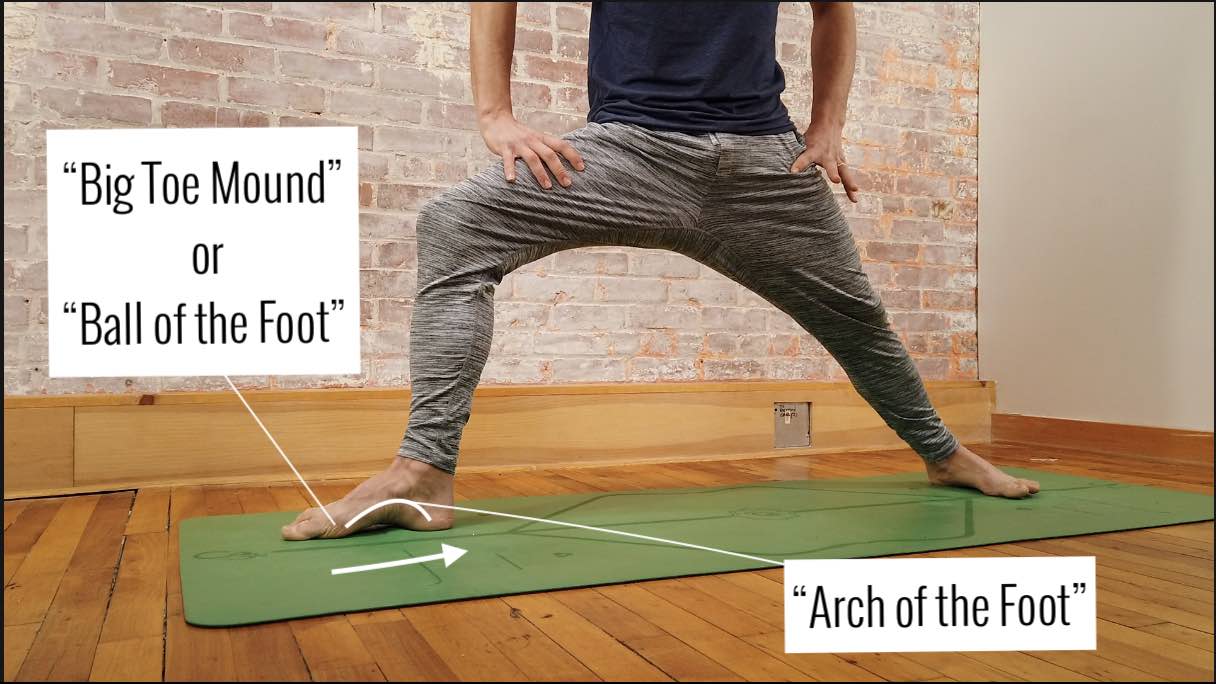
The arch of the foot
There are multiple muscles that help to form the arch of the foot. How high someone’s arches are may be due to the structure of the foot – the bones might be shaped in a more flattened position. However, we aren’t concerned with the external look of an arched foot but rather, training the muscles to activate appropriately for our feet. Most of us can use strengthening of these muscles. The way that I found really helps is first learning how to isometrically engage the muscles of inversion and eversion at the same time which forms a “bootstrap” like scenario around the foot. One of the fibula muscles wraps from the outer shin down the outer ankle and attaches near the ball mound of the big toe – That is pretty cool! There are muscles underneath the sole of the foot that when activated in conjunction with the muscles of inversion and eversion allow us to find greater engagement and lift of our arches.
One of the best ways to integrate these actions in your practice is to repeat them throughout your yoga practices. If you are interested in greater balance, stability, and ankle awareness there are two online immersions – 12 class packages that focus heavily on the feet and ankles.
1. The July 2020 Immersion titled The Chakras & the Elements – the Earth and Water practices will provide a profound awakening to the ankles and feet and how they relate to your practice.
2. The August 2020 Immersion titled Journey To Bliss follows a similar format as of July; the first few practices target the ankles and feet. I highly recommended either or both of these immersions.
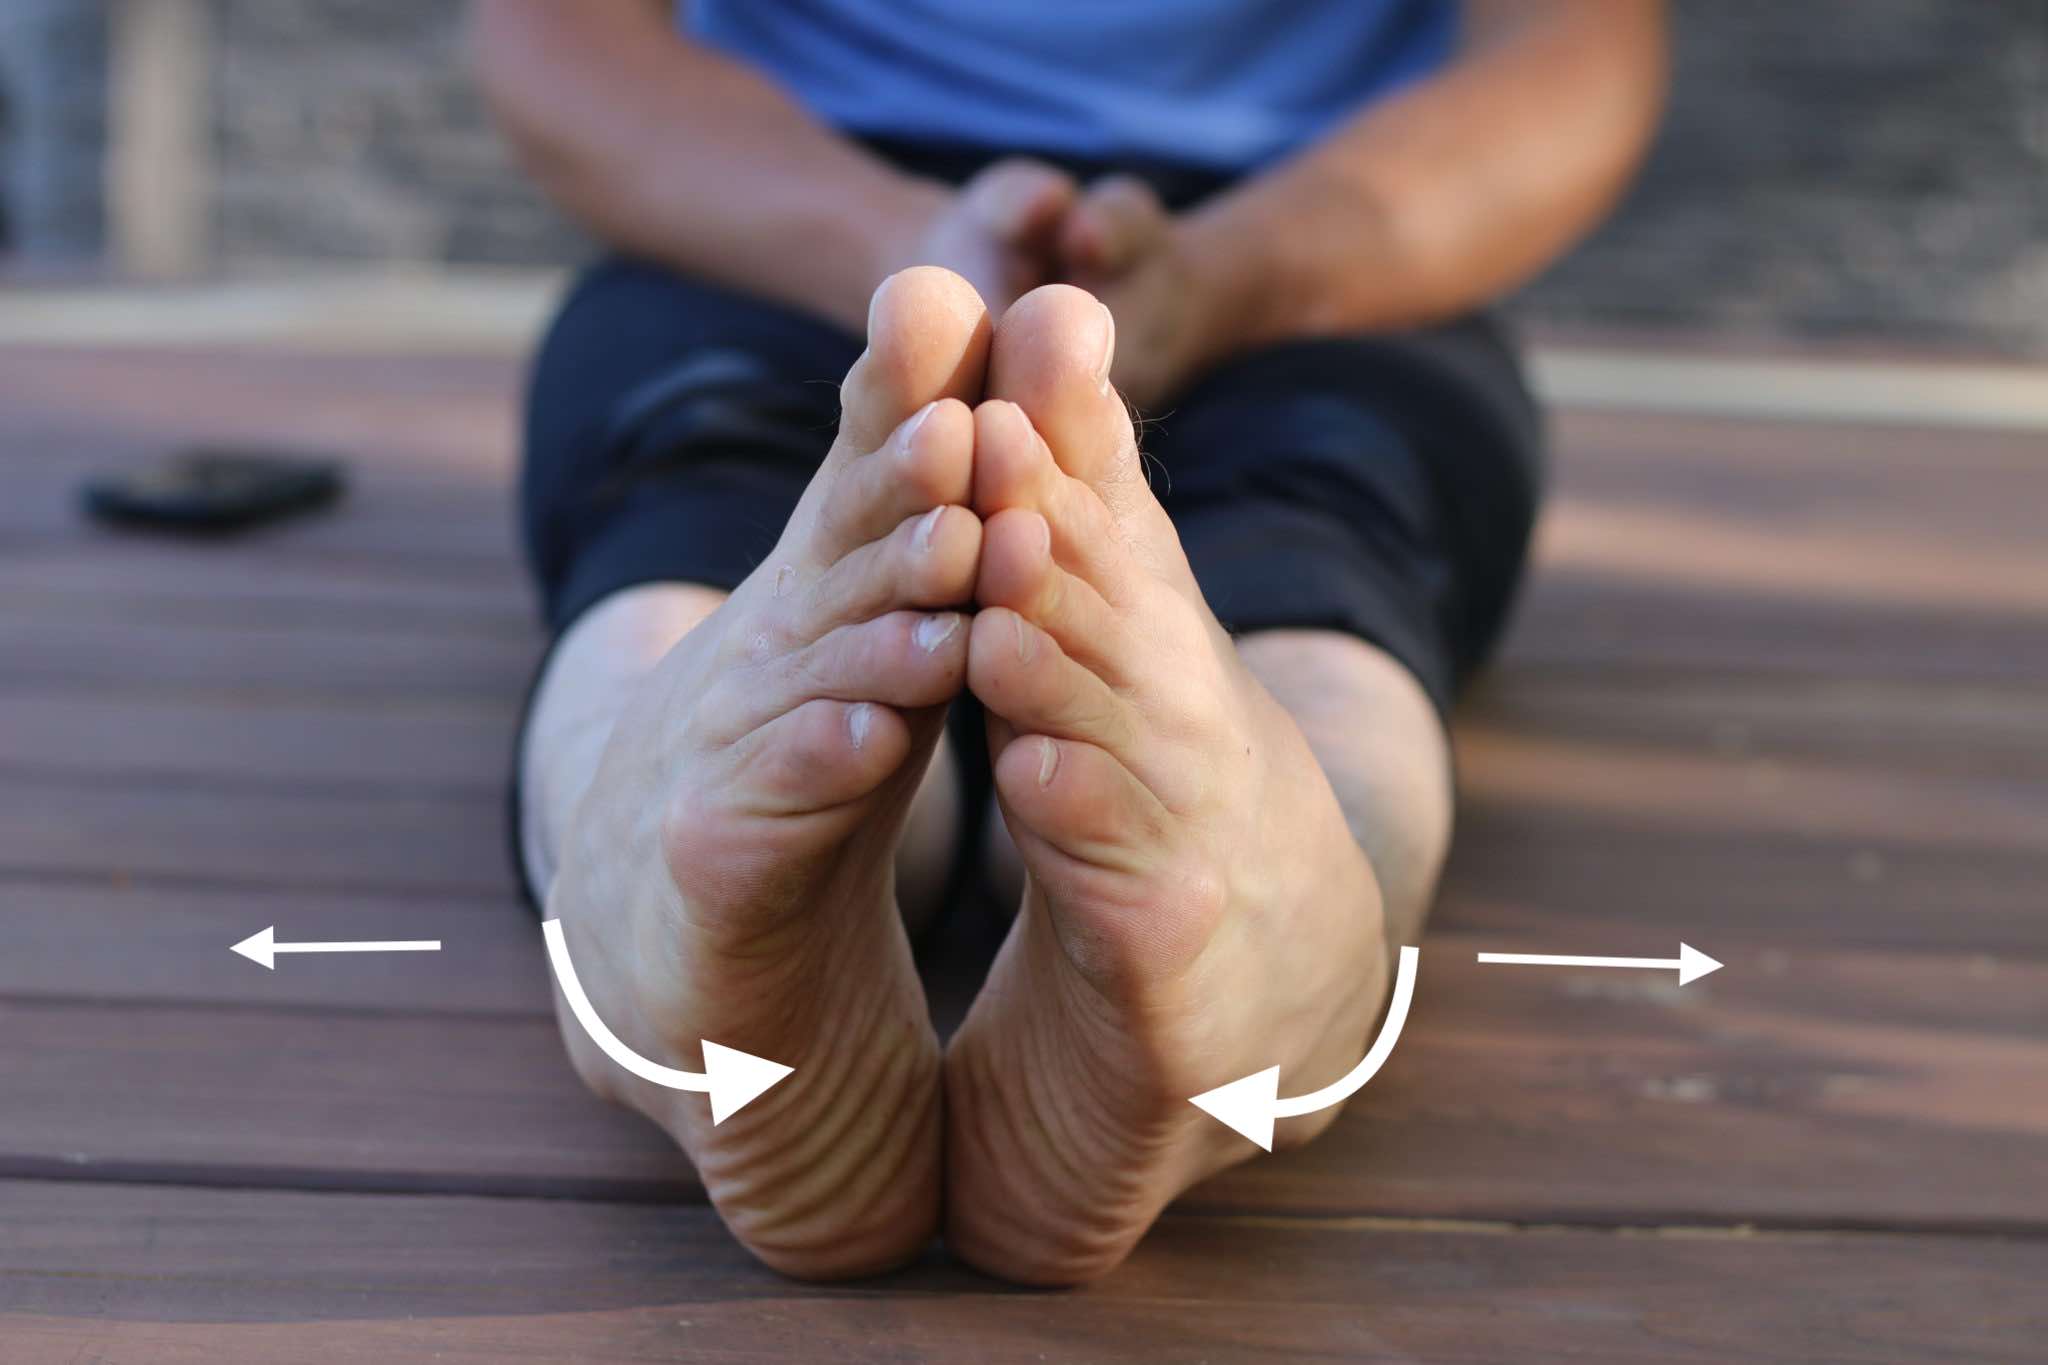
Everting
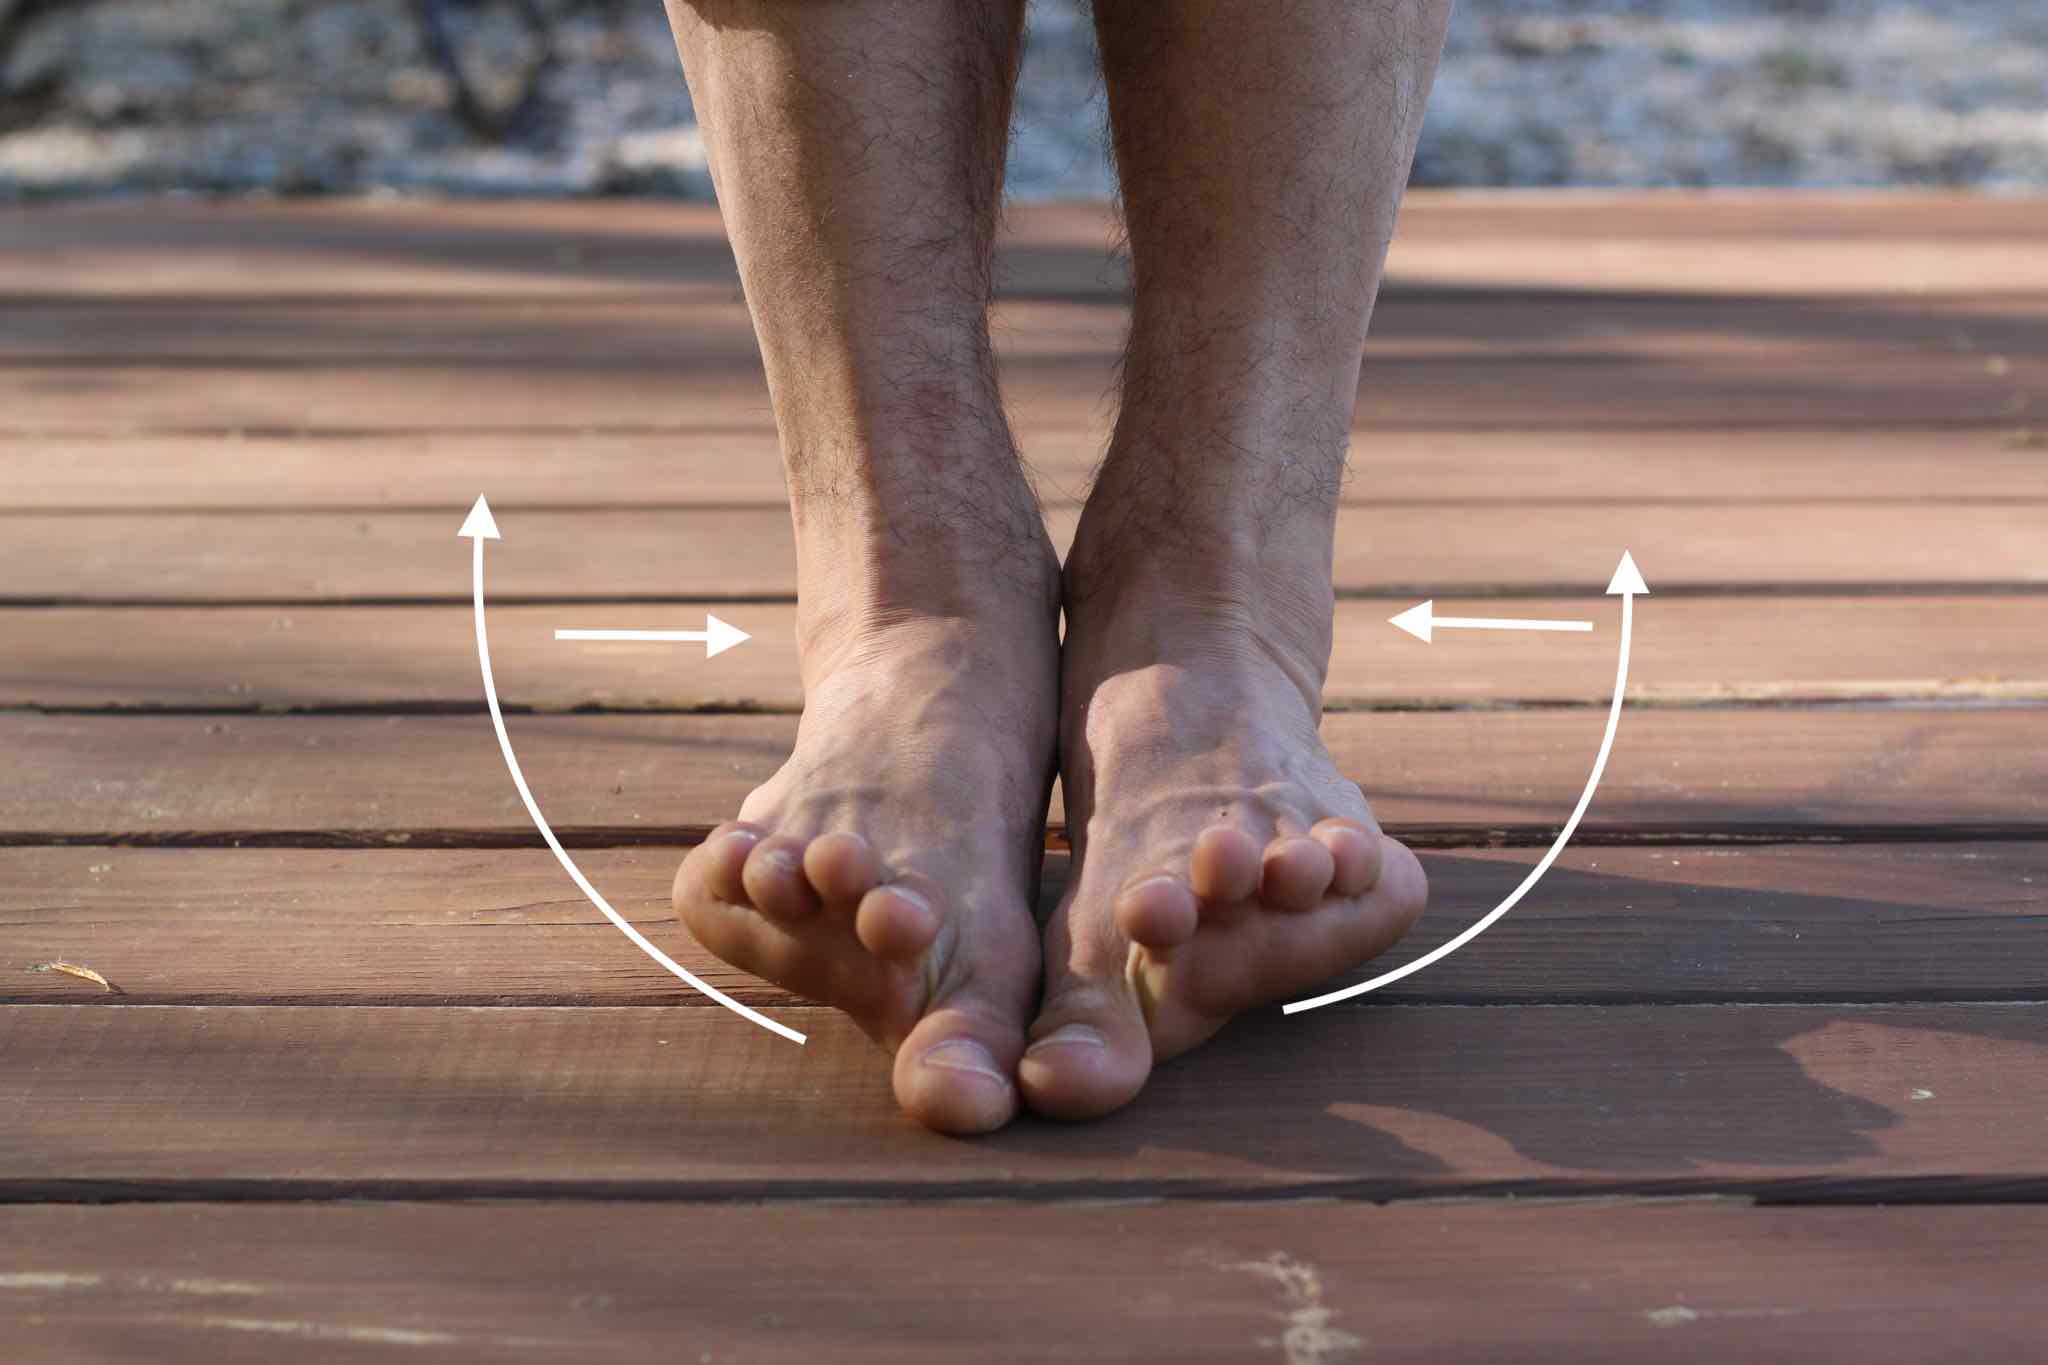
Inverting

CHAKRAS AND ELEMENTS
FULL BODY AWAKENING
- Unlock Your Hips!
- Awakem Your Arm Balance Practice
- Detailed Ankle and Feet Articulation
- Develop Low Back and Buttock Strength
- Strengthen Your Core
- Release S.I. Joint Pain
- Release Neck Pain
- The July Immersion Has it ALL
- Each Chakra & Element is Paired with an Area of the Body and Muscle Group
- 12 All Levels Live Asana Classes
- 4 Live Guided Meditations
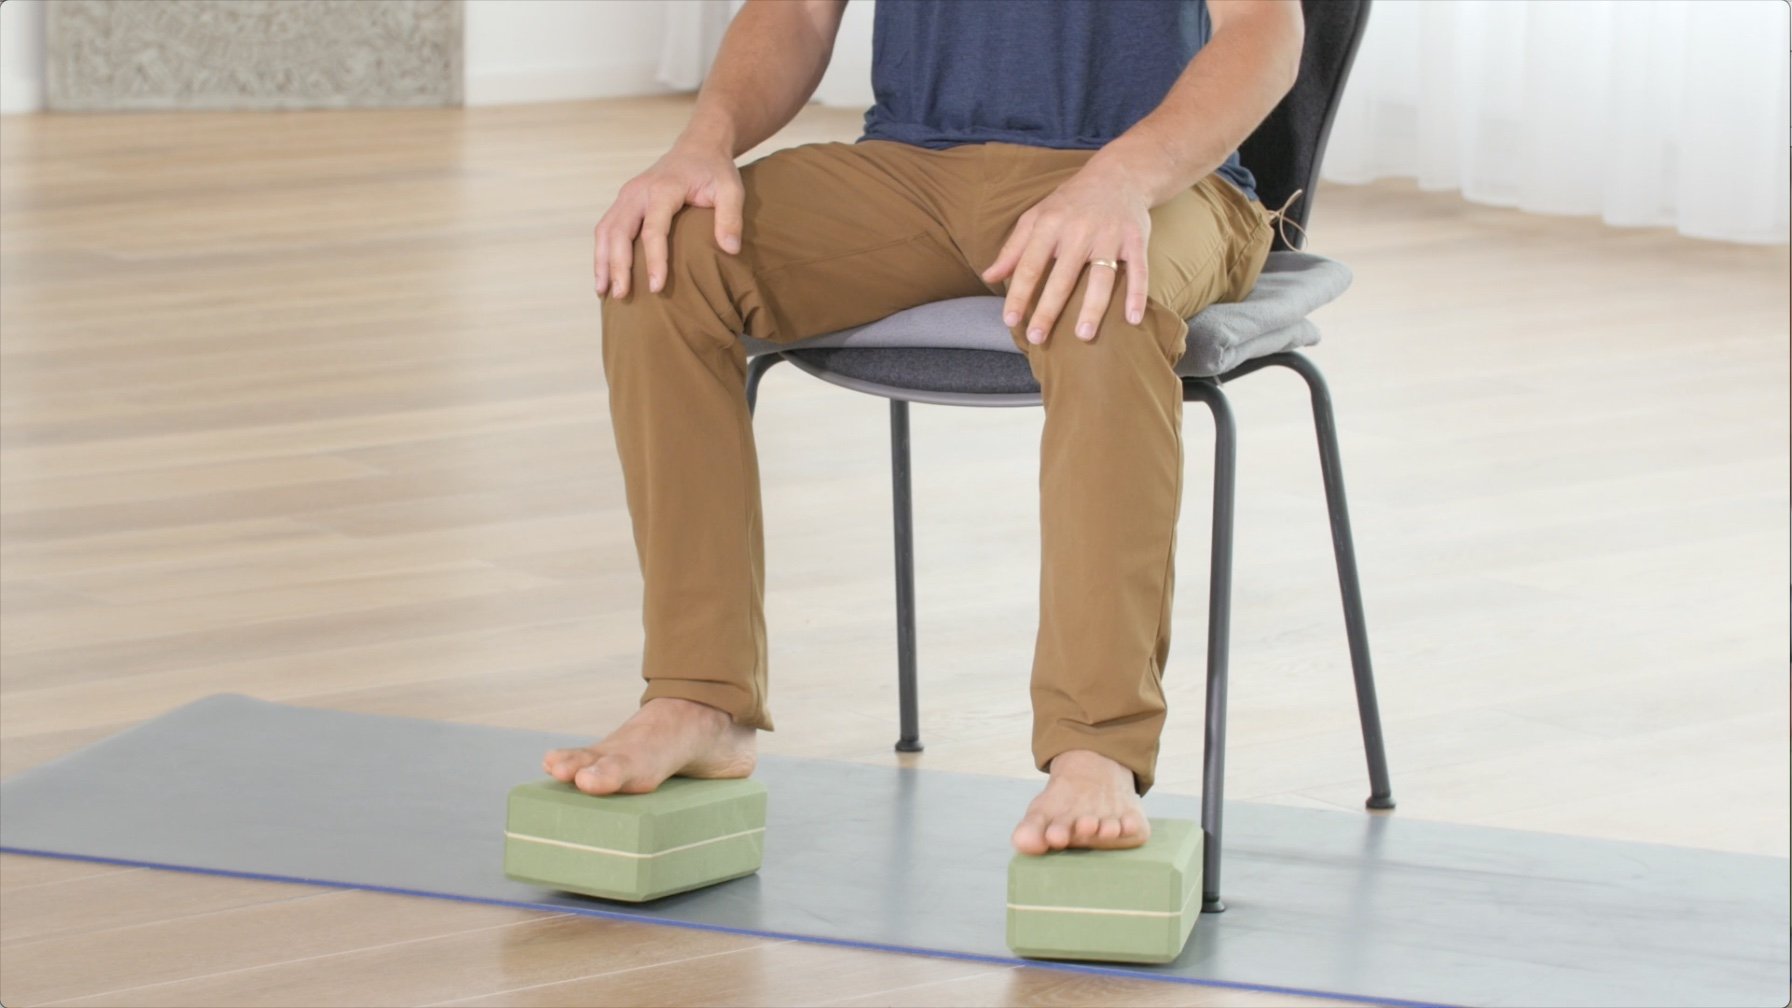
3 Steps To Activate the Core of the Foot
- Press the outer edge of the food down.
- Maintain this action, and counter engage by pressing the big ball mounted and big toes down.
- Drag the big ball mound back toward the inner heel.
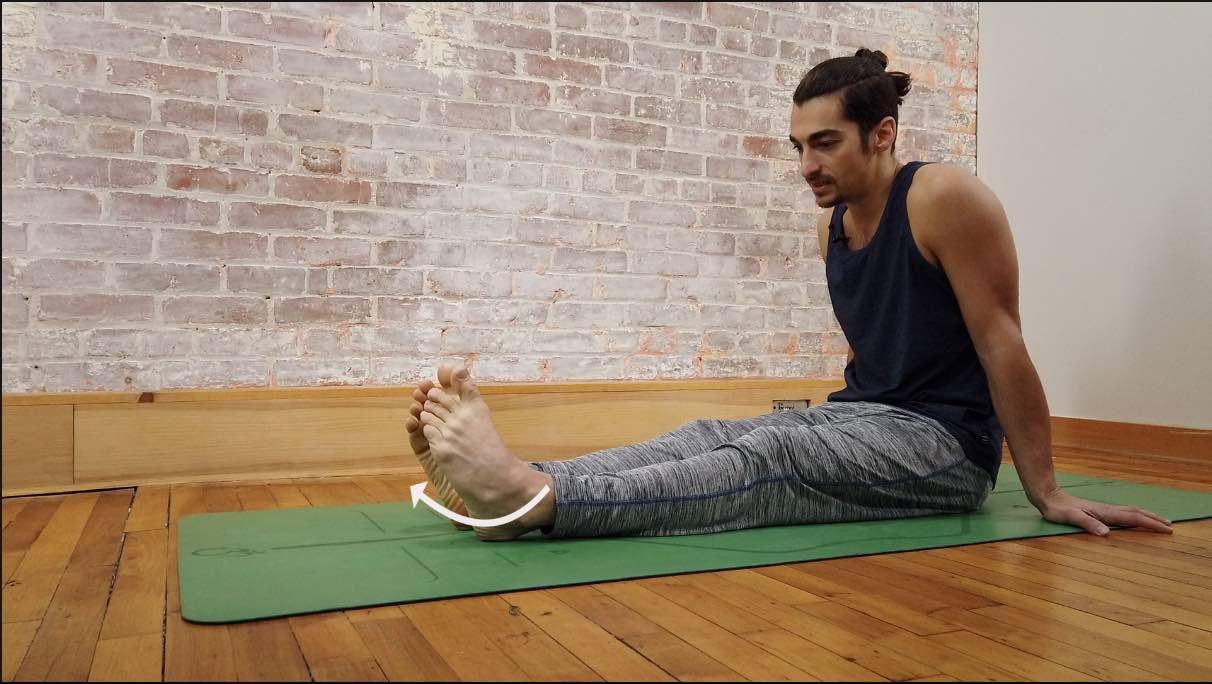
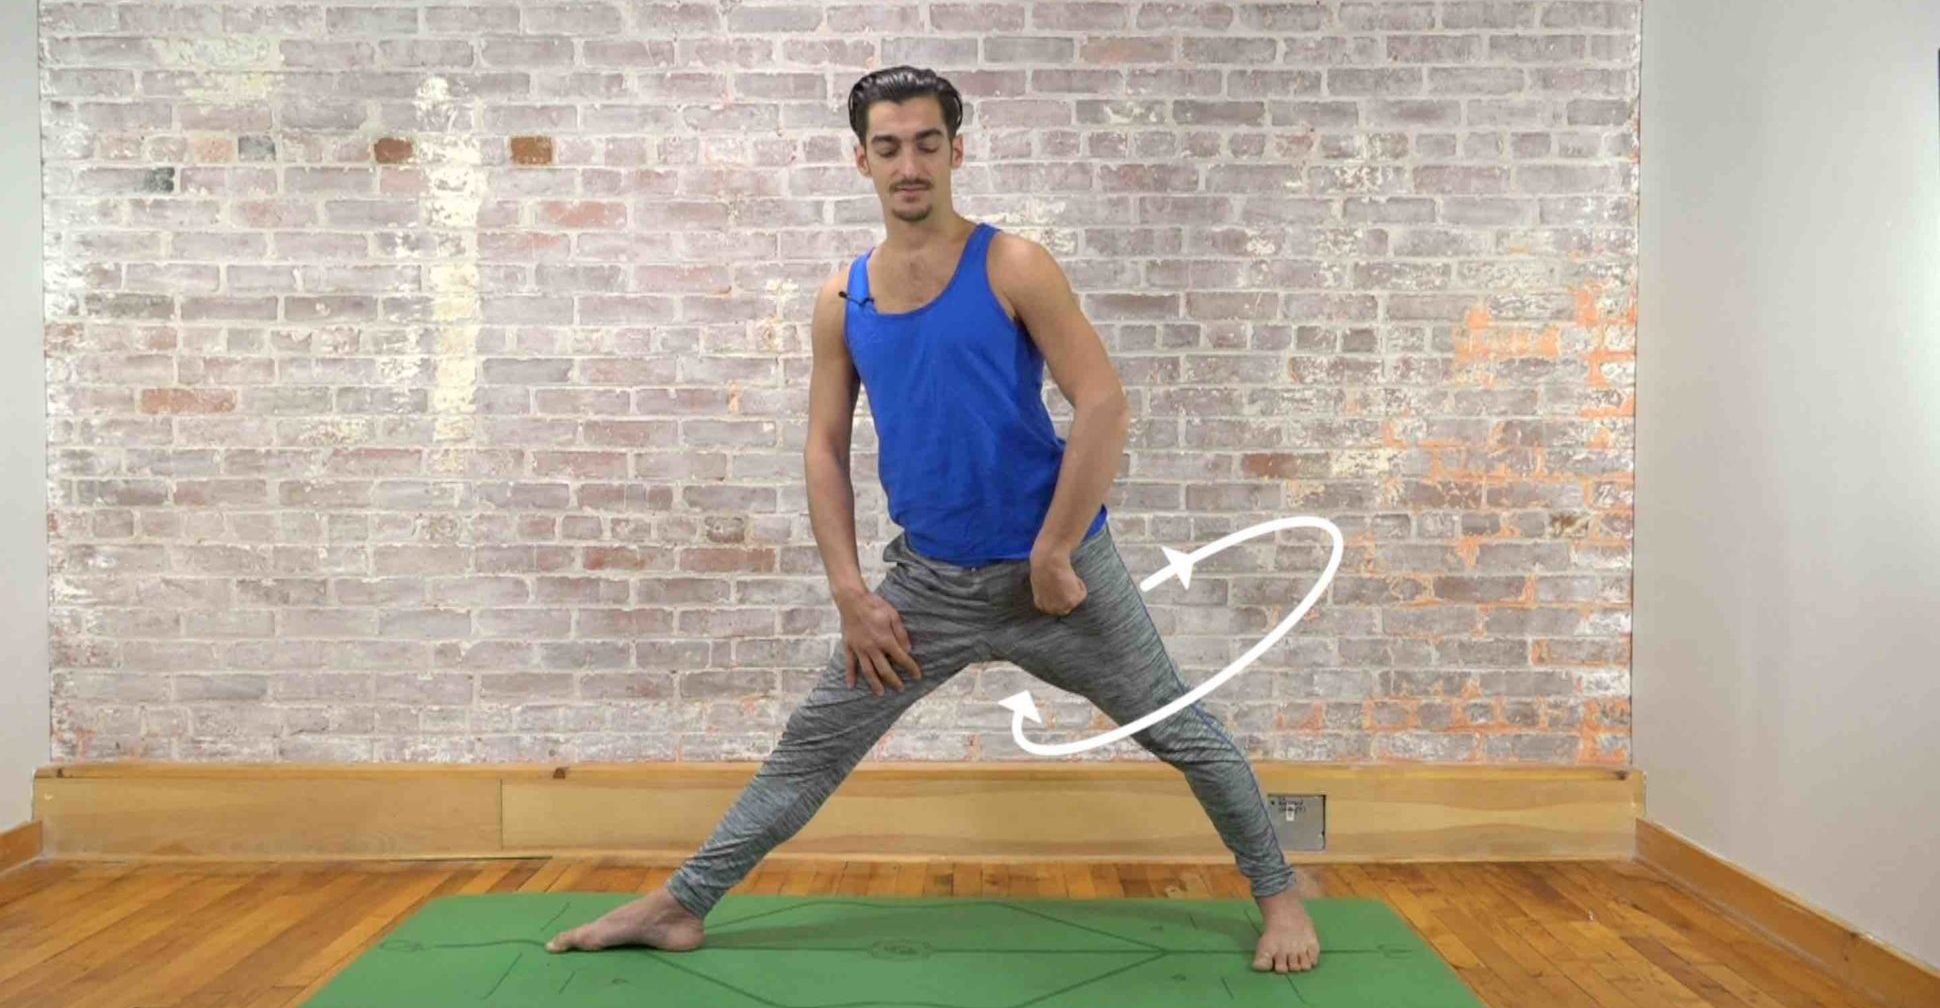
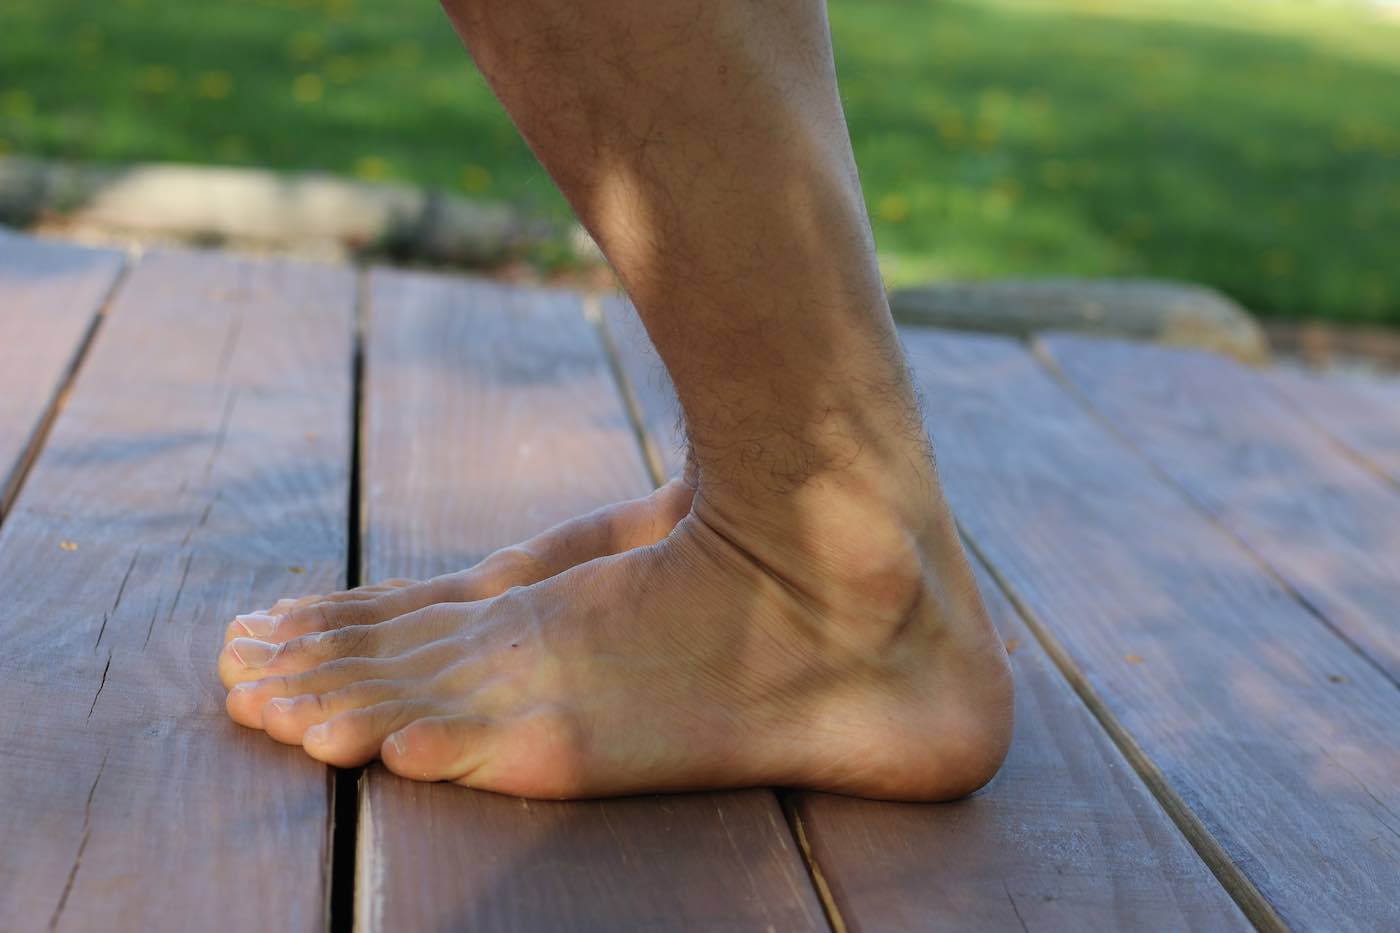
Step 1 - invert the ankle
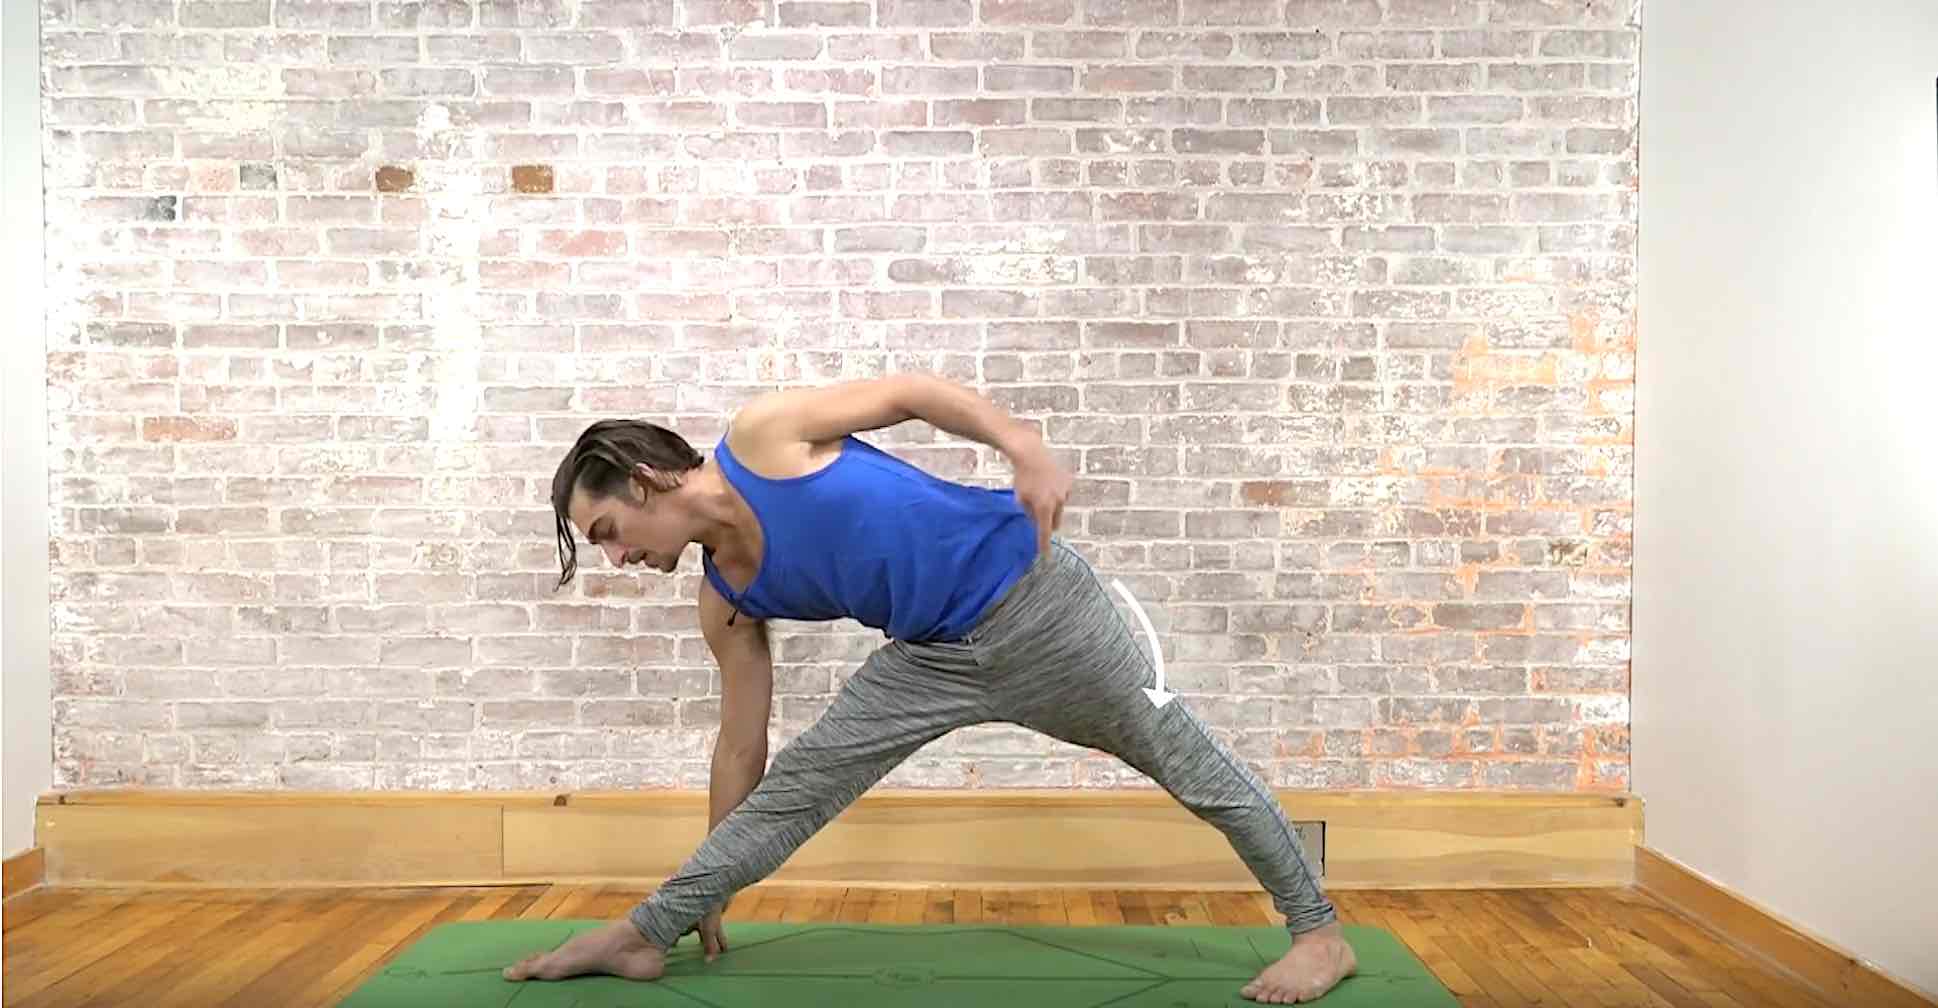
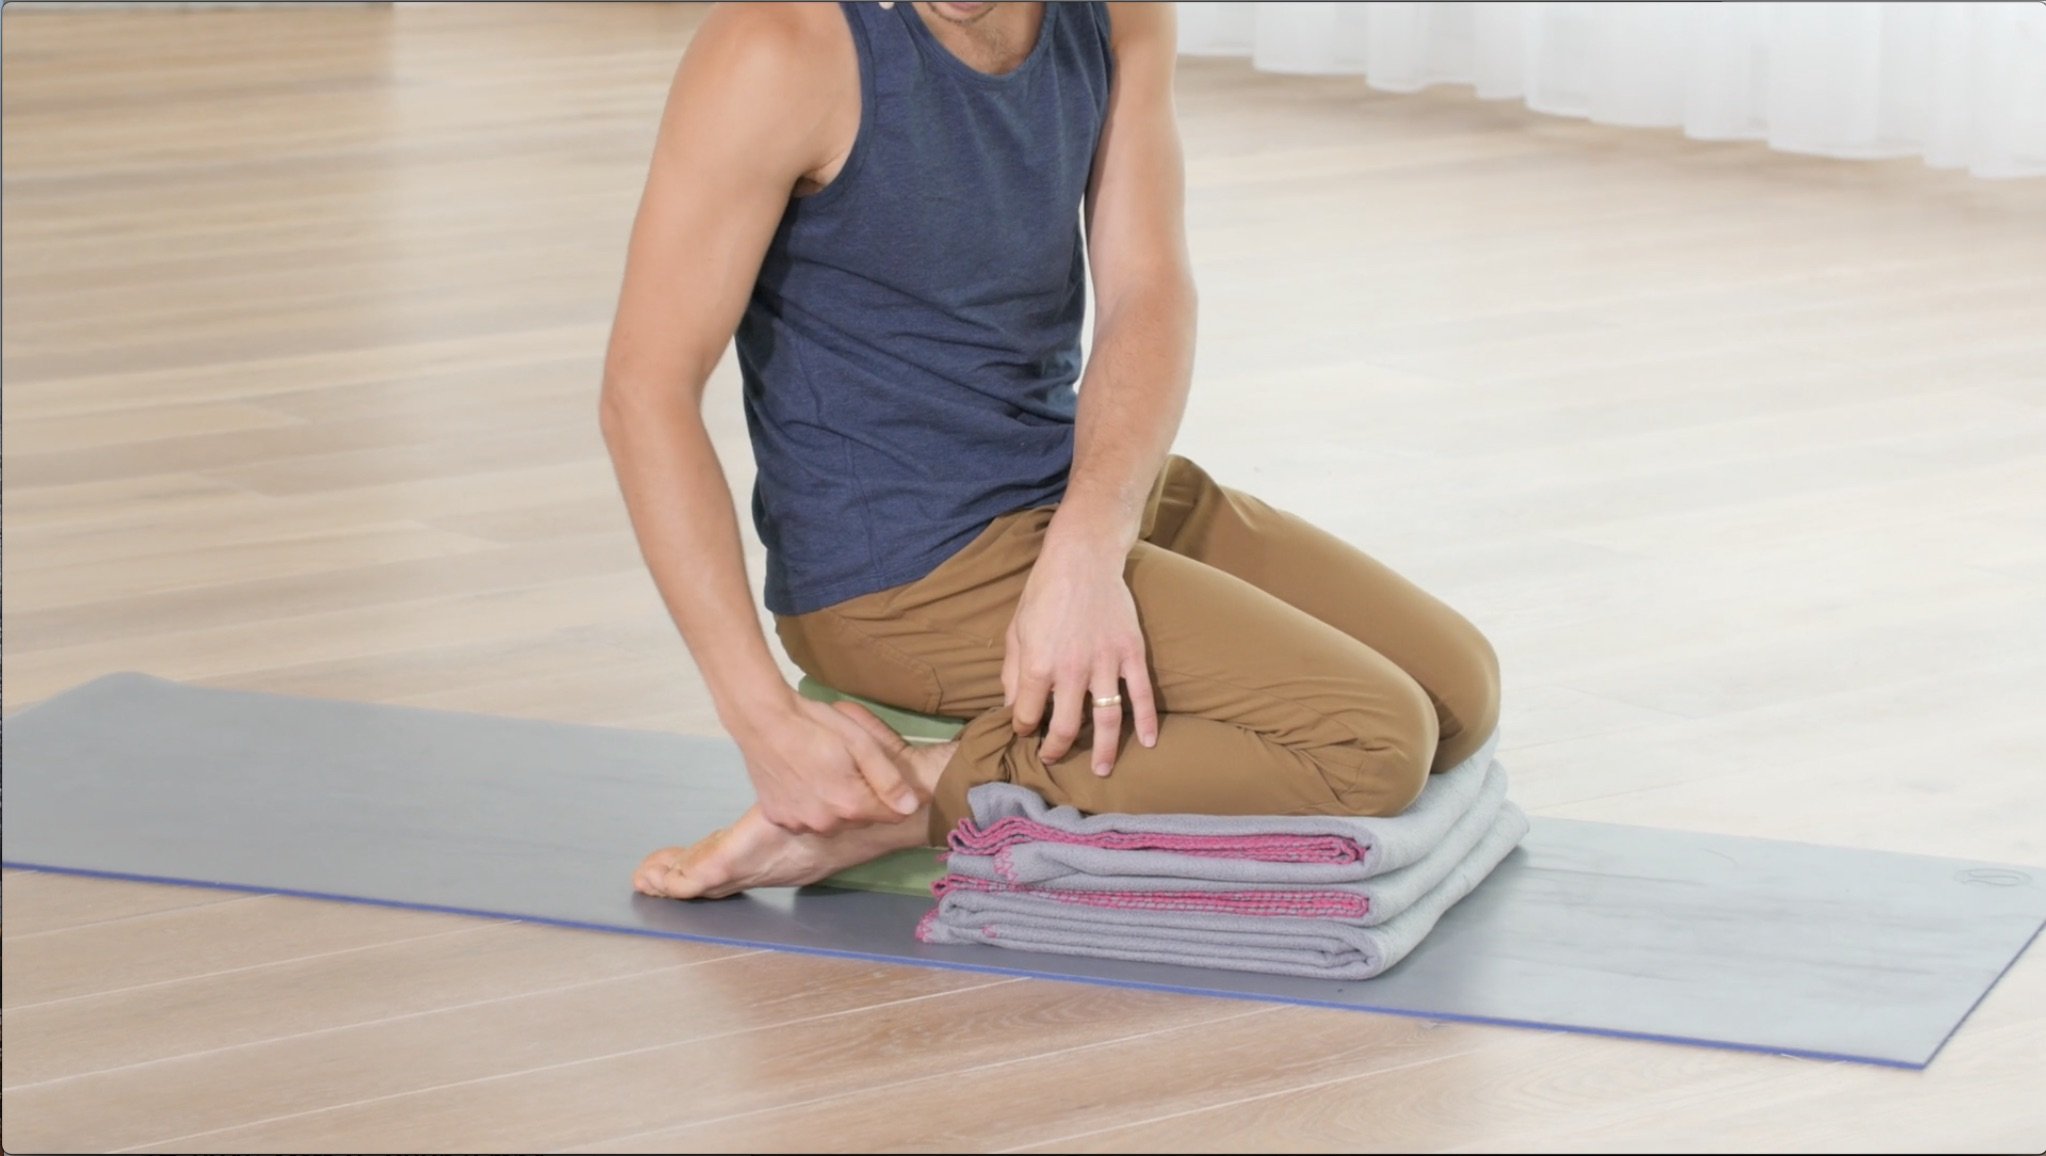
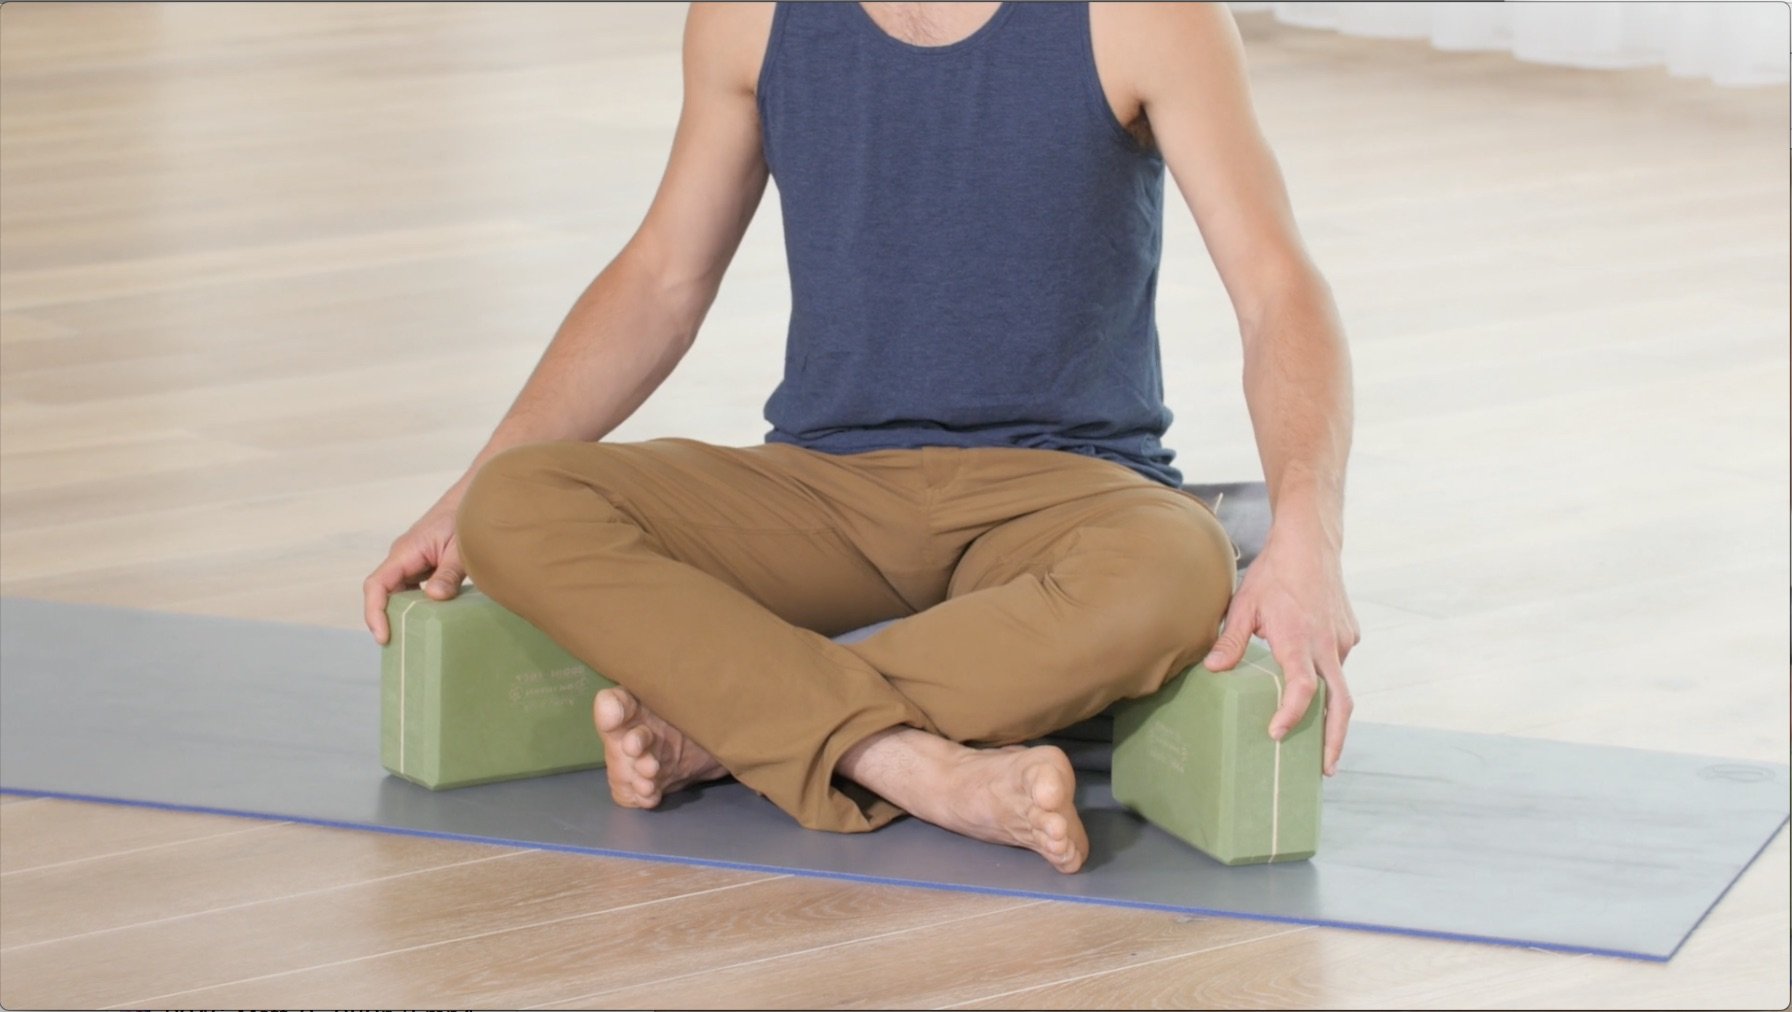
While you can certainly evert the ankle first, I find for most people it is more effective to start with inverting the ankle when approaching standing postures. For clarity of the action, I am showing it in a seated position – try it seated first so you are very clear on how to invert. When in Warrior 2, press the outer edge of the front foot into the ground until your feel the muscle deep in the calf muscle activating. The ball mound and the big toe might lift when you do this – it is ok for now.
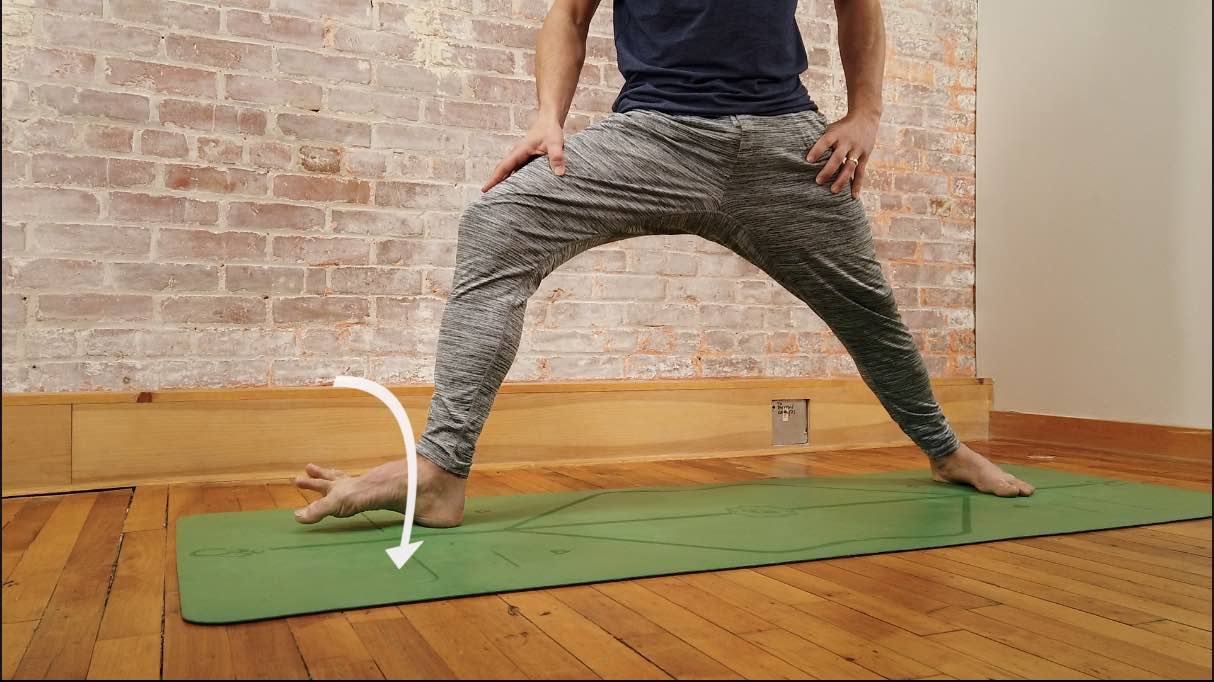
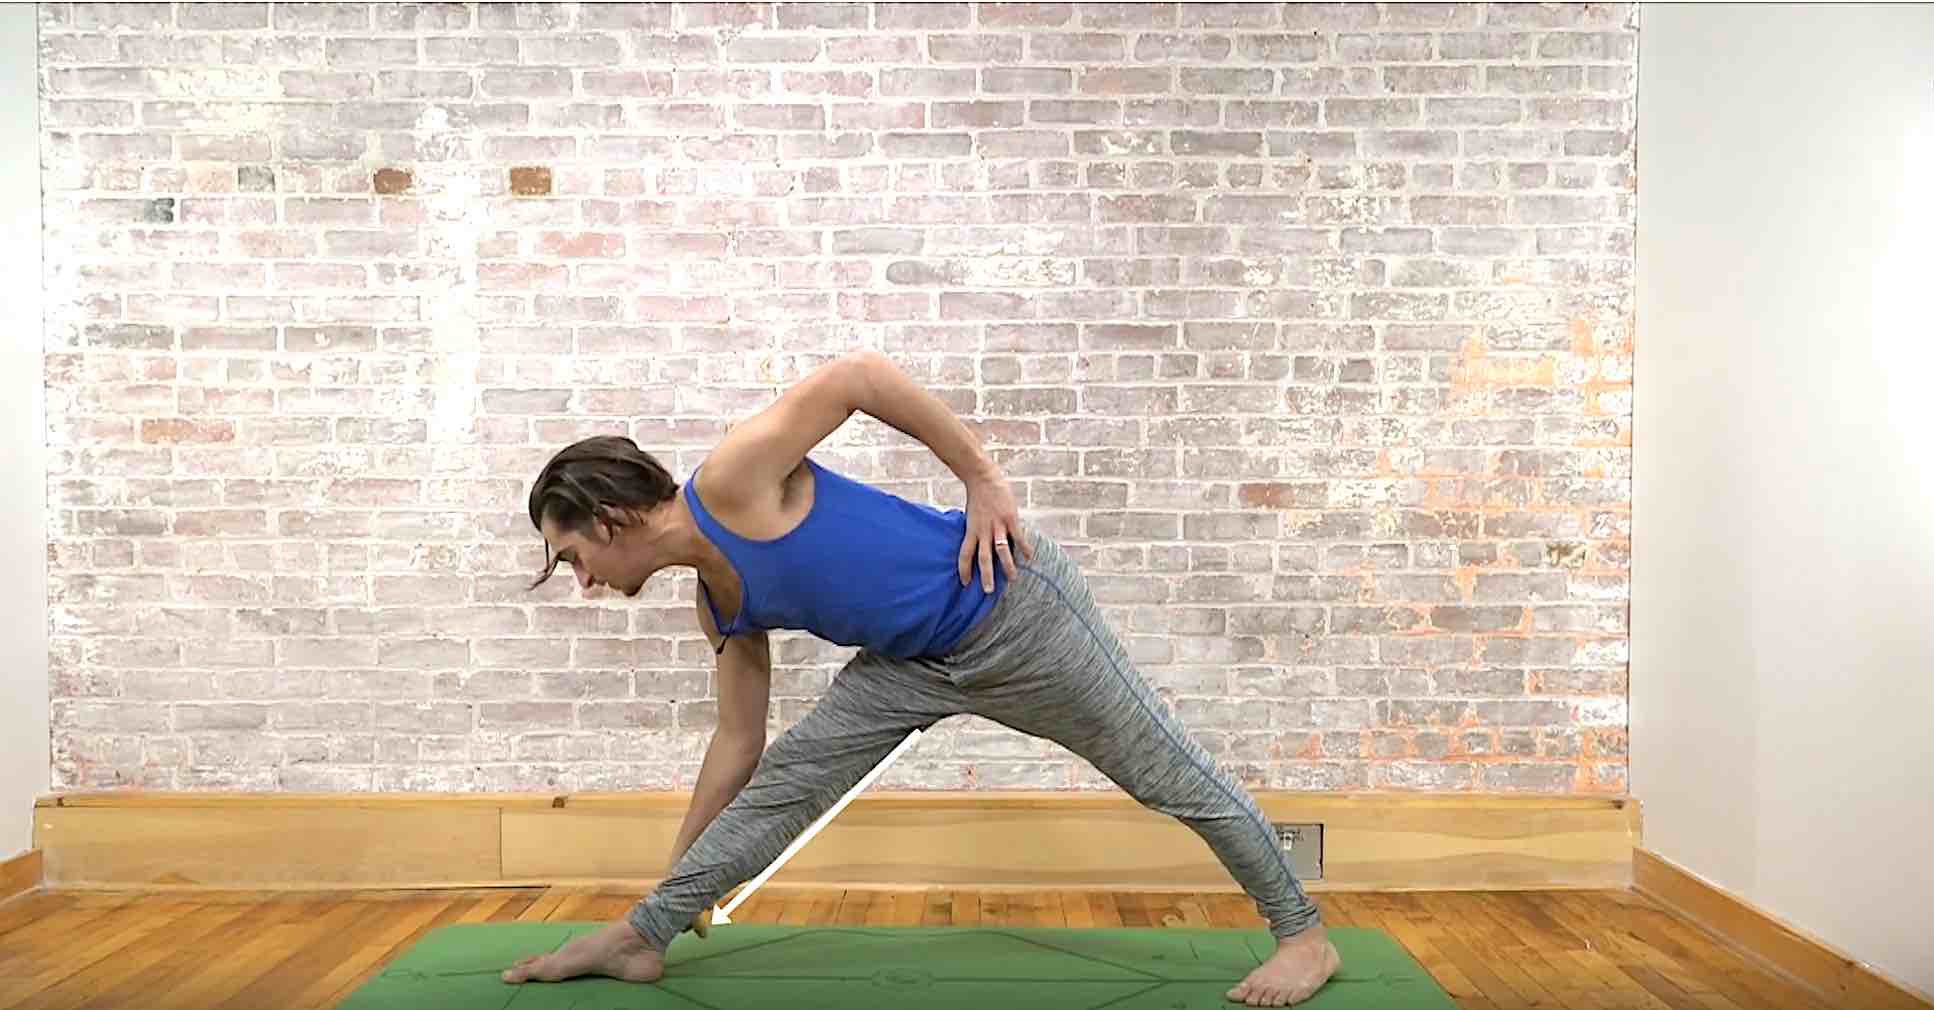
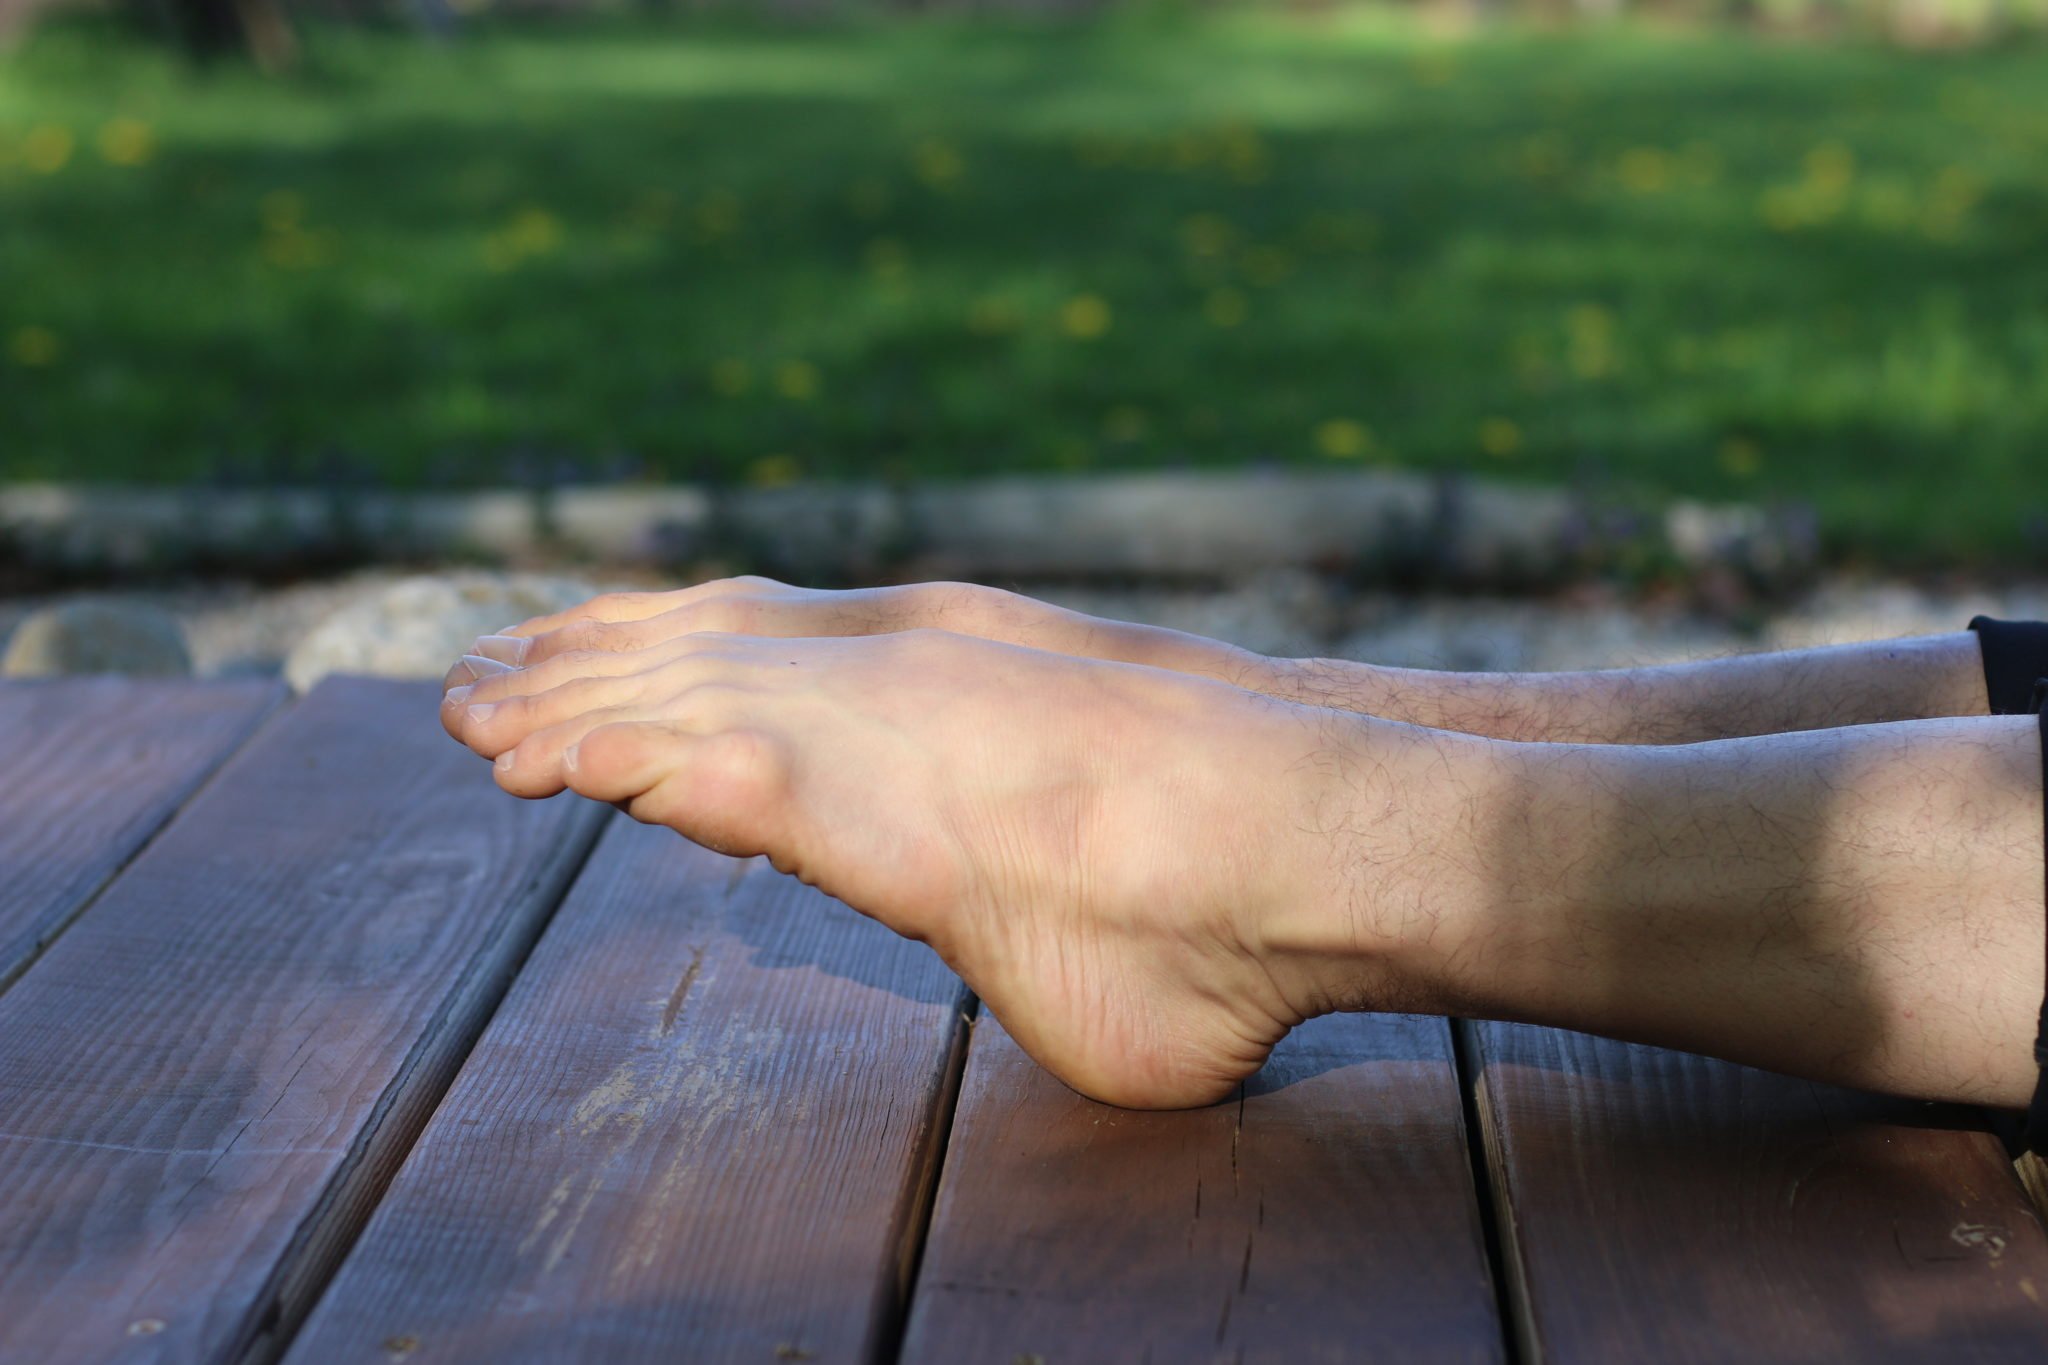
Step 2: Evert the Ankle
I recommend learning everting when seated – first, pull the outer edges of the feet back, it can be helpful to press the big toe and toe mound forward. When articulating this action properly you will feel the muscles along the outer shin engage. After you are aware of the action, the next part can be challenging. In warrior 2, be sure to maintain the muscle activation of inversion and add eversion by pressing the big toe and toe mound down into the ground, while trying to roll the outer ankle in slightly. Be sure not to fall flat into the inner arch while doing so – if this happens it means you are no longer activating the muscles of inversion, so go back to step 1 and try again.
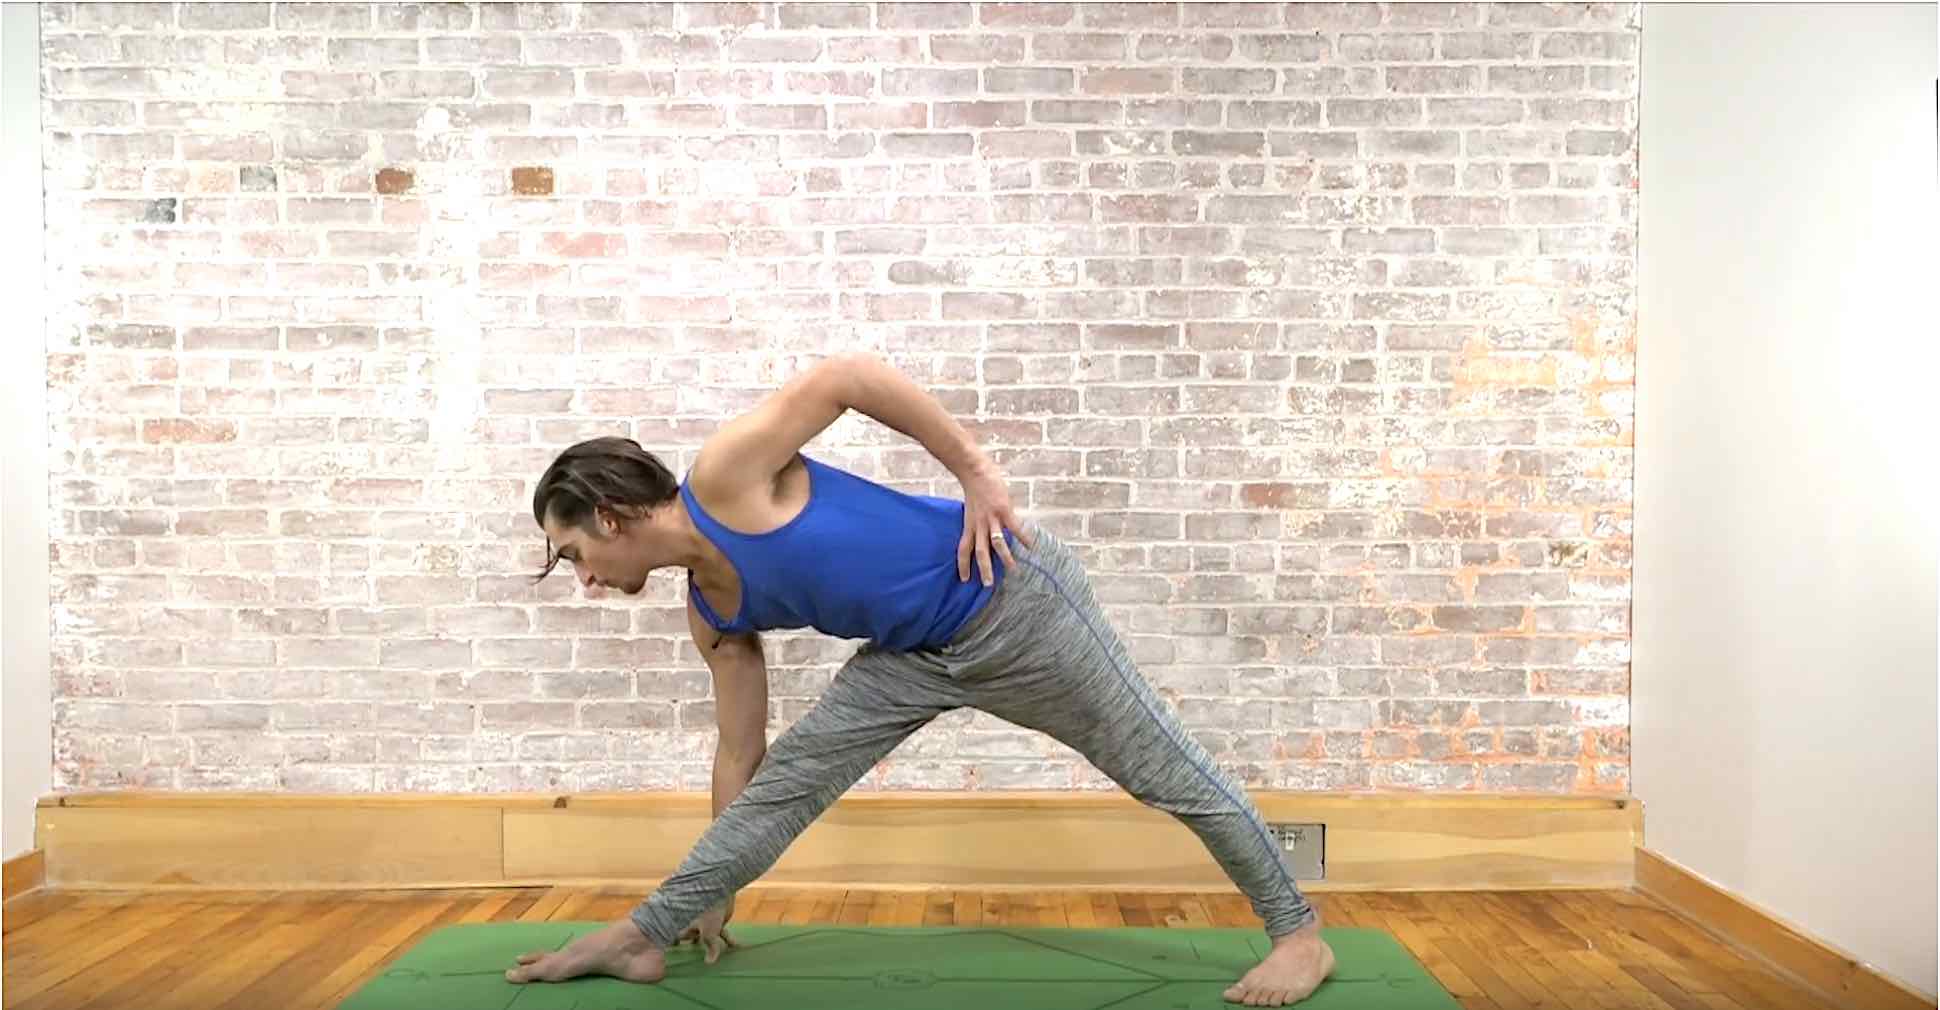
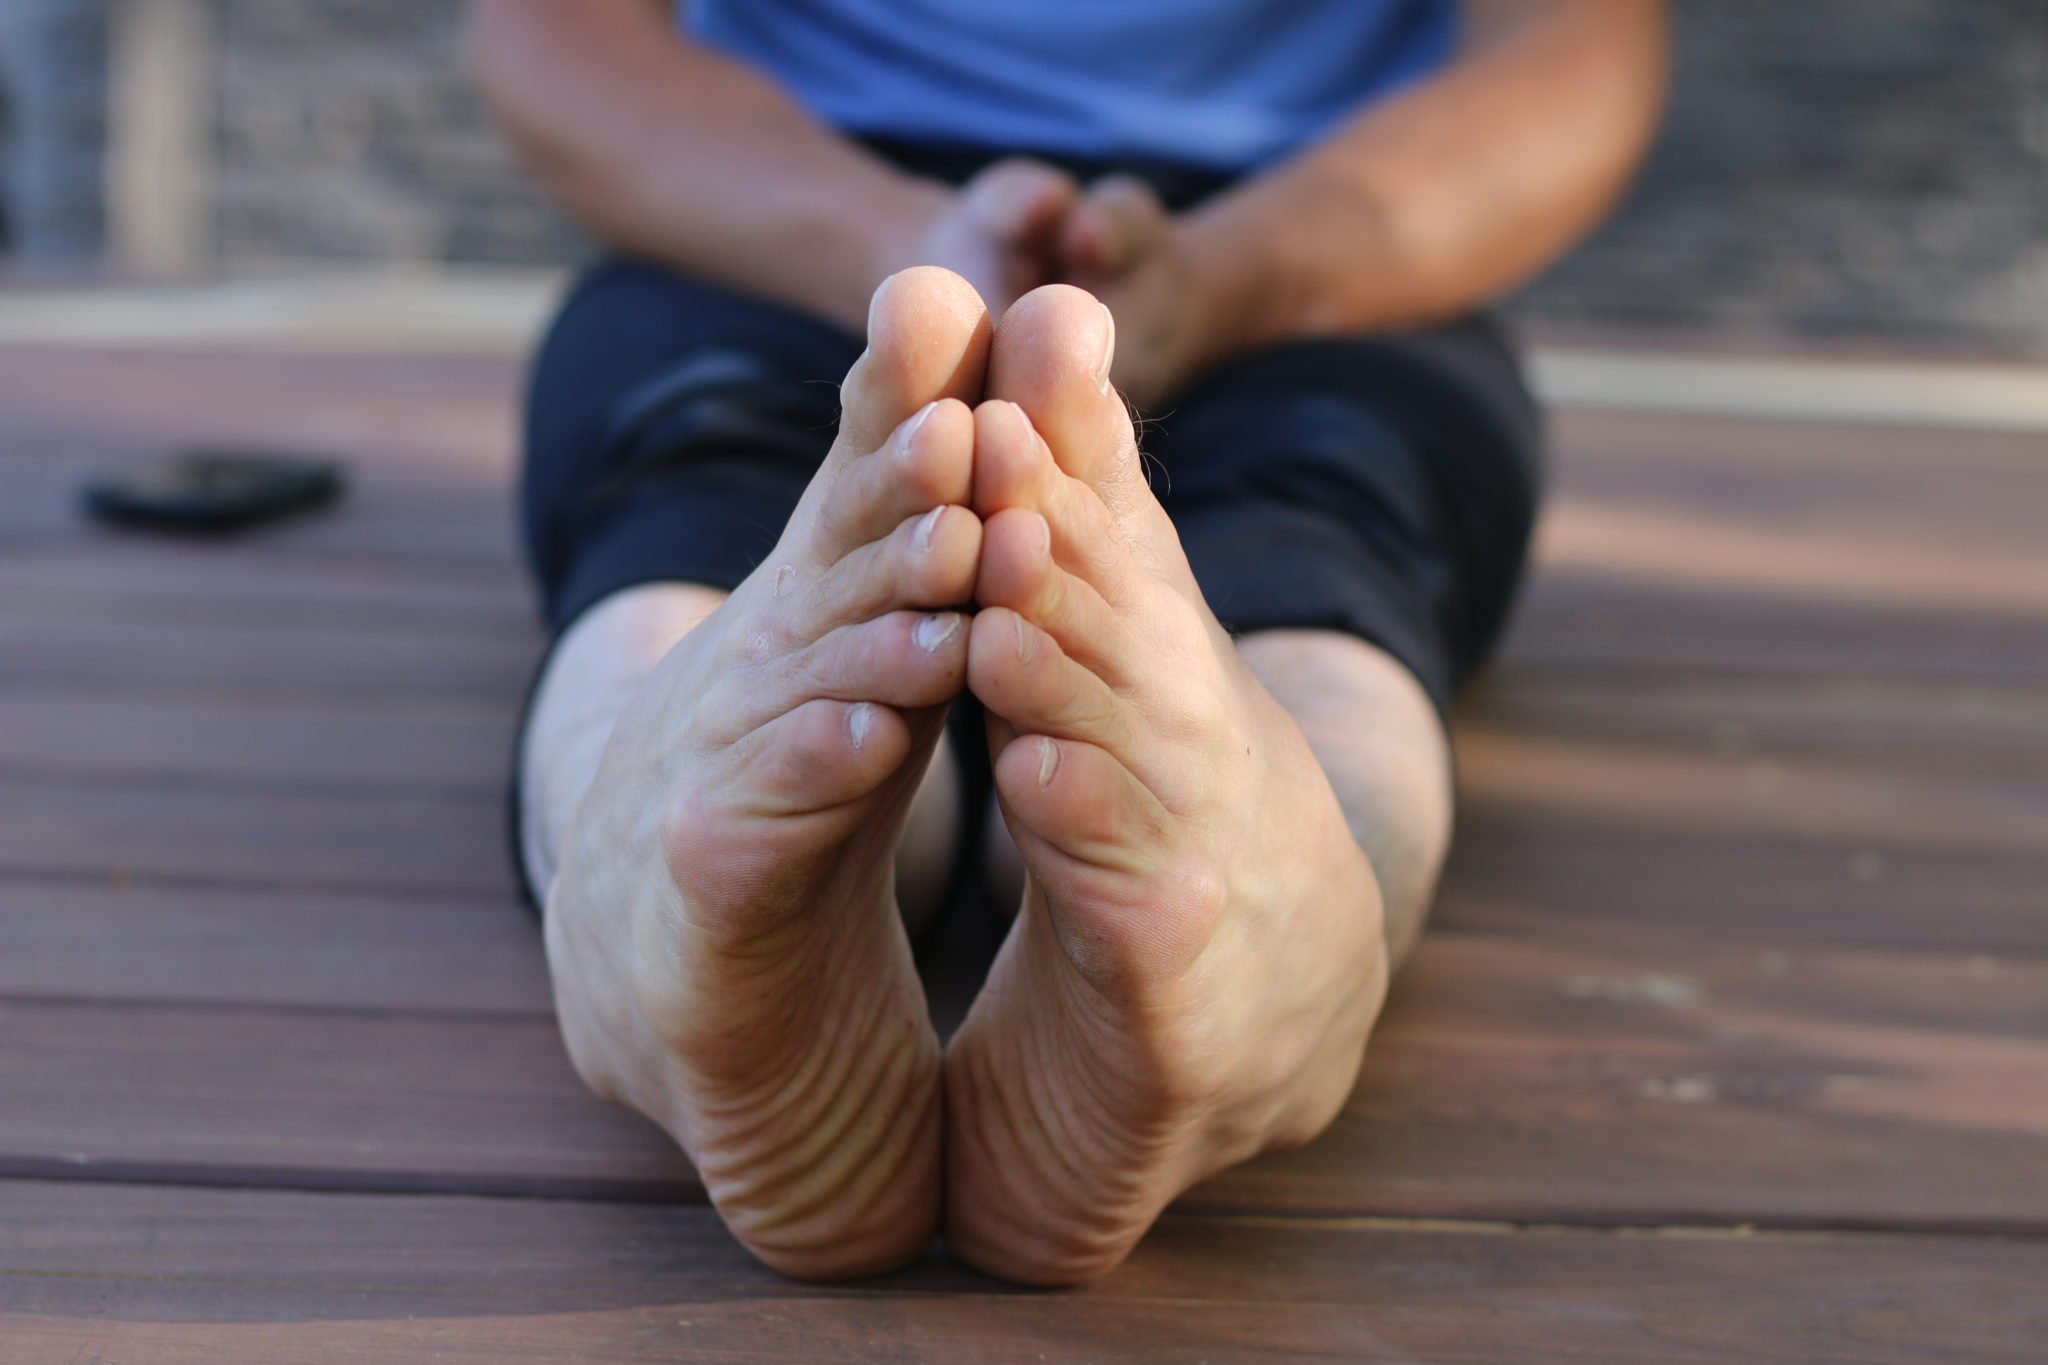
Step 3: contract The Arch
While this step is optional, it can be really helpful especially for anyone that gets plantar fasciitis. The idea is to maintain steps 1 and 2 but then add an activation of the musculature along the bottom (plantar side) of the foot. The action is to try and drag the big ball mound of the foot toward the inner heel. Like inversion and eversion, this action can be quite foreign and may take a bit of time until you are able to feel the muscles contract. I really like to focus on this action in the change of seasons when I am switching between different shoes and my feet are trying to adapt to the differences.

JOURNEY TO BLISS
12 CLASS PACK - FULL BODY AWAKENING
- Strong focus on ankles, feet & wrists
- Release Stress Patterns in body and mind
- Increase Shoulder and Spinal Flexibility
- Includes 2 hour Workshop on Full Wheel Pose
- Strengthen Your Core
- Learn Breathwork and Meditation Techniques
- Connect the the 5 Layers called The Kosha's
- 12 All Levels Live Asana Classes
- 4 Live Guided Meditations
- Lifetime Unlimited Access to All
- SALE: 1 Time Payment of $118
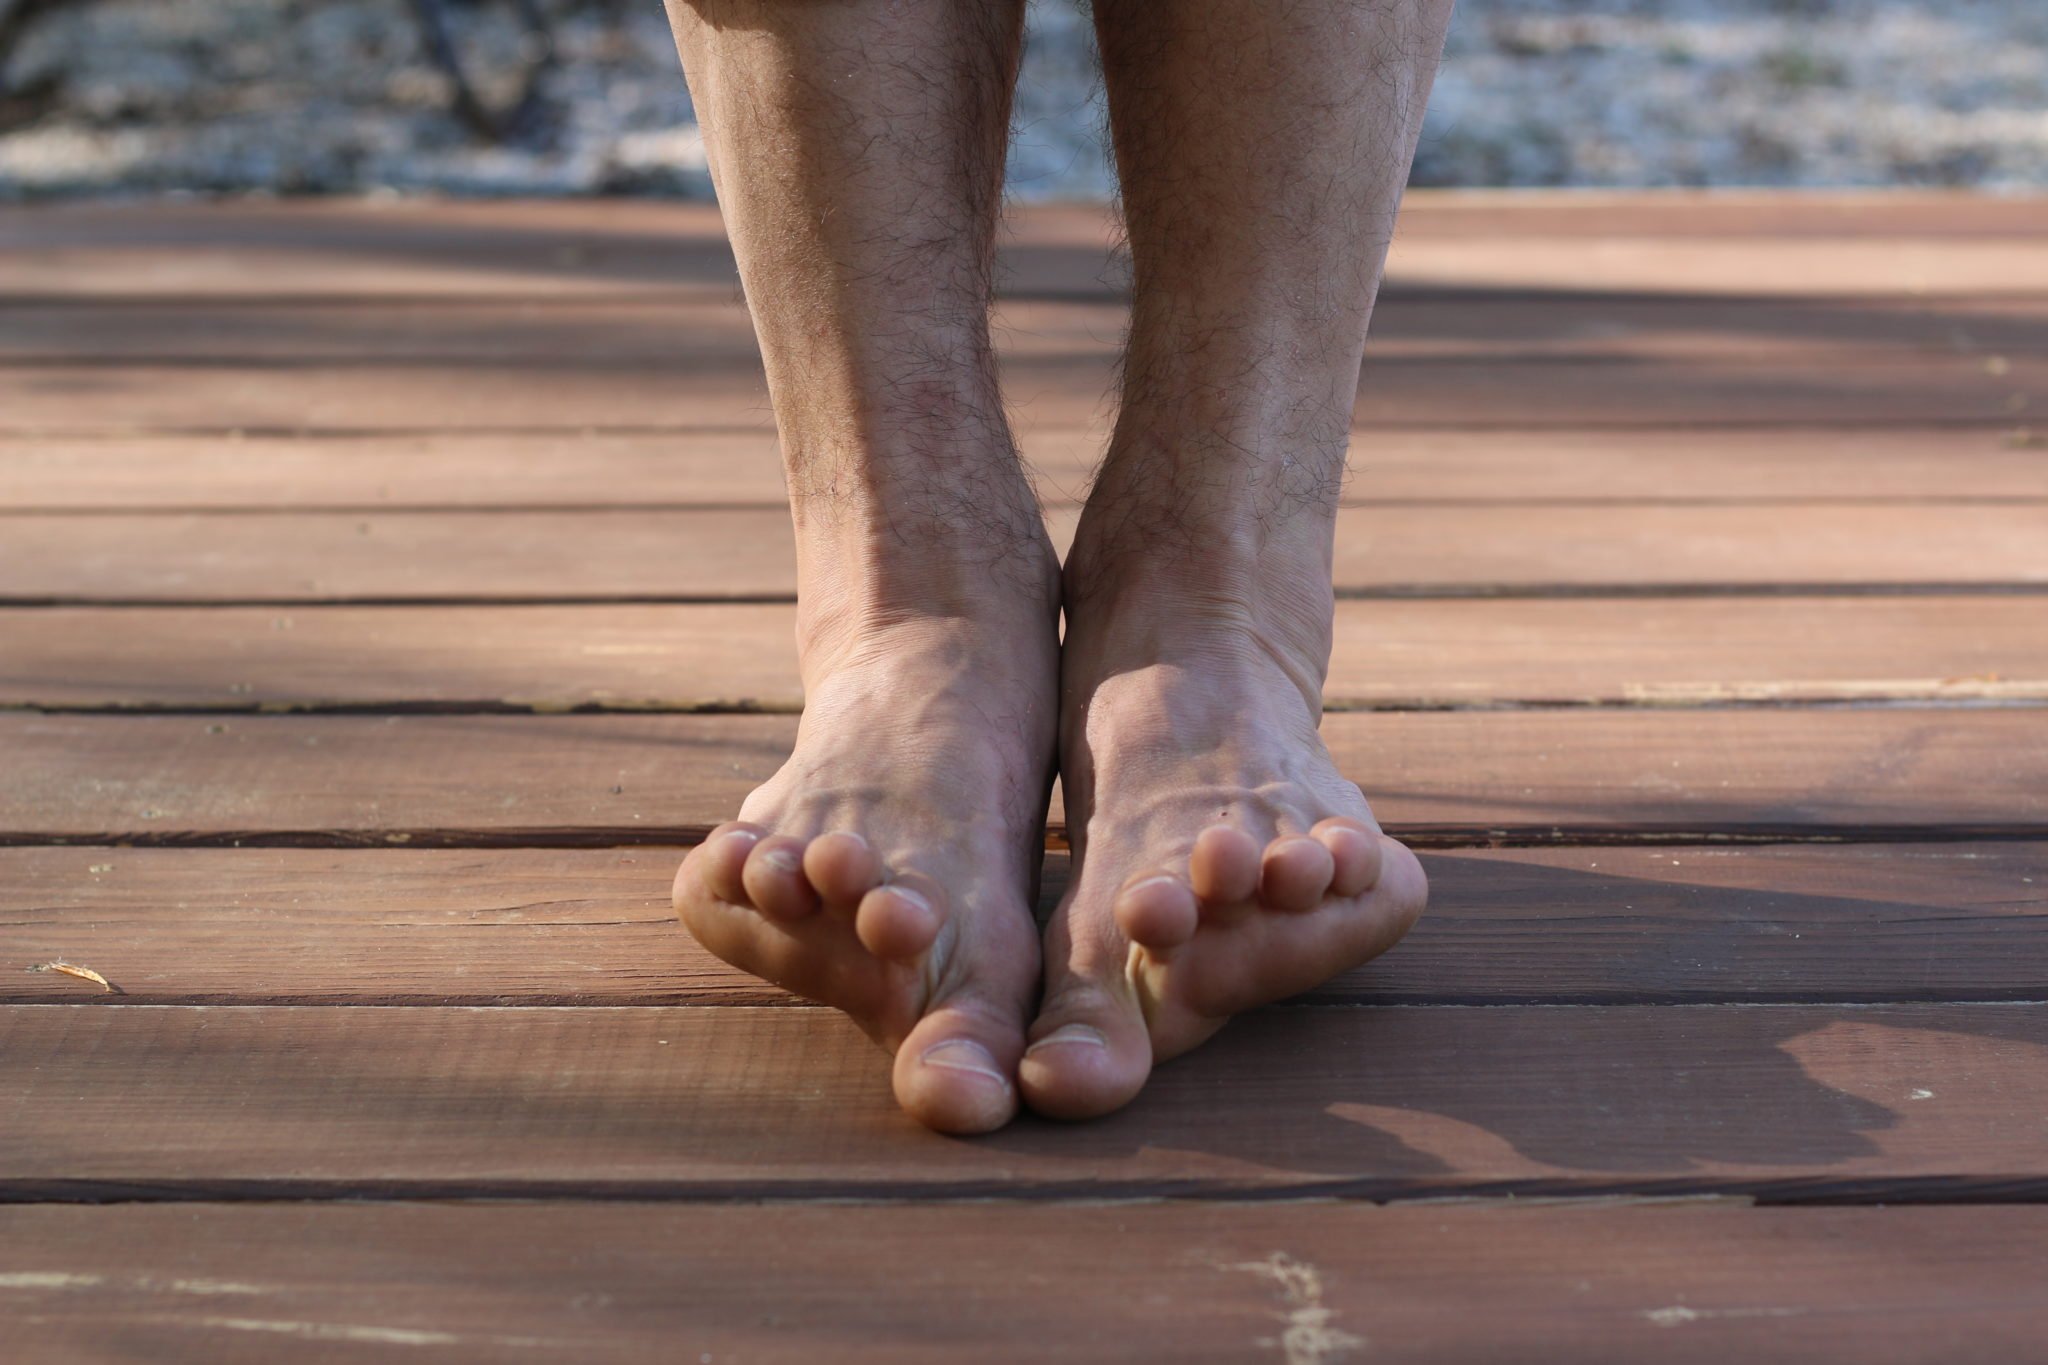
The Results
Activating the arch of the foot can be challenging at first. Typically the hardest part is learning how to co-contract opposing muscle groups. When opposing muscle groups contract at the same time, you get lifting and stabilizing of the joints. In this case, when you activate the muscles along the inside and outside the leg, it’s like pulling up your bootstraps and stabilizing the ankle. As a wonderful result, the arch of the foot pulls up.
Integration
To fully integrate these actions into your practice you will need repetition throughout all of your standing postures. Try it in your next class, or if you want a full workshop that incorporates these exact actions throughout, check out Hips: Rock Em and Unlock Em workshop below.
Thanks for stopping by. Leave a comment if this post has been helpful, or if you have questions or requests for future posts.

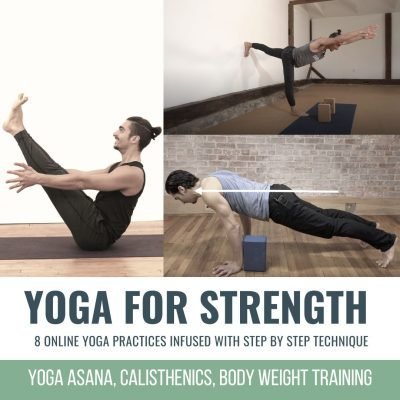
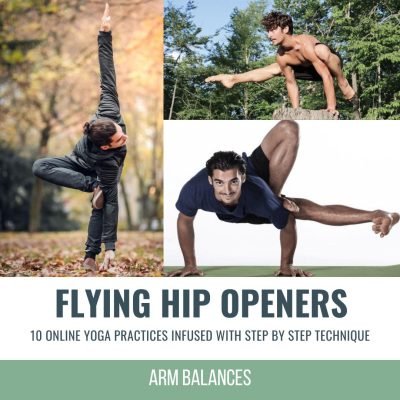
BEST SELLING PACKAGE!
8 CLASS PACK INCLUDES CLASSES FOCUSED ON:
1. Flying Pigeon
2. Half Lotus (avoid knee pain)
3. Compass Pose
4. Bow Pose & Wild Thing
5. Crow Pose & Half Firefly
- 6 All Levels Yoga Practices
- 2 Guided Meditations
- 6 Different Peak Postures
- Compass Pose Full Length Class
- Flying Pigeon Full Length Class
- Unlimited Views + Lifetime Access
Continue Learning
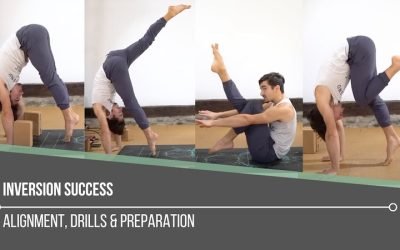
Inversion Success
read more
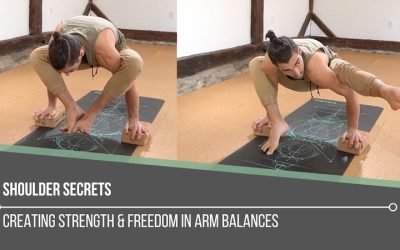
Shoulder Secrets
Shoulder SecretsbhujapidasanaSHOULDER SECRETS When approaching arm balances, it’s not unusual to go straight to a focus on the wrists. Having to bear our weight into the wrists while balancing our body weight can be an intimidating thought (especially if we don’t...
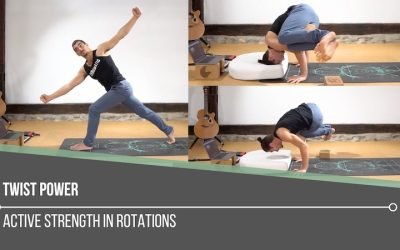
Twist Power
Twist Powerparsva bakasanaTWIST POWER It’s interesting what unfolds along our journey with our yoga practice. As we grow, learn, and begin to understand more about ourselves things change, we change. Not only do we learn so many things along the way, but in the yoga...
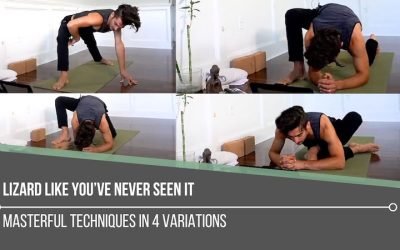
Lizard Like You’ve Never Seen It
Lizard Like You've Never Seen Itutthan pristhasanaLIZARD LIKE YOU'VE NEVER SEEN IT Familiarity in a yoga posture can feel really good. There’s a comfort in knowing exactly what to do when we get on a mat. The thing is, we can get caught up in thinking that the more...
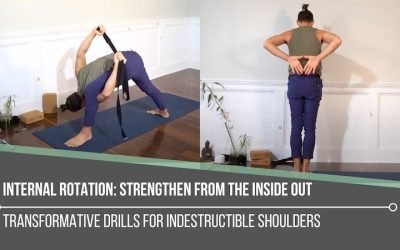
Internal Rotation: Strengthen From The Inside Out
Internal Rotation: Strengthen from the Inside OutShoulder MobilityINTERNAL ROTATION: STRENGTHENING FROM THE INSIDE OUT It’s not unusual for us to find ourselves spending too much time in a slouched position. It could be due to a job, our poor habits on our electronic...
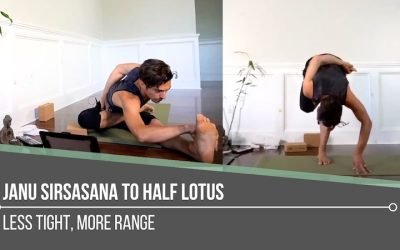
Janu Sirsasana To Half Lotus
Janu Sirsasana to Half LotusKurmasanaJANU SIRSASANA TO HALF LOTUS There’s never one single route to a posture we’re exploring. There are individual specifics we always need to consider. When it comes to hip opening postures like Janu Sirsasana and Half Lotus, we may...
THE FREE TECHNIQUE PACK
When You Subscribe, You Will Get Instant Access to
- the Technique Pack: 15 yoga pose breakdowns
- exclusive online course discounts
- exclusive blogs and videos
![yoga backbend techniques: 12 classes [backbend technique to relieve back pain "bowing the spine']](https://www.theyogimatt.com/wp-content/uploads/2021/10/Archna-Mohan-chromatic-5.jpg "Archna Mohan chromatic")


![yoga backbend techniques: 12 classes [backbend technique to relieve back pain "bowing the spine']](https://www.theyogimatt.com/wp-content/uploads/2021/10/Archna-Mohan-chromatic-6.jpg "Archna Mohan chromatic")