INTELLIGENT YOGA SEQUENCE TECHNIQUE
REVERSE ENGINEERING
Yoga Sequencing
HOW TO DESIGN AN INTELLIGENT YOGA SEQUENCE
REVERSE ENGINEERING
Designing an intelligent yoga sequence for your at-home practice or for your students can create a massive lifelong impact. Whether you are an an aspiring yoga teacher, an at-home practitioner looking to build your personal practice, or a seasoned teacher looking to increase the efficacy of your classes, this is for you.
Because most of the 200 hour yoga trainings in the West have so much material to cover in a relatively short amount of time, the element most often neglected is anatomy, especially in designing yoga sequences that help your students get the most from their time with you.
So today I want to share a yoga technique with you that I teach in my 200- and 300-hour trainings.
Designing a class is much like a puzzle; there is a clear destination in mind, but we need to put one piece together at a time. Or consider sequencing as an instruction manual, a step-by-step, action-oriented guide for what to do and when to do it. In order to design an intelligent yoga sequence, we can use a technique I call “reverse engineering.” What does that mean?
![yoga backbend techniques: 12 classes [backbend technique to relieve back pain "bowing the spine']](https://www.theyogimatt.com/wp-content/uploads/2020/07/10.jpeg "10")
200 HOUR TEACHER TRAINING
- Expand your yoga practice, body awareness, and study of yoga
- Build confidence in your voice
- Learn the step-by-step approach to teaching yoga
- Get the personal support of a dedicated mentor
- Learn postures, anatomy, sequencing, verbal cuing, alignment, breathing techniques, inspirational philosophy, teaching methodology, and more!
First you want to know what your peak posture is.
A peak posture is a yoga pose that is challenging to your student. That challenge may present itself as requiring one of 4 anatomical elements.
- Strength
- Flexibility
- Balance
- Proprioception (knowing where your body is in space)
Balance and proprioception can overlap, but they each present their own challenges, so I count those as separate features.
So choose a peak posture. For today, let’s work with Dancer Pose (Natarajasana), because it requires a few different anatomical elements.
After you choose your peak pose, assess the anatomy of the pose.
In my 200 hour and 300 hour trainings, we go into much more specificity of many yoga poses — covering anatomy, biomechanics, and technique. To clarify, the 200 hour training is designed for yogis looking to deepen their practice and learn the skill sets for teaching yoga. The 300 hour training, on the other hand, is for certified yoga teachers looking to certify at the 500 hour level. In this training, you wish to both develop a masterful understanding of the body as it relates to the yoga practice and attain highest-level skill sets as a teacher (200 hour + 300 hour = 500 hour certified).
You don’t have to be an anatomy expert to design a yoga sequence that will help your students get the most from your classes and come to know their bodies better. Anatomy is really just a language — names for bones, muscles, joints, etc. These are important, of course, but communication and connection with your students is arguably even more important.
A surgeon might be incredible at her craft, but if she doesn’t have a good bedside manner, she won’t make her patient feel comfortable, and that can impact how well the surgery goes. A yoga teacher might know a lot about anatomy, but if they aren’t connecting with their students, the students may not return, and a valuable opportunity is missed.
So let’s think about Dancer Pose. If you’re an anatomy geek like me, you may already be thinking about what makes this posture challenging for some and accessible for others. To assess this, we need to look at which muscles are lengthening and which will require flexibility. If you are a yoga teacher already, this will likely be familiar: Typically, you learn this at the 200 hour level. In my 300 hour training, we go a step further and consider the required strength as well as actions, techniques, and biomechanics. To keep things simple, I won’t be diving into all these avenues here. My intention is to convey the structure of an intelligent yoga sequence. Once you understand the structure, it can be applied to all aspects of the physical practice.

300 HOUR ONLINE TEACHER TRAINING
GET 500 HOUR CERTIFIED AS A MASTER TEACHER
Master your skill set as a teacher through refined techniques, anatomy, biomechanics, sequencing, philosophy, meditation techniques, theming, yoga business, and much more!
Assessing the Peak Pose
What is a peak pose?
Many people get worked up when I mention a “peak pose,” because they feel yoga shouldn’t be destination-oriented. This is not actually what yoga teaches; yoga has a very clear goal, or destination, in every ancient text. No sacred teaching instructs us to eliminate the destination. Rather, the teachings reveal that focused attention on actions, thoughts, breath, etc. cultivate awareness. Some would call this ultimate awareness Samadhi, or Consiousness, Being, Union, Stillness, Mindfuless … The list goes on. Point is, these are all goals.
So asana practices are what help us move toward the ultimate awareness, BUT there is a caveat. If you are focused solely on that goal while you practice, you will not be aware of the elements of your practice and will miss out on important nuances. Ironically, keeping your focus only on the goal means you’re less likely to achieve it. This applies to a peak pose as well. If you are focused only on the peak pose and rush through the preparatory poses and techniques, you miss necessary learning and will be less likely to access the peak pose in the most efficient, functional, and even life-changing way.
As a teacher, you use a peak posture as a destination and work backwards. Think of it like using a GPS in your car: you enter the destination from your original point and it delivers step-by-step instructions. If you don’t pay attention to the steps, you don’t arrive.
Let’s assess Dancer Pose and develop a road map for your students so they can step into presence and action. With you as their guide, your students do not necessarily need to know the destination. In this way, you can keep calling their attention to “the now” every step of the way. This method is for you, the designer of an intelligent yoga sequence.
Let’s think about the shape. You know that in Dancer Pose, you will need to reach your arm back. So what could you do with your students that would prepare their bodies to reach back?
Here’s the question:
What muscles are limiting the ability to reach back?
Answer: pectoralis major (chest), front deltoids (shoulder)
Do you need to know that? NO. Another easy way to assess is to reach back with your arm and feel what area of your body is stretching. To prepare yourself for this action, you would simply do other poses that stretch the same area.
Dancer Pose also requires balance. What pose could you offer that would require balance AND reach arms back?
If you said Airplane Pose (Dekasana), we’re on the same flight 😉
Dancer Pose also requires a backbend, so you’d want to prepare your students by including yoga poses that extend the spine, like Cobra Pose (Bhujangasana).
Bonus: Stretch the front thighs and hip flexors. You could prepare students for this in a low lunge (Anjaneyasana), perhaps with bound hands, or reaching for the back foot. (This might be too intense for some with tight quads. Use a strap to make it more accessible.)
All these poses that prepare your students for the peak pose are what I call “layering poses.” In my trainings, I teach my students to prepare 5-7 of these poses. These are the real substance of a good sequence. You can still include other poses to help warm up the body and get your students connecting their movements to breath, but layering poses are the ones you’ve put the most thought into. They are the poses that will transform your time with your students from a class to an experience.
So let’s review. Here are the steps to design a powerful and effective yoga sequence for your yoga students.
1. Choose a peak posture.
2. Assess the anatomy of that peak pose, or look at the shape.
3. Teach 5-7 poses that mimic that shape and prepare your students for the peak pose.
FREE VIDEO PODCAST ON CREATING AN INTELLIGENT YOGA SEQUENCE USING THE TECHNIQUE OF “REVERSE ENGINEERING”
LOOKING TO DEVELOP YOUR BACKBENDING PRACTICE? CHECK OUT
MISTAKES TO AVOID
It’s pretty common for a teacher to think of a peak pose like Dancer Pose and think hmm … shoulder openers; I need shoulder openers. Then they offer poses like Eagle Pose (Garudasana). True, Eagle opens the shoulder muscles, but the exact opposite shoulder muscles needed for Dancer. If you were using this as a way to shorten opposing muscles before lengthening them, then that could be an intelligent decision. But in terms of preparatory lengthening, Eagle is not the right layering pose for Dancer. Accuracy is key, which is why the 200 Hour and 300 Hour are so focused on developing refined skills and understanding of the body.
With the right sequencing, your classes will be more supportive, and your students will leave feeling like they’ve learned something. That learning will stay with them throughout their lives. This is what it means to create an impact.
Follow the structure laid out in the video:
1. Choose a peak posture.
2. Assess the challenges: flexibility, strength, balance, proprioception. I suggest starting with flexibility to keep it simple.
3. Choose 5-7 layering postures.
4. Weave these poses through your class.
Ready to go deeper into anatomy, biomechanics, and sequencing? In my 200 and 300 hour trainings, we not only cover those topics, but you will also learn techniques for meditation, pranayama, yoga philosophy, and developing your yoga business. The 200 hour training is suitable for all levels. If you have a burning curiosity to learn and develop your practice, then the 200 hour training is perfect for you. The 300 hour training is only suitable for yoga teachers at the 200 or 500 hour level looking to become more masterful as professional yoga teachers.
Not sure if the training is right for you at this time? Send me an email and we can set up a time to chat.
Co-written and edited by 300-hour Chromatic yoga teacher, Donna Morin
TOP RELEVANT RECOMMENDATIONS
- HEART OPENERS: Discover The Joy of Backbending [12-Class Immersion]
- JOURNEY TO BLISS: (includes Full Wheel Workshop + 11 more master classes)
- THE SPINAL RESET: Back Bend, Side Bend, Twist [12-Class Immersion]
MORE WAYS TO DEVELOP YOUR PRACTICE
- Live Immersions: 3 Classes Per Week
- 200 hour training: Get Certified
- 300 Hour Online Training: Get 500hr Certified

HEART OPENERS IMMERSION
- Increase spinal range of motion
- Master techniques such as “bowing the spine”
- Release stress patterns, discomfort, or pain in your back
- Twelve 75-minute classes, all levels appropriate
- Learn postures: Full Wheel, Bow, Camel, King Pigeon, King Dancer, King Cobra, Scorpion, and more!
- Lifetime unlimited access to all
Continue Learning
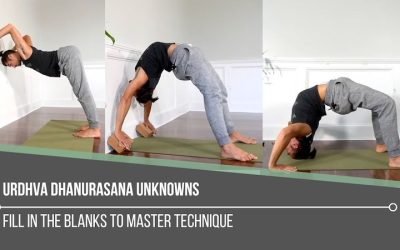
Urdhva Dhanurasana Unknowns
Urdhva Dhanurasana UnknownsALIGNMENTURDHVA DHANURASANA UNKNOWNS Let’s take a pause from what we think we know about Wheel Pose and consider the Urdhva Dhanurasana unknowns. Often, we hear the cue, “Just press up into Wheel,” and we do—without questioning the subtle...
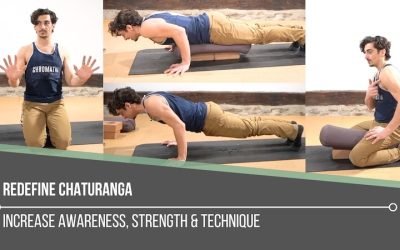
Redefine Chaturanga
Redefine ChaturangaALIGNMENTREDEFINE CHATURANGA To redefine Chaturanga, we first have to be willing to challenge what we think we already know. Many of us were taught a narrow-hand, elbows-tight variation of the pose—elbows hugging the ribs, hands close beneath the...
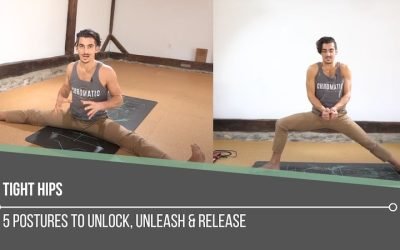
Tight Hips
Tight HipsHIP MOBILITYTIGHT HIPS When working to release tight hips, most people instinctively go straight for deep stretches. But one often overlooked area that holds a surprising amount of tension is the adductorS (the inner thigh muscles) that connect to the...
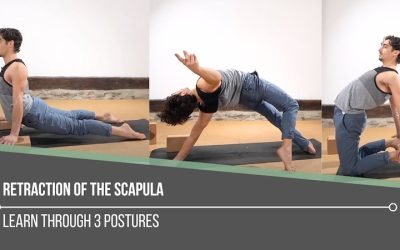
Retraction Of The Scapula
Retraction Of The ScapulaSHOULDER ACTIONSRETRACTION OF THE SCAPULA It may appear that scapular retraction holds less weight in finding deeper backbends, but this action can be quite significant in what we experience when it comes to strength, stability, and...
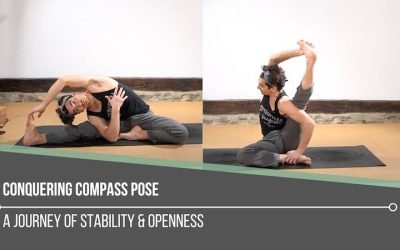
Conquering Compass Pose
Conquering Compass PoseSURYA YANTRASANACONQUERING COMPASS POSE Conquering Compass Pose isn’t about forcing your leg behind your shoulder—it’s about understanding and participating in the muscular coordination that makes the posture possible. The real power comes from...
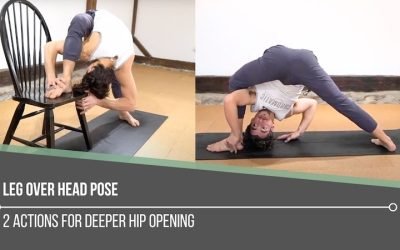
Leg Over Head Pose
Leg Over Head PoseEKA PADA SIRSASANALEG OVER HEAD POSE Leg Over Head Pose is one of those postures that challenges not only our bodies but also our mindset. When faced with a seemingly impossible pose, we tend to respond in one of three ways: dismissing it as...
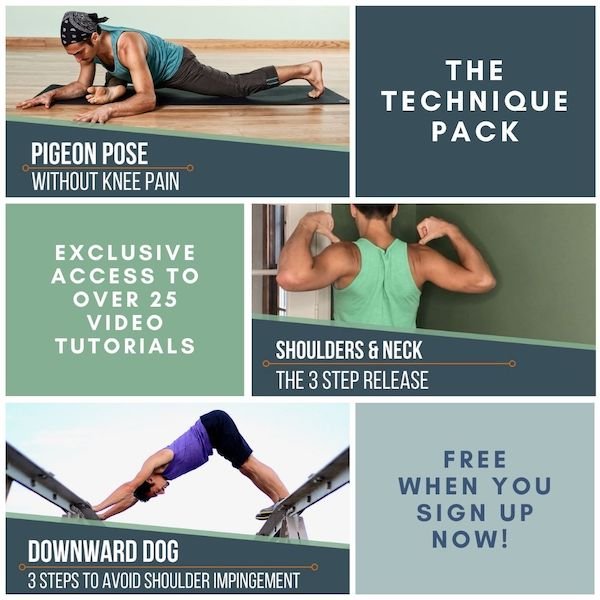
THE FREE TECHNIQUE PACK
When You Subscribe, You Will Get Instant Access to
- the Technique Pack: 15 yoga pose breakdowns
- exclusive online course discounts
- exclusive blogs and videos


Share This!
Hey. thank you for reading. If this is helpful please share it!