Wall Drills to Progress in Handstand
Adho Mukha Vrksasana
WALL DRILLS TO PROGRESS IN HANDSTAND
Wall drills for Handstand are an excellent way to master the mechanics required to go upside down with confidence. Using the wall as a support to refine alignment, rather than as a crutch to neglect technique, is vital to the development of the pose.
In this case, using a wall as a prop may appear to be counterintuitive, but it actually helps us set up a firm foundation for the hands, shoulders, rib cage, and hips. These are the important pieces of the puzzle that will ultimately take us away from the wall and help us to stand tall (on our hands of course).
It’s true that we learn how to isolate the actions for each body part, but it’s the layering on of each action that locks each piece into place in order for our handstand to become a firm unit.

CHROMATIC GLOBAL TRAINING
REGISTRATION NOW OPEN
- Solve the "Yoga Teacher's Daily Grind"
- Become the BEST teacher you can be
- Get personalized feedback and support
- Learn anatomical sequencing and verbal cues
- Clear and impactful visual demonstration
- Strategic workshop design and sell out your events
- Become a Certified Chromatic Teacher
- Room for future growth: lead Chromatic Yoga Immersions and Trainings
PRIORITIZE THE RIB CAGE
Matt teaches us that the area we need to prioritize when it comes to balancing in Handstand is the rib cage. More than just stacking the hips over the shoulders, getting the rib cage vertical first is actually more important because it provides the control required.
One of the wall drills Matt demonstrates to assist with this technique is the Pike Switch with a chair and a number of yoga blocks.
The first step is to push through the shoulders for increased scapular mobility, which will also allow the rib cage to move more freely during the exploration.
Setting up the lower leg as high as possible (at approximately a 90-degree angle) will assist in alternating the legs with more ease. It’s also important to tap into the sensation of the placement of the ribs between each “switch” of the legs.
WATCH THE VIDEO
WALL DRILLS TO PROGRESS IN HANDSTAND: IMPLEMENT MASTERFUL INVERSION TECHNIQUES
GO FOR THE FLOAT
Just like we layer on each technique within the body, we also layer on more challenges in the wall drills we explore.
Now that we’ve worked on the alignment of the rib cage to create a straight line from the wrists to the shoulders to the hips, we can progress by aiming to find some “float” time in an L-Handstand. Here we take the top foot closer to the wall, but we still work to avoid the common “banana back.” If this is brand new to your practice, you may not be able to avoid tapping the wall with your top foot in the attempt to stay balanced. However, still aim to keep the rib cage vertical, even though the top leg may be on a slight diagonal towards the wall.

200 HOUR ONLINE TEACHER TRAINING
GET CERTIFIED & DEEPEN YOUR YOGA PRACTICE
- Deepen your yoga practice
- Build confidence speaking in front of groups in person and online
- Learn foundational class structures and templates
- Learn techniques for a wide range of yoga postures
- Get certified and highly qualified to teach yoga
- Yoga Alliance Globally Recognized Certification Program
TAKE YOUR FEET TO THE WALL
Matt teaches this drill to help us get a vertical line from the forearms to the rib cage to the knees. The knees are significant here because they are bent, and the feet are actually on the wall. Bending the knees allows us to achieve a vertical line. At this stage, if the legs were straight, we might be more inclined to create more spinal extension.
If we still feel challenged, it may be due to lack of strength in the glutes and core muscles. In the video, Matt lies down in a supine position and then lifts up into a variation of Bridge to help us develop the sensational awareness of glute and core activation simultaneously while taking the arms up overhead. This helps simulate how we would feel in the former wall drill.

300 HOUR ONLINE TEACHER TRAINING
GET 500 HOUR CERTIFIED AS A MASTER TEACHER
Master your skill set as a teacher through refined techniques, anatomy, biomechanics, sequencing, philosophy, meditation techniques, theming, yoga business, and much more!
- Get 500 hour certified
- Learn anatomy, biomechanics, asana techniques
- Expand your teaching skills
- Masterful sequencing and verbal delivery
- Learn meditation and breathwork techniques
- Transformative tools: theming, dharma talks, satsang
HOP INTO HANDSTAND
Here, we progress into L-Hops by placing one foot on a block that sits directly on the floor. We’re now hopping into balance, with the wall behind us for increased safety. This wall drill can be compared to Kick Switches, the difference being that we keep the same shape and repeat with the same leg for a few rounds, instead of alternating legs. This is a drill to explore once we have found some success with “the float” and of course the stacking of the rib cage. However, there is still room to go further.
If you’re interested in advancing your practice and/or becoming certified to teach impactful drills like these, then you’ll want to secure your spot in Matt’s upcoming Chromatic Global Training.
The 200 Hr. Teacher Training: Click Here to See the Next Start Date
The 300 Hr. Advanced Teacher Training: Click Here to See the Next Start Date
Article by Trish Curling
Video Extracted From: The Handstand Program

ONLINE ANATOMY COURSE
- Accessible, exciting, and easy to learn
- Anatomy and biomechanics for yoga
- Appropriate for both teachers and students
- Learn joint alignment vs pose alignment
- Demystify yoga poses and transitions
- Release aches and pains
- Learn how to avoid common injuries
- Caters to all levels with modifications and props
- 20 hours Continued Education Credits with Yoga Alliance
- 20 hours toward Chromatic Yoga Certification and 300 Hour
- Lifetime access
Continue Learning
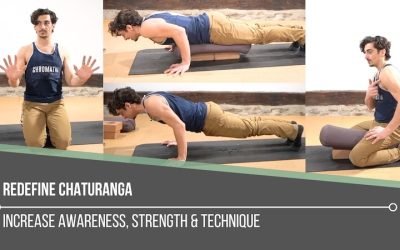
Redefine Chaturanga
Redefine ChaturangaALIGNMENTREDEFINE CHATURANGA To redefine Chaturanga, we first have to be willing to challenge what we think we already know. Many of us were taught a narrow-hand, elbows-tight variation of the pose—elbows hugging the ribs, hands close beneath the...
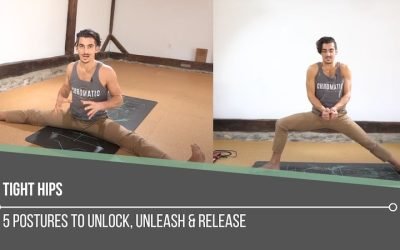
Tight Hips
Tight HipsHIP MOBILITYTIGHT HIPS When working to release tight hips, most people instinctively go straight for deep stretches. But one often overlooked area that holds a surprising amount of tension is the adductorS (the inner thigh muscles) that connect to the...
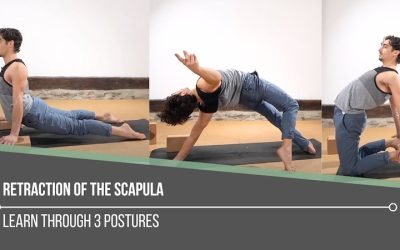
Retraction Of The Scapula
Retraction Of The ScapulaSHOULDER ACTIONSRETRACTION OF THE SCAPULA It may appear that scapular retraction holds less weight in finding deeper backbends, but this action can be quite significant in what we experience when it comes to strength, stability, and...
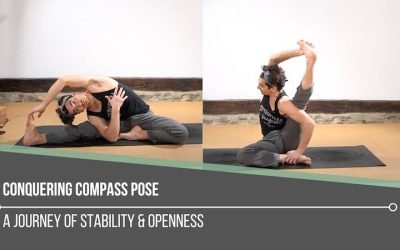
Conquering Compass Pose
Conquering Compass PoseSURYA YANTRASANACONQUERING COMPASS POSE Conquering Compass Pose isn’t about forcing your leg behind your shoulder—it’s about understanding and participating in the muscular coordination that makes the posture possible. The real power comes from...
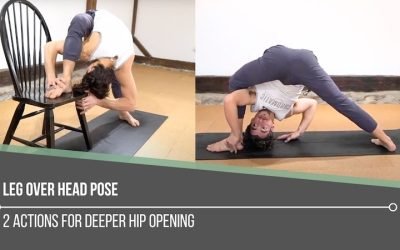
Leg Over Head Pose
Leg Over Head PoseEKA PADA SIRSASANALEG OVER HEAD POSE Leg Over Head Pose is one of those postures that challenges not only our bodies but also our mindset. When faced with a seemingly impossible pose, we tend to respond in one of three ways: dismissing it as...
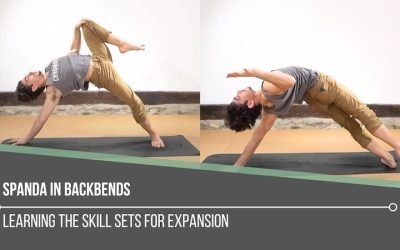
Spanda In Backbends
Spanda In BackbendsSIDE PLANKSPANDA IN BACKBENDS Spanda in backbends is the key to creating both stability and freedom in spinal extension. Backbends are not just about bending; they require a balance between expansion and controlled engagement to prevent excessive...
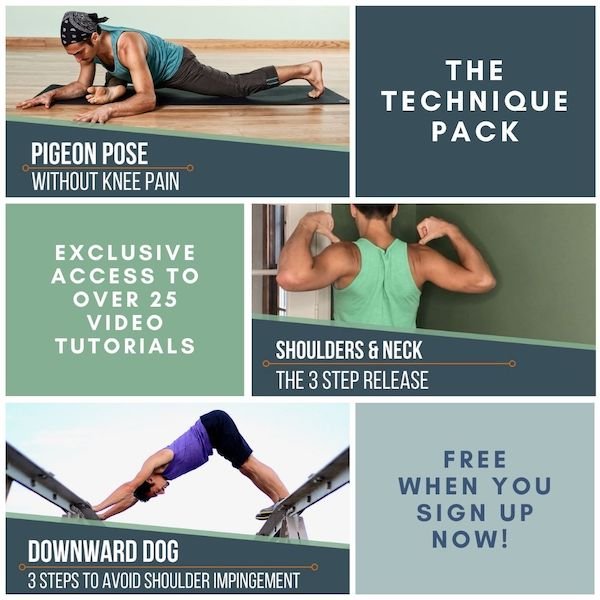
THE FREE TECHNIQUE PACK
When You Subscribe, You Will Get Instant Access to
- the Technique Pack: 15 yoga pose breakdowns
- exclusive online course discounts
- exclusive blogs and videos


0 Comments