Tripod Headstand to Crow for Controlled Access
inversions
TRIPOD HEADSTAND TO CROW POSE
When exploring an inversion like Tripod Headstand, the shoulder muscles become part of the primary focus. Tripod Headstand on its own can be challenging enough, but adding a controlled and safe transition into an arm balance like Crow Pose creates a whole new layer of understanding that must be taken into consideration.
The rotator cuff muscles are great stabilizers of the shoulder girdle, so activating these muscles is key in the setup for both postures. Both a deeper grasp of the biomechanics of each posture on its own and an understanding of the specific movements, particularly in the area of the shoulders, help us maintain balance when exploring how to move between the two poses. In today’s video, Matt provides the details and step-by-step cues to master the transition from Tripod Headstand to Crow Pose.

SHOULDER MASTERY
WORKSHOP SERIES
- 3 livestream workshops and replays
- Nondogmatic and effective alignment
- Improve low-back health
- Shoulder mobility + heart openers
- Shoulder strength + arm balances
- Inversions, binds, neck & shoulder release
- 6 hours of continued education
- Gain strength and stability
- Increase range of motion, flexibility, and mobility
- Step-by-step guidance: Everyone can follow and participate
- Educationally infused: Learn while you embody
- Livestream optional; all workshops available as livestreams (see dates below) and as on-demand replays for life
- Automatically receive access to the replays immediately after the livestream
THE VERY FIRST STEP
First, it’s simply about understanding what in our bodies we need to target in order to create the required stability for the setup in Tripod Headstand. At the beginning of the video, Matt offers an explanation for why the shoulders are important and how to effectively activate the appropriate muscles. When practicing with Matt, we understand that any time the hands are making contact with our mats, particularly in an inversion or arm balance, “gripping the ground” begins to send the correct channel of energy into the rest of the body. With this understanding, we can begin to see how this action affects what’s required in the shoulders: To activate the rotator cuff muscles, we take that grip of the ground and dial it outwards. This encourages the biceps to turn outwards and the elbows to turn inwards. Once these steps are in place, we can feel the rotator cuff muscles.
WATCH THE VIDEO
TRIPOD HEADSTAND TO CROW POSE: SHOULDER TECHNIQUES FOR CONTROLLED ACCESS
TRIPOD CROW
Before the legs go upright in Tripod Headstand, we can explore Tripod Crow, which Matt demonstrates. Although there is no wall behind him in the demonstration, he recommends using a wall in the early stages of exploration.
Tripod Crow allows us to get comfortable with the hand and head placement. This is important because of the adjustments that are necessary regarding the neck muscles.
The hands are roughly shoulder-width apart, and the head is placed down just shy of an equilateral triangle. This way, when we roll onto our heads, it becomes more of that equilateral setup. From here, we switch on the rotator cuff muscles (as described above), and then instead of sending the legs all the way up, we bring the knees onto the outer arms. Sending our gaze towards the floor then turns on the rear neck muscles for additional stability.

200 HOUR ONLINE TEACHER TRAINING
GET CERTIFIED & DEEPEN YOUR YOGA PRACTICE
- Deepen your yoga practice
- Build confidence speaking in front of groups in person and online
- Learn foundational class structures and templates
- Learn techniques for a wide range of yoga postures
- Get certified and highly qualified to teach yoga
- Yoga Alliance Globally Recognized Certification Program
LEAN INTO THE PROGRESSION
In this next stage, Matt demonstrates the entry into Tripod Headstand along with how to begin transitioning into Crow Pose. First, we can add onto Tripod Crow by hugging the knees in and creating an anterior tilt of the pelvis to then send the legs upwards. The next step allows us to explore the movement towards Crow Pose with some momentum. Instead of pausing, activating, and holding Crow Pose, we can practice “sitting the bum down” on the way out of Headstand and then leaning back to move more quickly towards taking our feet to the ground. Slowly progressing with more “hang time” and a bigger push into Crow will help us master this transition. A new shoulder action is also layered on in order to press into Crow Pose.

300 HOUR ONLINE TEACHER TRAINING
GET 500 HOUR CERTIFIED AS A MASTER TEACHER
Master your skill set as a teacher through refined techniques, anatomy, biomechanics, sequencing, philosophy, meditation techniques, theming, yoga business, and much more!
- Get 500 hour certified
- Learn anatomy, biomechanics, asana techniques
- Expand your teaching skills
- Masterful sequencing and verbal delivery
- Learn meditation and breathwork techniques
- Transformative tools: theming, dharma talks, satsang
PUT IT ALL TOGETHER
Finally, the shoulder action that brings the final pieces of the puzzle together is the protraction of the scapulae. Once we’ve leaned back and practiced hanging in the longer balances between Tripod Headstand and the initial stages of Crow, we push the floor away, which encourages the protraction. Coupled with the external rotation of the upper arm bones, this action assists in realizing the safe, controlled access and stabilization of Crow. The shoulder actions ultimately dictate the experience we’ll have when working on this transition between the two postures. Moving from Tripod Headstand to Crow Pose requires a steadiness but also involves precise movement.
In Matt’s 3-part workshop, Shoulder Mastery, he broke down the vital steps for the shoulders when it comes to arm balances. In the upcoming final phase of the workshop, Matt will focus on inversions and binds. Register here for lifetime access!
The 200 Hr. Teacher Training: Click Here to See the Next Start Date
The 300 Hr. Advanced Teacher Training: Click Here to See the Next Start Date
Article by Trish Curling
Videos Extracted From: Shoulder Mastery

ONLINE ANATOMY COURSE
- Accessible, exciting, and easy to learn
- Anatomy and biomechanics for yoga
- Appropriate for both teachers and students
- Learn joint alignment vs pose alignment
- Demystify yoga poses and transitions
- Release aches and pains
- Learn how to avoid common injuries
- Caters to all levels with modifications and props
- 20 hours Continued Education Credits with Yoga Alliance
- 20 hours toward Chromatic Yoga Certification and 300 Hour
- Lifetime access
Continue Learning
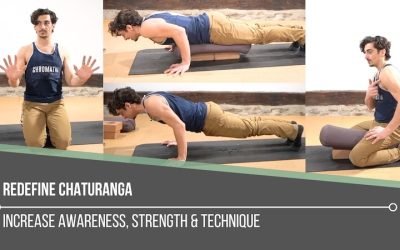
Redefine Chaturanga
Redefine ChaturangaALIGNMENTREDEFINE CHATURANGA To redefine Chaturanga, we first have to be willing to challenge what we think we already know. Many of us were taught a narrow-hand, elbows-tight variation of the pose—elbows hugging the ribs, hands close beneath the...
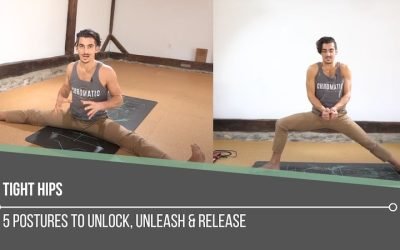
Tight Hips
Tight HipsHIP MOBILITYTIGHT HIPS When working to release tight hips, most people instinctively go straight for deep stretches. But one often overlooked area that holds a surprising amount of tension is the adductorS (the inner thigh muscles) that connect to the...
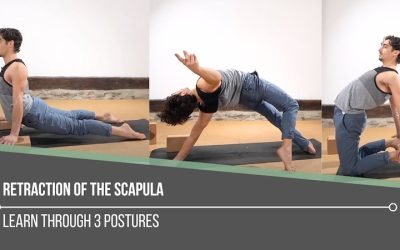
Retraction Of The Scapula
Retraction Of The ScapulaSHOULDER ACTIONSRETRACTION OF THE SCAPULA It may appear that scapular retraction holds less weight in finding deeper backbends, but this action can be quite significant in what we experience when it comes to strength, stability, and...
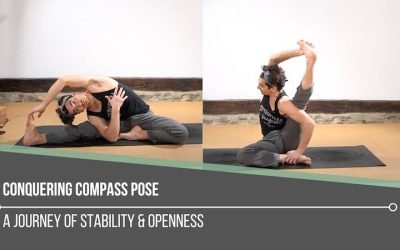
Conquering Compass Pose
Conquering Compass PoseSURYA YANTRASANACONQUERING COMPASS POSE Conquering Compass Pose isn’t about forcing your leg behind your shoulder—it’s about understanding and participating in the muscular coordination that makes the posture possible. The real power comes from...
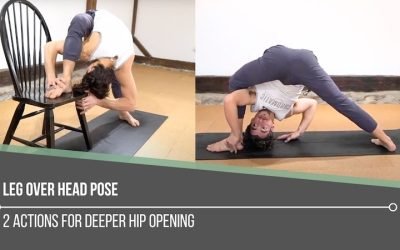
Leg Over Head Pose
Leg Over Head PoseEKA PADA SIRSASANALEG OVER HEAD POSE Leg Over Head Pose is one of those postures that challenges not only our bodies but also our mindset. When faced with a seemingly impossible pose, we tend to respond in one of three ways: dismissing it as...
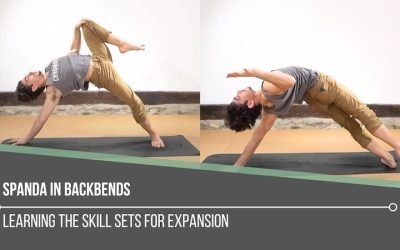
Spanda In Backbends
Spanda In BackbendsSIDE PLANKSPANDA IN BACKBENDS Spanda in backbends is the key to creating both stability and freedom in spinal extension. Backbends are not just about bending; they require a balance between expansion and controlled engagement to prevent excessive...
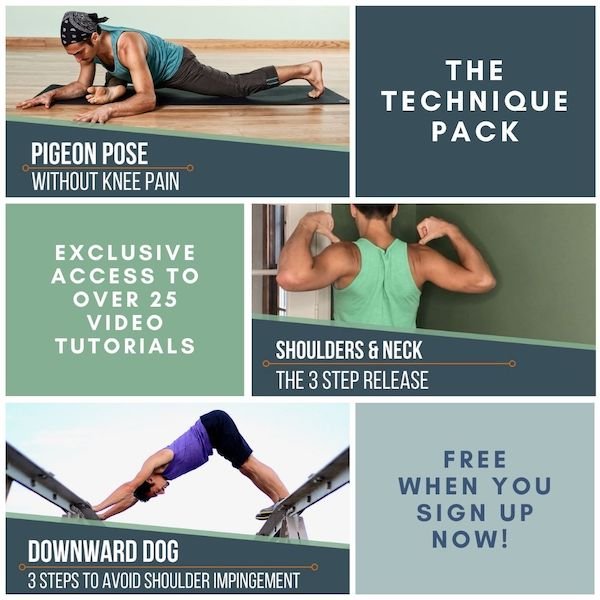
THE FREE TECHNIQUE PACK
When You Subscribe, You Will Get Instant Access to
- the Technique Pack: 15 yoga pose breakdowns
- exclusive online course discounts
- exclusive blogs and videos


0 Comments