The Key To Arm Balances

The Key to arm Balances

Learn the secret to balancing on your hands


The Secret is Simple

Finding ease in arm balances can seem like a mystery and it can be frustrating to figure them out while struggling to breathe in positions that feel constricting. The secret to arm balances is simple, but it is not always easy to put into action. Picture a balance scale, the old-fashioned kind. When both sides are even, the scale is “balanced.” There is no difference between a balance scale and your body, but it’s visually harder to understand. The center of the scale is where your hand meets your wrists.

Let’s think about crow pose for a moment. You will see in the picture to the right (or below if you’re on mobile or a tablet) a red line to show you where the shaft of a balance scale would be. I call the hips and legs the “back side” of the pose, and the heart and head the “front side.” In order for the back and front side to be equal we must lean forward quite a bit. This presents a bit of fear for many yogis, and for a good reason! You could easily lean too far, too fast. This is why it’s important to build strength in your fingers and wrists. The primary muscles that stop the body from leaning too far are the flexors of the wrists and fingers. I call these muscles “The Breaks,” and much like driving any vehicle, you will not feel safe without them! For this reason alone it’s super important to strengthen the breaks so that you build trust in yourself. As your trust builds, you will be willing to lean forward more and more into the strength of your wrists.  In my Handstand Training video, I provide some of my top exercises for “the breaks.”

When most people first try to lean forward they actually tend to sink, softening the elbow joints and melting the shoulder blades toward each other. This will make the posture heavy and will actually make it harder to balance. To be sure you aren’t doing this, film yourself or better yet find a teacher or friend to support you with visual coaching.
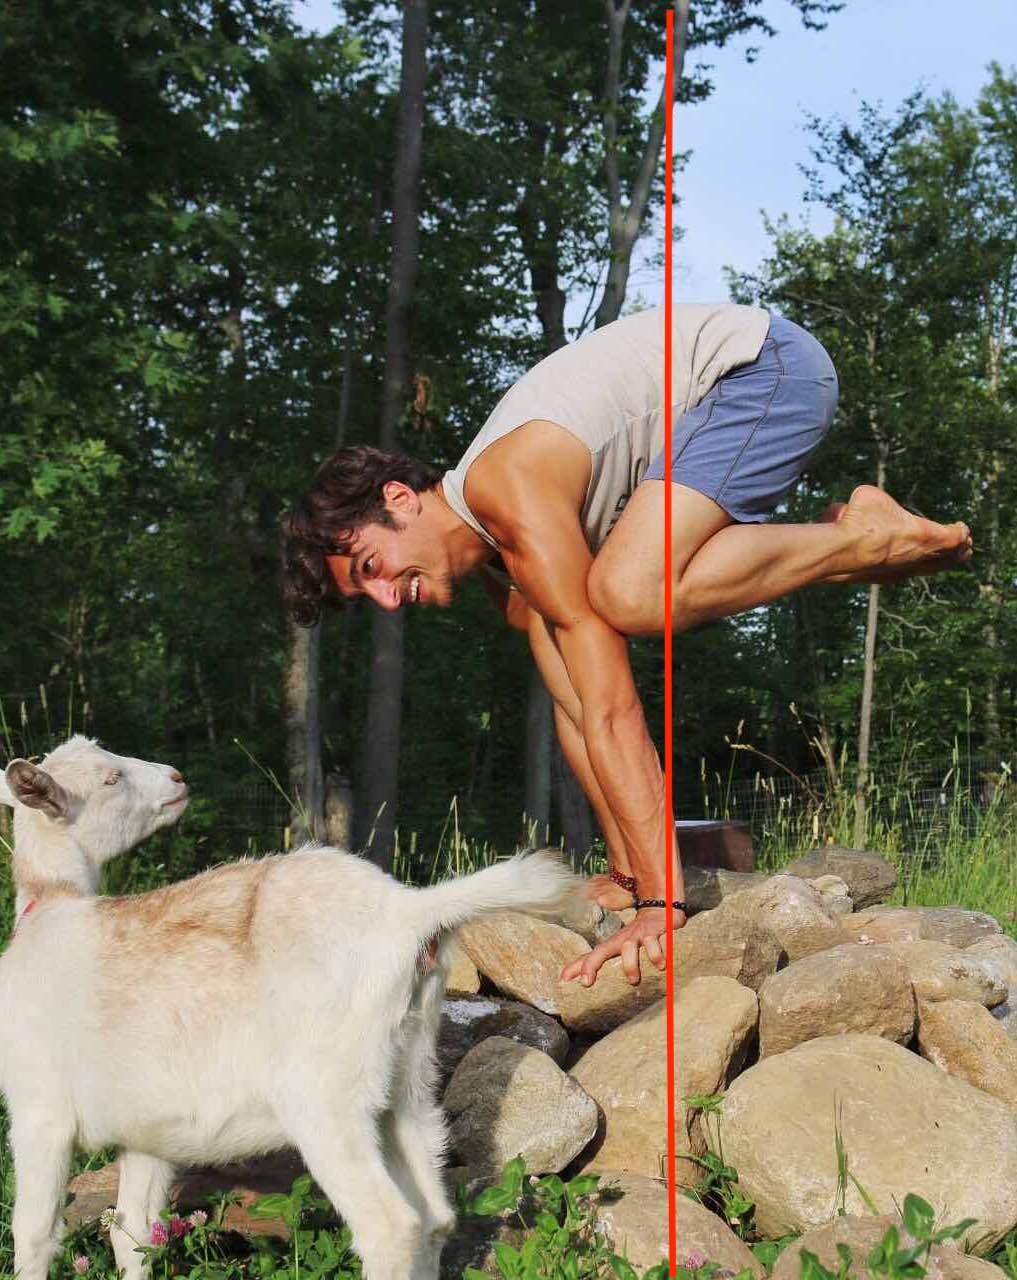
yoga arm balance with goats
200 Hour Online Teacher Training Certification

200 HOUR ONLINE TEACHER TRAINING

GET CERTIFIED & DEEPEN YOUR YOGA PRACTICE

  • Deepen your yoga practice
  • Build confidence speaking in front of groups in person and online
  • Learn foundational class structures and templates
  • Learn techniques for a wide range of yoga postures
  • Get certified and highly qualified to teach yoga
  • Yoga Alliance Globally Recognized Certification Program
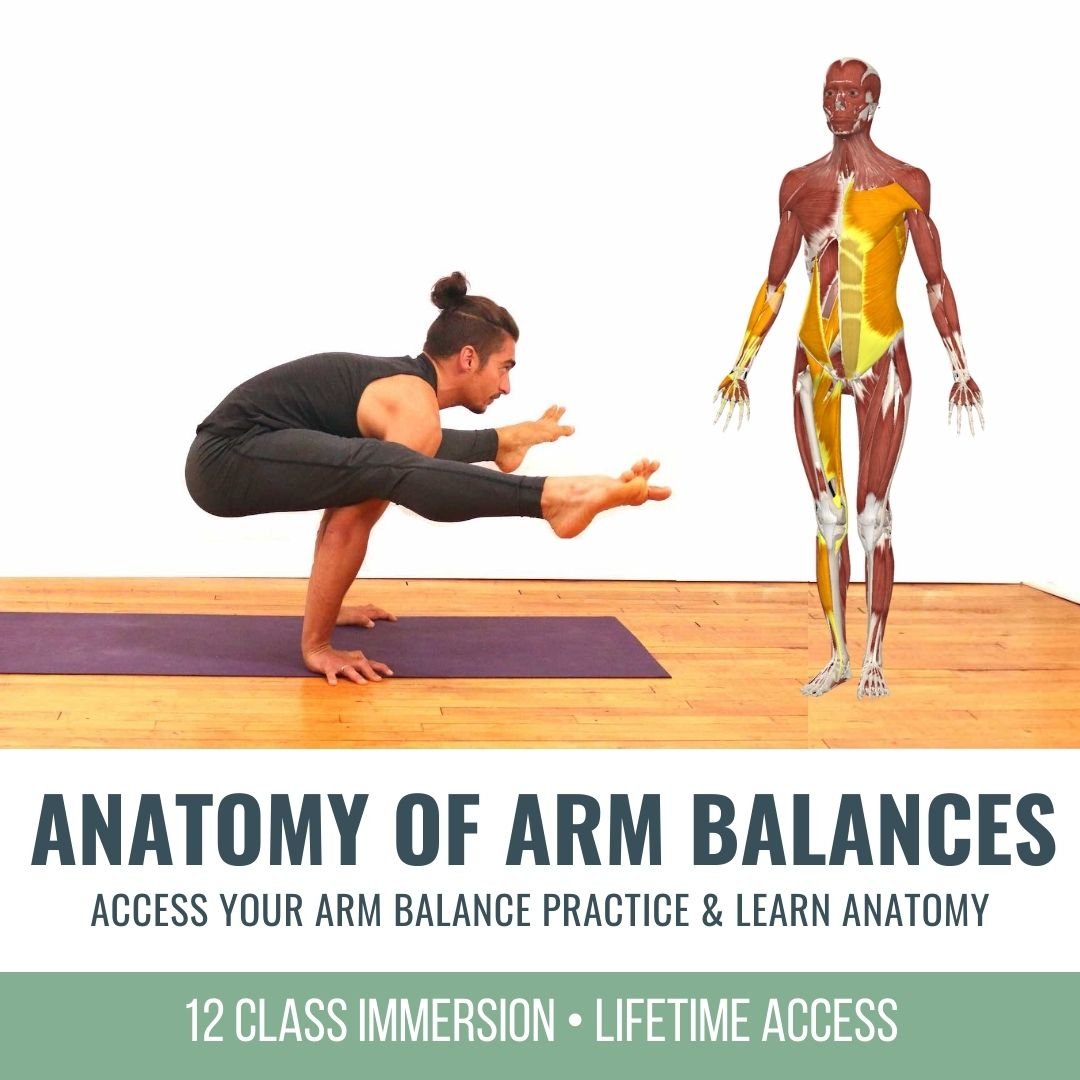
online classes for anatomy of arm balances

ANATOMY OF ARM BALANCES

MAY 2022 Immersion

  • Anatomy of 12+ arm balances
  • Foundational and advanced arm balance techniques
  • Visualize your movements internally
  • Improve balance and proprioception
  • Sensation-based practices
  • Learn empowering modifications
  • Access appropriate variations for your level of practice
  • Active, passive, and isomentric Stretching
  • Improve wrist, core, and shoulder strength
  • ALL LEVELS APPROPRIATE

$168.00

MORE INFORMATION


yoga pose all 4's wrist strengthener

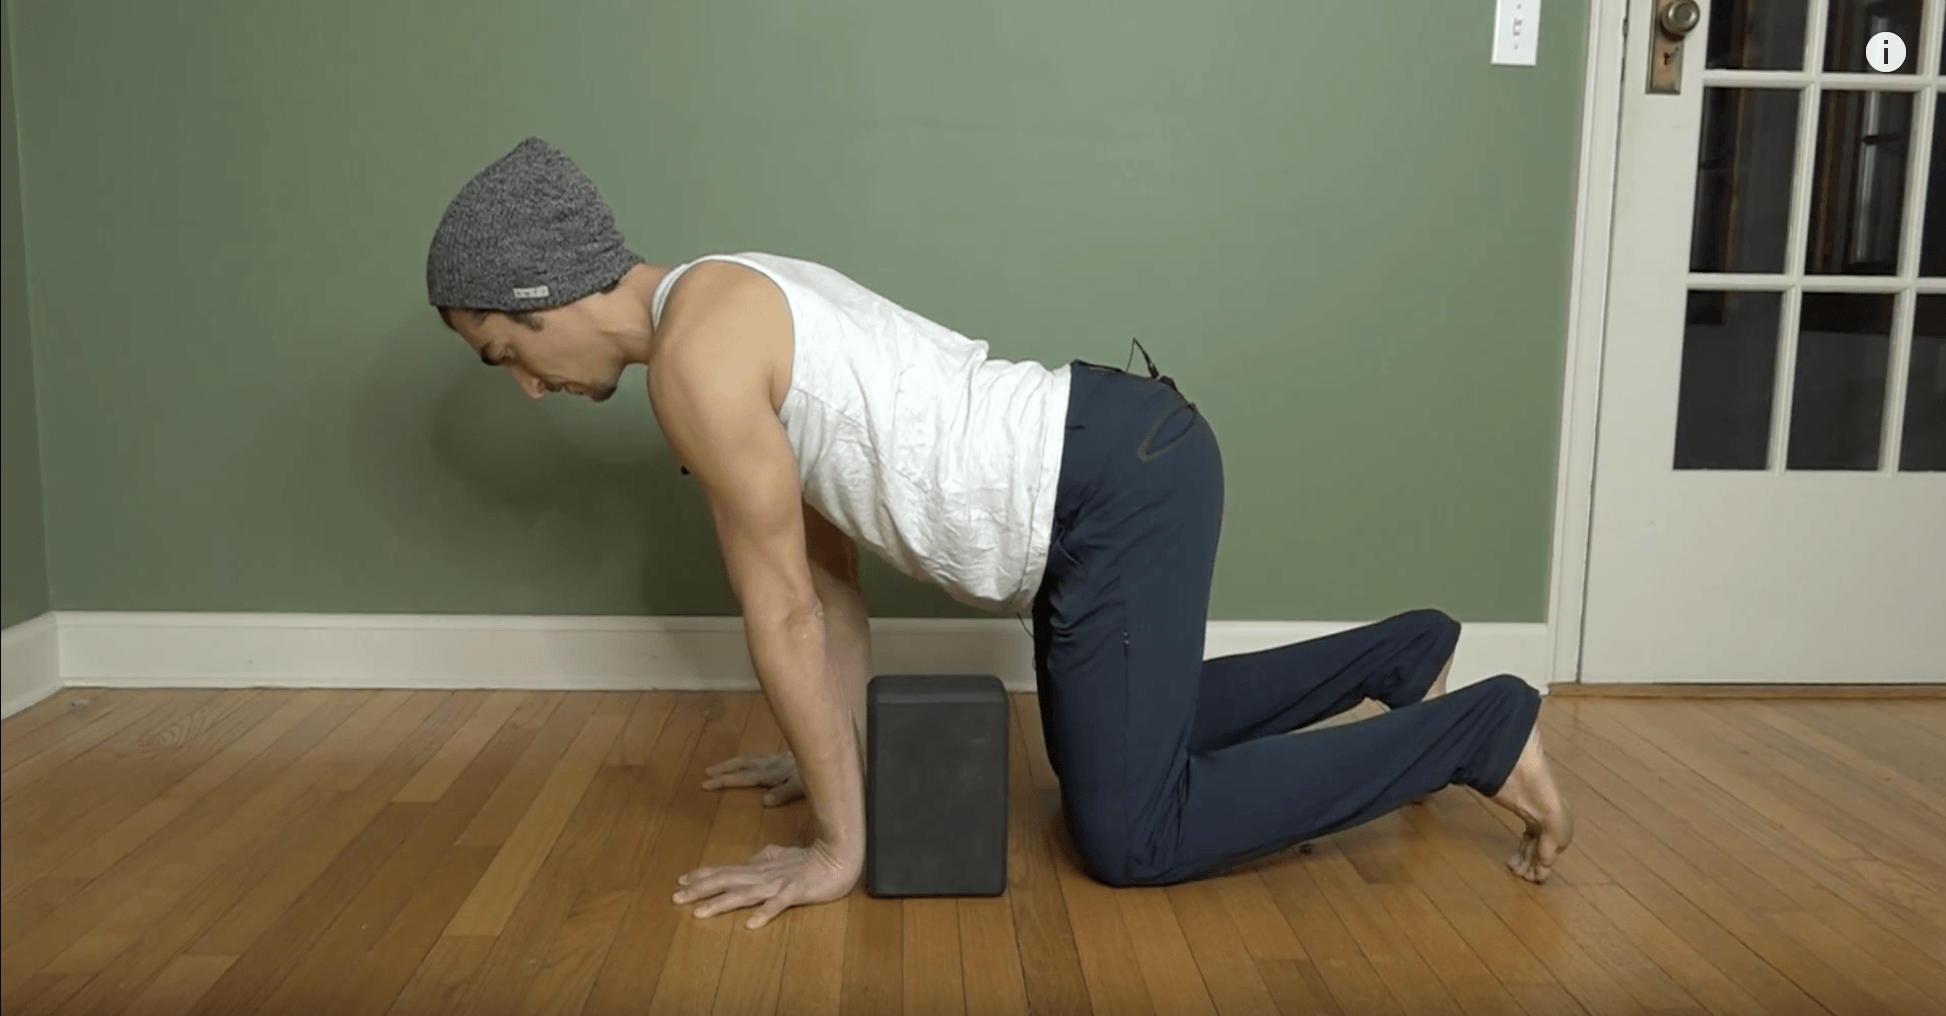
Step 1 - All Fours with a Block

First work with a block behind the forearms on all fours. To be clear this is a deep extension of the wrist, so be mindful. If you feel that your muscles are straining, back the block up an inch. The idea here is to grip the ground with your fingers which will activate the flexor muscles. Because the hand is in extension, the flexor muscles are elongated significantly, so gripping the ground could prove to be challenging.
chaturanga with block for wrist strength

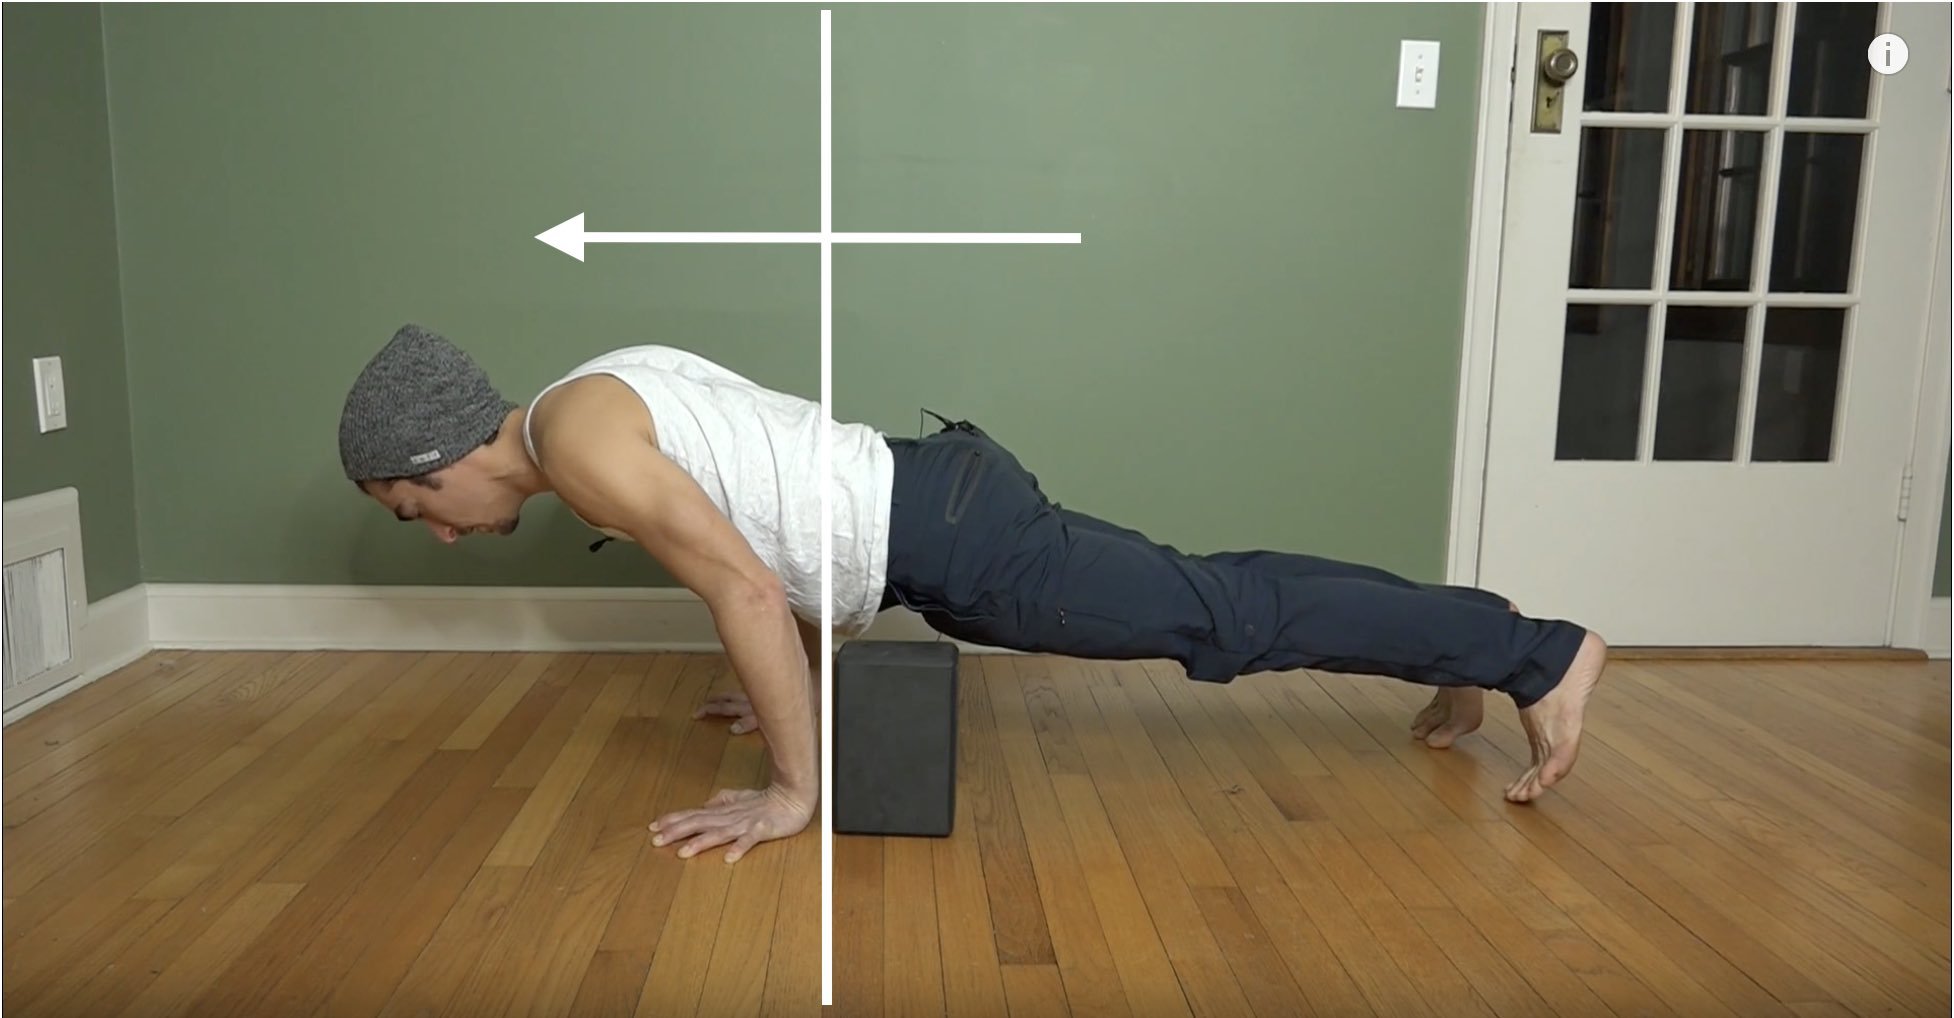
Step 2: Chaturanga with a block

The next step is to work on lowering from plank to chaturanga with the block directly behind the forearm. I recommend only going down a few inches and trying to hold. You will notice that in my chaturanga and crow pose my elbows are only slightly bent. This will make it easier to stay lifted and light. The same is true for the fingers; keep gripping the ground! To Strengthen your wrist, I highly recommend Handstand Training
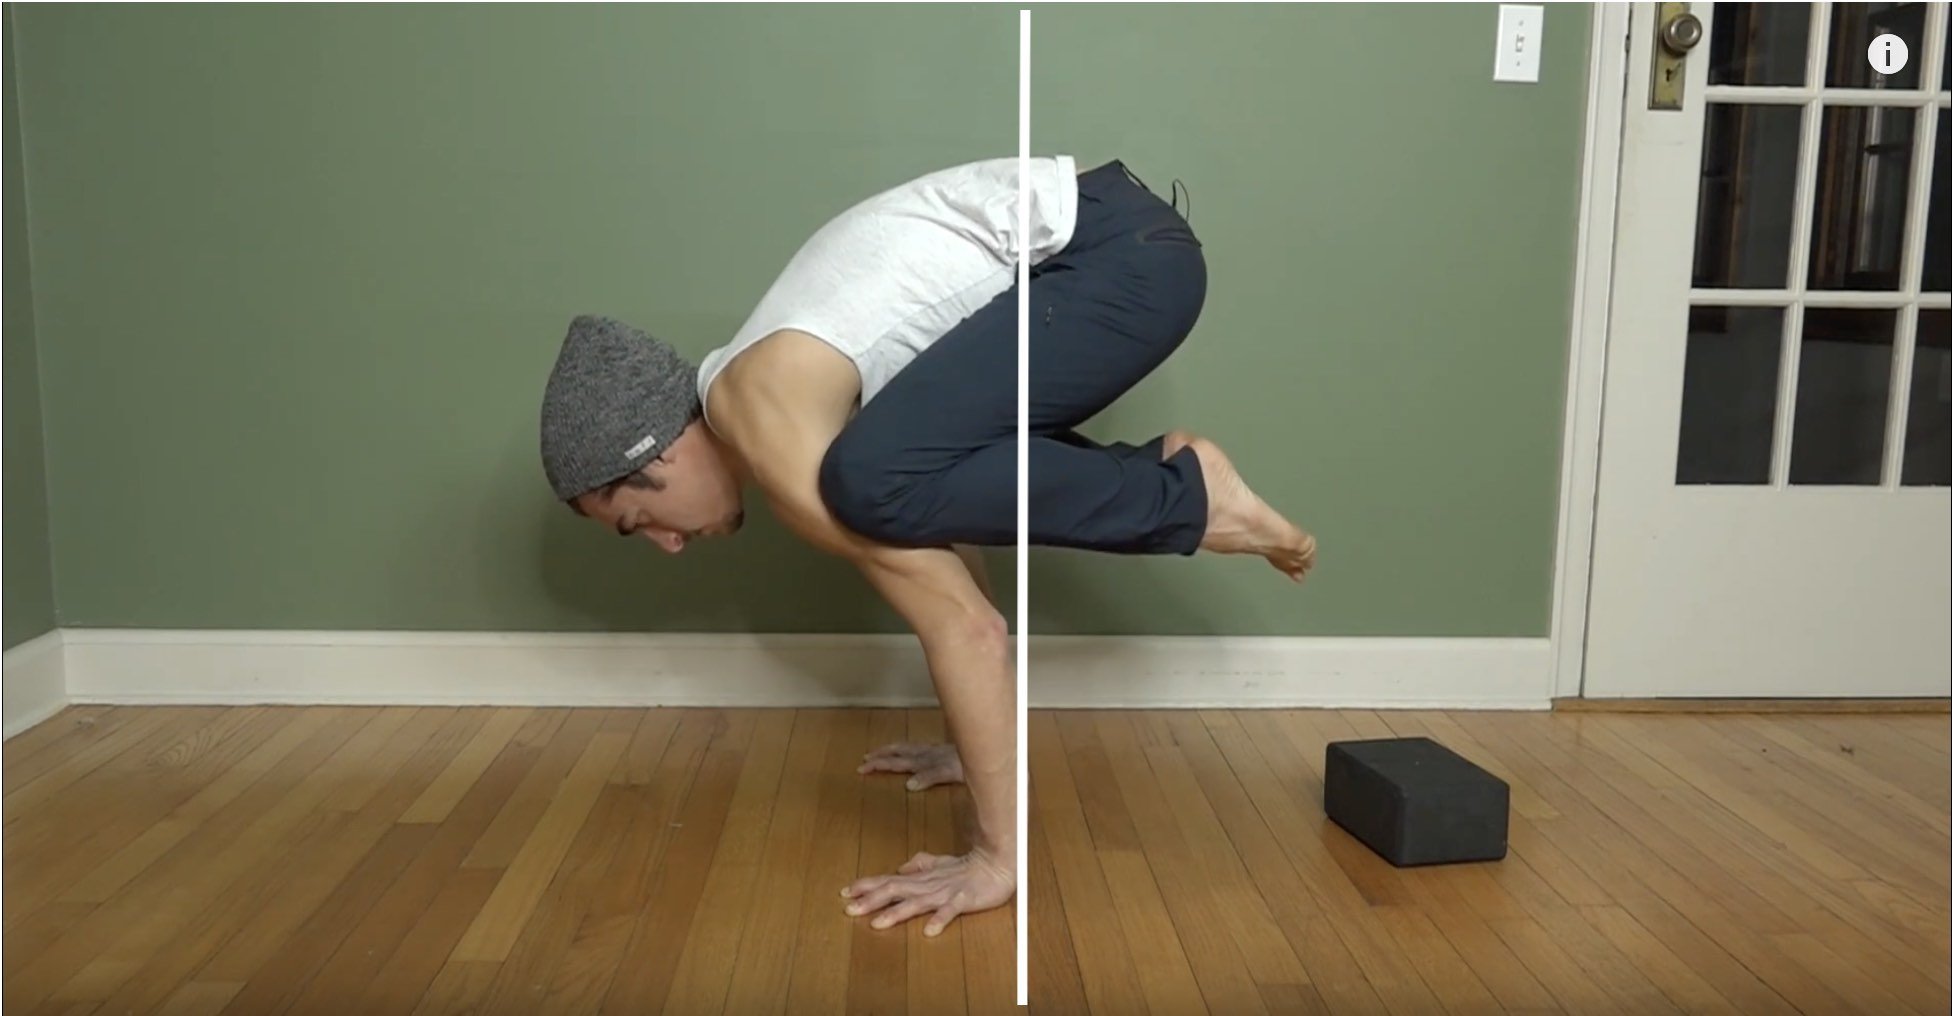
crow pose wrist strength and balance

Step 3: Crow Pose

Crow pose is significantly more challenging, so if this is new for you be sure to work with a teacher first (and a landing cushion would be an intelligent choice if you ask me). Apply the same action but go slower. Grip the ground and apply the breaks, then lean into that resistance. If you are more proficient in arm balances, you can try this in a posture like Ekapada Koundenyasana 2  or flying pigeon.

300 hour teacher training online

300 HOUR ONLINE TEACHER TRAINING

GET 500 HOUR CERTIFIED & ADVANCE YOUR TEACHING SKILLSETS

  • Learn Anatomy, Bio-Mechanics, and Masterful Postural Techniques
  • Advance Your Teaching Skillsets: Sequencing, Verbal Cuing, Theming
  • Deliver Heart Felt Practices with Philosophy, Meditation, & Pranayama
  • Apply Business Structure's, Marketing, Branding, Social Media
  • Build Confidence Working with Injuries, and More!

Avoiding Wrist Pain

Wrist pain is common when people first start their yoga practice or arm balance practice. That doesn’t mean it’s a good thing, but it probably means the muscles that surround the joint are not strong and probably not balanced. The wrists are not a muscle you can simply work really hard a few times and see positive results. More likely you will strain the muscles if you go that route. Instead spend small amounts of time practicing these exercises but do them often. This is how I train my own wrists and I have had much success with feeling good over the course of 12 plus years of practicing handstands and arm balances.

Thank you for reading and watching! if you have questions, comments or requests please share them here!

-Matt

Handstand Strength Training

Learn the techniques that make Handstand fun, easy, and accessible! This collection of the top 12 most effective exercises will make you rethink how you approach handstand and what is possible so you can finally build the proper strength and awareness it takes to hold a handstand.

Continue Learning

Practice Peacock Pose

Practice Peacock Pose

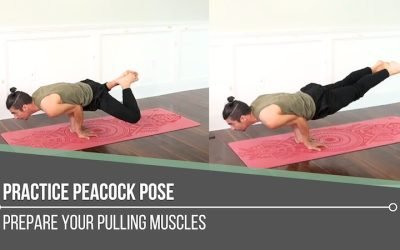
Practice Peacock PoseMayurasanaPRACTICE PEACOCK POSE We go to our yoga practice for many different reasons at any given time. In our asana practice, we are sometimes seeking softness and ease. At other times, we might be striving for vigour and strength. Peacock Pose...

read more
Eka Pada Koundinyasana I

Eka Pada Koundinyasana I

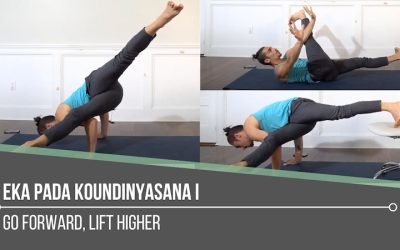
Eka Pada Koundinyasana IArm BalanceEKA PADA KOUNDINYASANA I If Side Crow is already part of our practice, then Eka Pada Koundinyasana I is like adding on another layer to that posture, because they are quite similar. The added layer is that we extend the top leg...

read more
Achieve Flying Balance

Achieve Flying Balance

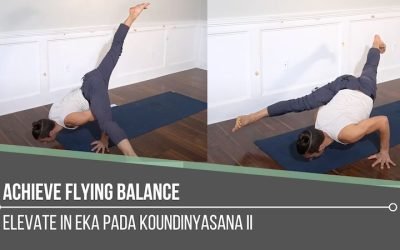
Achieve Flying BalanceArm BalanceACHIEVE FLYING BALANCE Achieving an arm balance is quite extraordinary when you consider all that’s involved. And when we refer to an arm balance as a “flying balance,” there is even more involved. The “flying” in Eka Pada...

read more
Virasana

Virasana

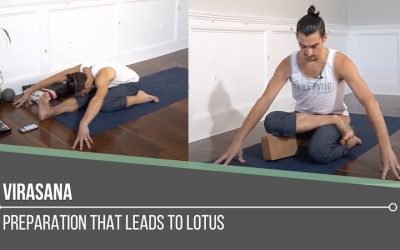
VirasanaHip ExtensionVIRASANA For some of us, postures like Virasana and Lotus can be uncomfortable or even painful for the knees, so we avoid them altogether. Depending on what we’re dealing with, this may be the best decision. If there is room for safe exploration,...

read more
Get Bendy

Get Bendy

Get BendySpinal MobilityGET BENDY In the yoga context, getting bendy can conjure up images of postures that may seem far-fetched or unattainable. What we should set our sights on instead is not an end result but rather all the things we learn while we're exploring...

read more
Wall Drills To Progress In Handstand

Wall Drills To Progress In Handstand

Wall Drills to Progress in HandstandAdho Mukha VrksasanaWALL DRILLS TO PROGRESS IN HANDSTAND Wall drills for Handstand are an excellent way to master the mechanics required to go upside down with confidence. Using the wall as a support to refine alignment, rather than...

read more

THE FREE TECHNIQUE PACK

When You Subscribe, You Will Get Instant Access to

  • the Technique Pack: 15 yoga pose breakdowns
  • exclusive online course discounts
  • exclusive blogs and videos
  • This field is for validation purposes and should be left unchanged.

Get in Contact

12 + 6 =

Headstand: Neck Relief

Headstand: Neck Relief

No More "Pain in the Neck"


Intentional Practice

For many years I split my yoga asana practice into two parts. On one side I dedicated my learning to the therapeutic qualities and on the other side advancing my practice. It was a while before I realized that they were one and the same and it took longer to realize that “advanced” transition could lead to greater ease and freedom. This video is born out of my understanding of what I used to consider to be just an advanced transition.

Let’s touch briefly on the neck in headstand. I think we all know that putting our entire weight on our neck could obviously have its dangers. There are also many claimed benefits from it, some of which I agree with from my own experience. Headstand can be extremely empowering and freeing on an emotional level, and beyond that, it is a platform to build more strength and stability for the neck. In addition, going upside down in general can increase our proprioception (knowing where our body is in space). To be sure we are gaining all the benefits and not dealing with the potential downfalls of having all our weight on our neck, I find it beneficial to learn how to do headstand with our head off the ground. Some would call this forearm stand, some would argue it’s still headstand arms so it’s headstand…what you call it is not important, but having the strength and awareness definitely is beneficial.

There are two main anatomical actions that I go over in this video:
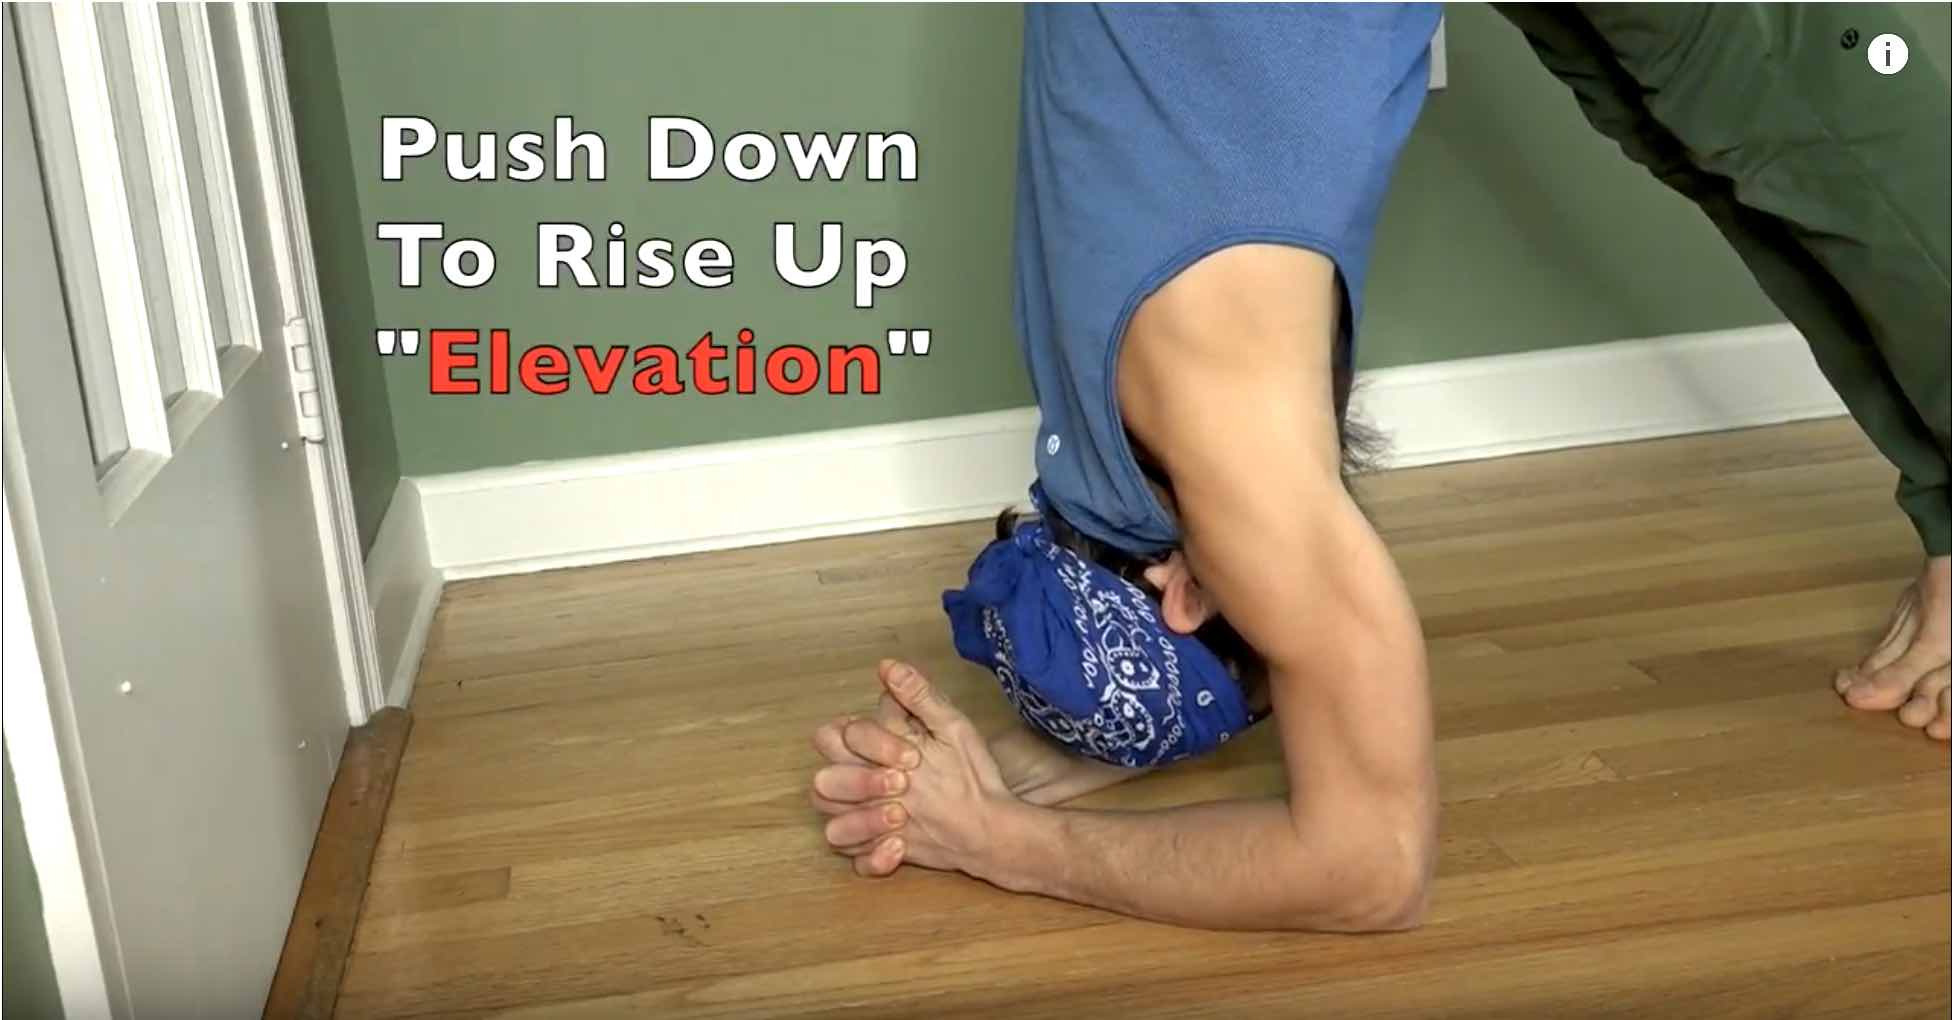
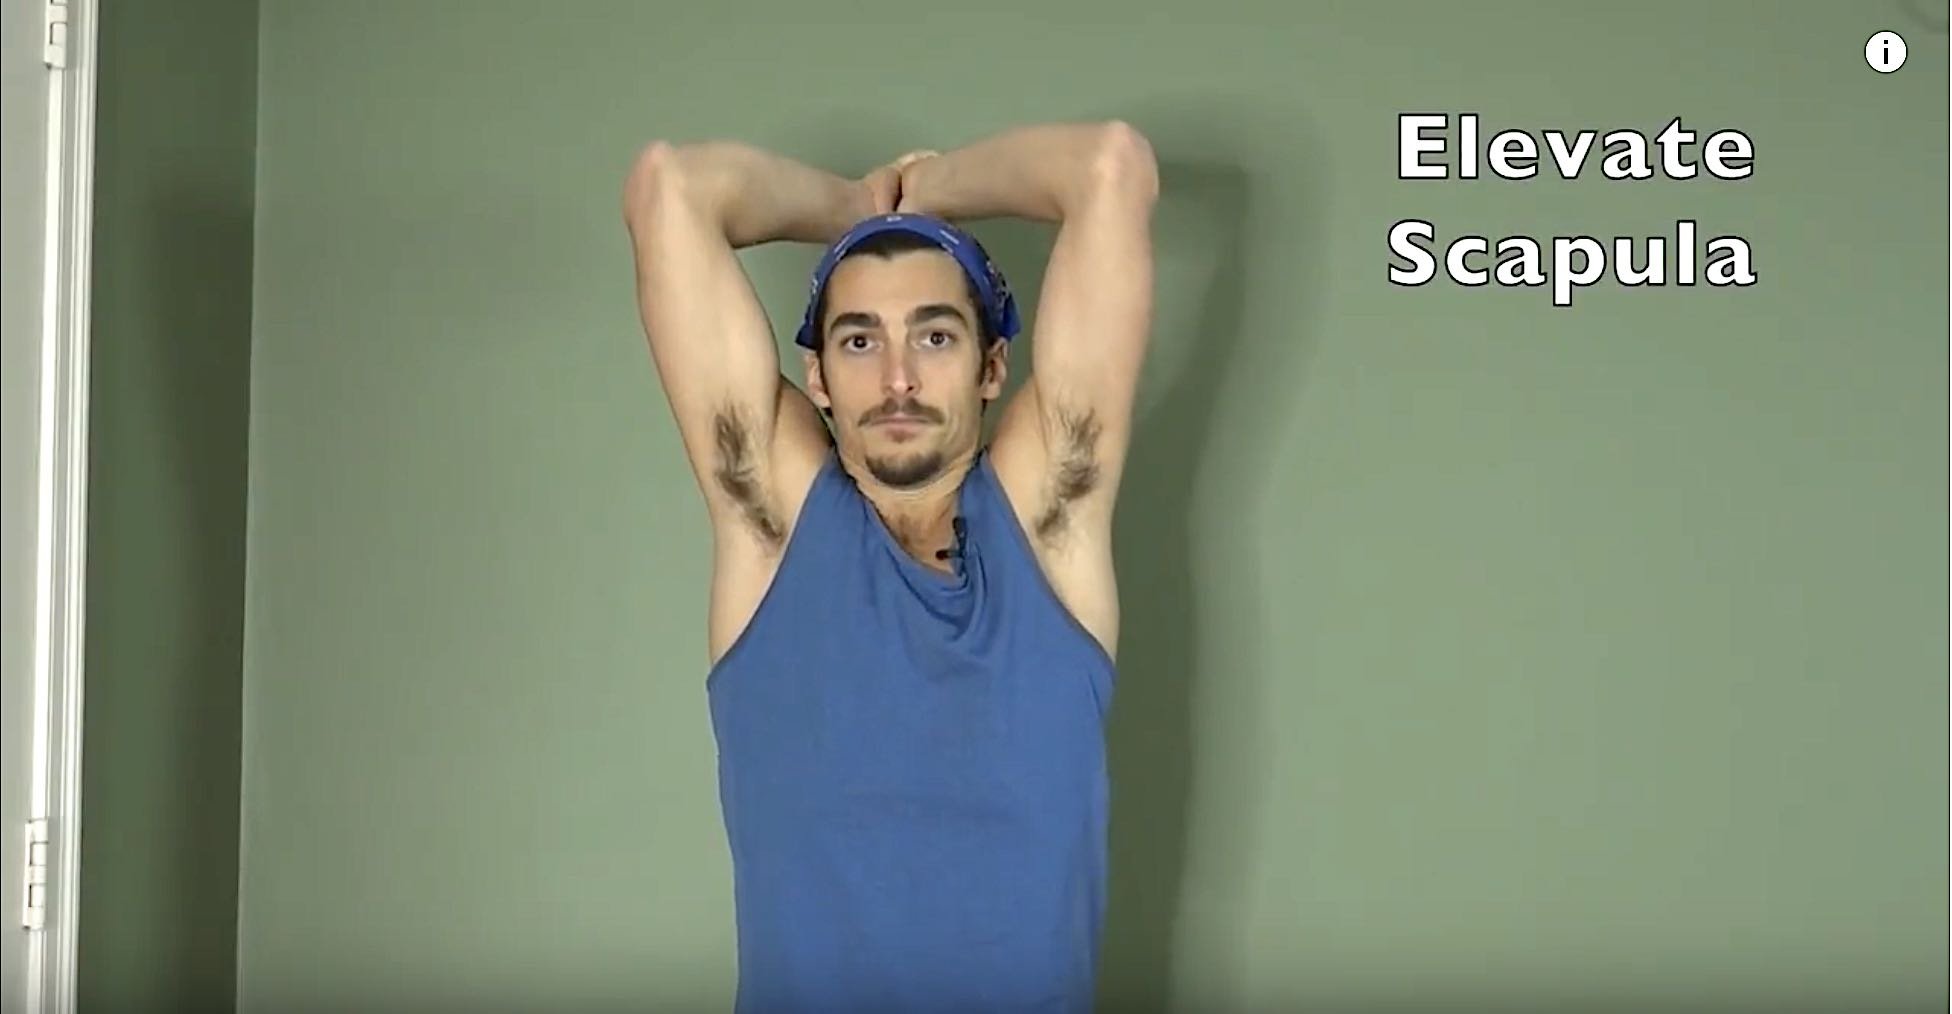
Elevation of the Scapula: Shoulder blades raise up toward the ears
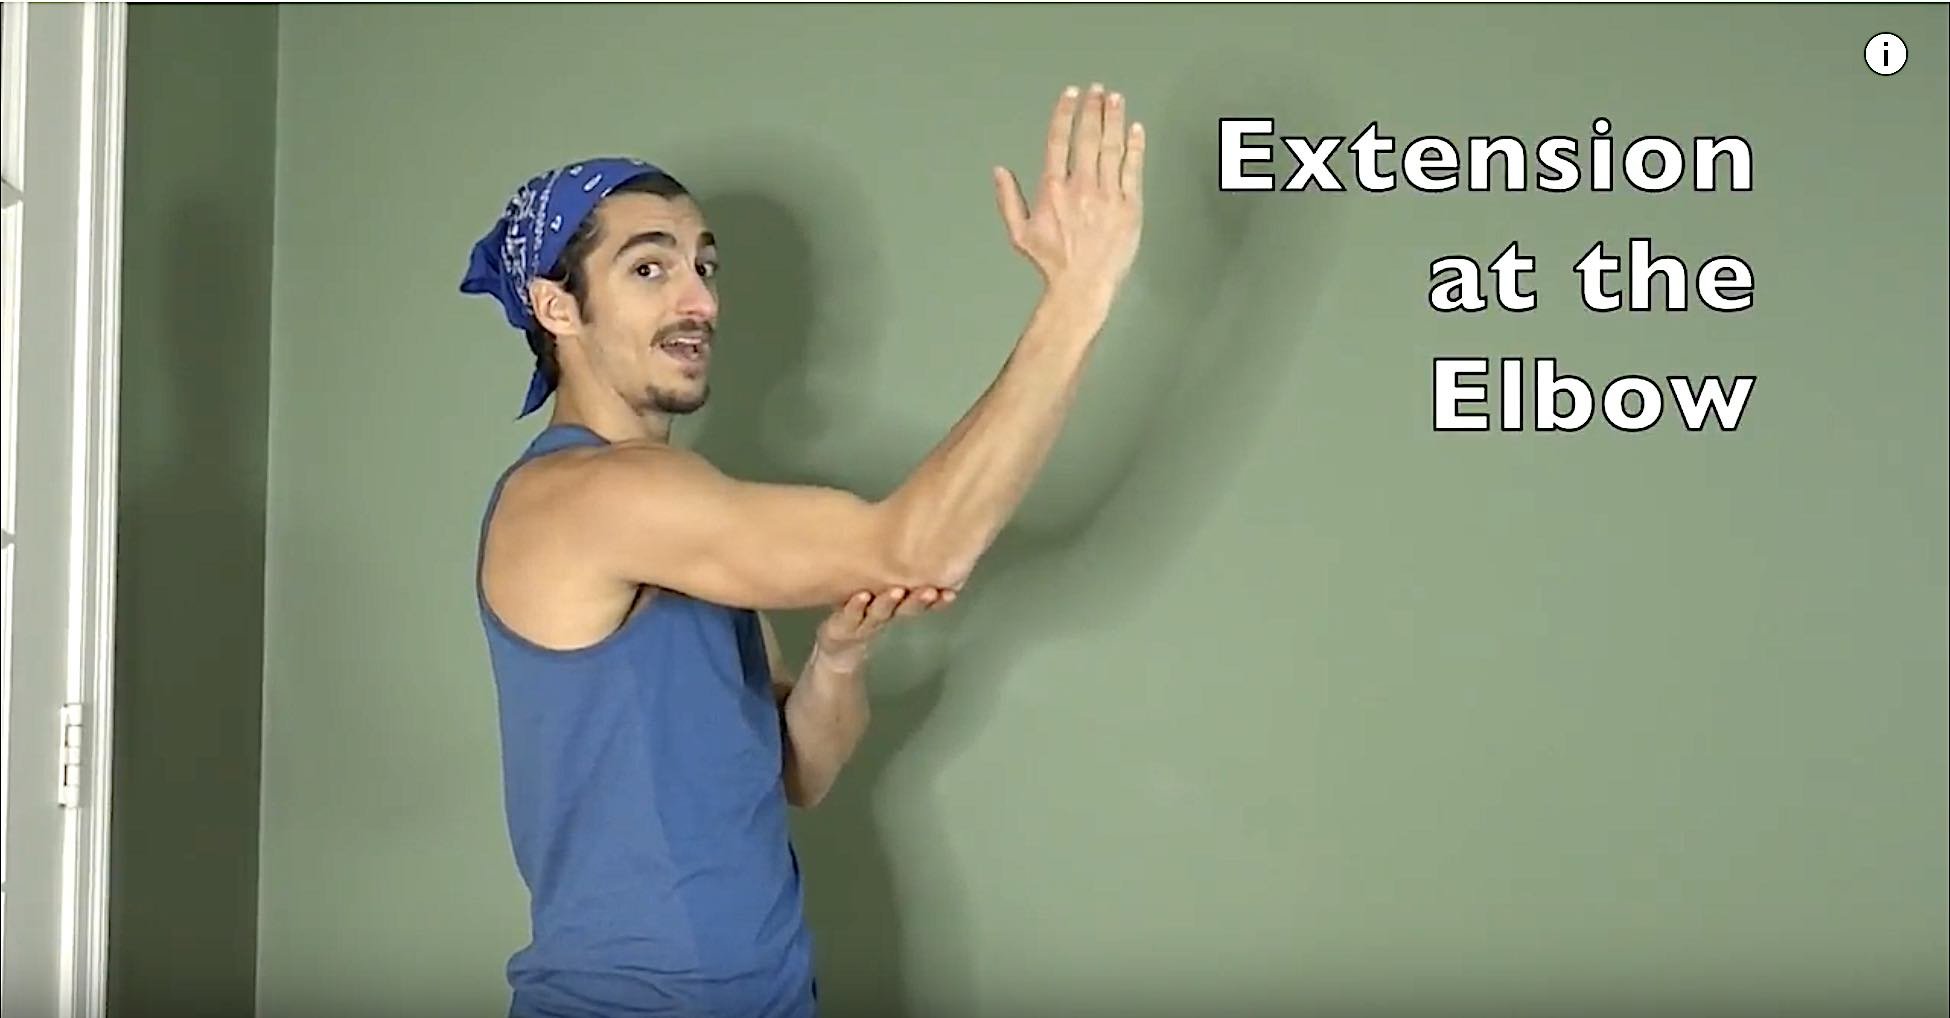
Extension at the Elbow Joint: The Elbow straightening.

Elevation of the scapula is the main action in relieving neck pressure because when executed with enough strength, the head will lift off of the ground. Once you have the strength and control over the muscles that create elevation (mainly the upper fibers of the trapezius muscles) you will then have the choice of how much weight you place on your head. Trying to extend at the elbow joint can help maintain stability and balance as you elevate your scapula and can assist in rising away from the ground.

The Actions

In the video you will be provided with a visual demonstration of elevating the scapula with headstand arms. While you are reading this you can try elevating your scapula by shrugging your shoulders up by your ears. This action is remarkably easier when the arms are by your side in a resting position than when they are over head and bearing the weight of your body, but awareness of the action makes it a lot easier to attempt once you enter the position. Many yoga teachers will shun the idea of your shoulders rising up by the ears simply because it tends to be an unconscious pattern. Remember this pattern is not necessarily bad or good, it’s the unconscious part that is the problem. Another way to look at it is if we hold an equal and opposite pattern of elevated scapula then our shoulders would be balanced and relaxed. If you are someone whose shoulders rise toward your ears on a daily basis here are some things to consider.
Your stress levels: If your shoulders are tensed up it could be an indication that your emotional body/nervous system is more often in the state of panic and your nervous system is sending signals to your muscles to hold tension because “something bad is going to happen.” There is no short answer for what to do but one-on-one coaching could help. I am happy to connect for a free Skype session to discuss some options with you.
Strengthen the opposite muscles: In this case, do pull-ups and work on strengthening the muscles of depression.
Strengthen to Release: It may sound strange but usually a muscle holding tension is not tense because it is strong, more likely because it is weak. Strengthening it can actually relax it. In this case, elevating your scapula will help strengthen the upper fibers of the trapezius muscles, and therefore could lead to releasing your neck tension!

How to Strengthen

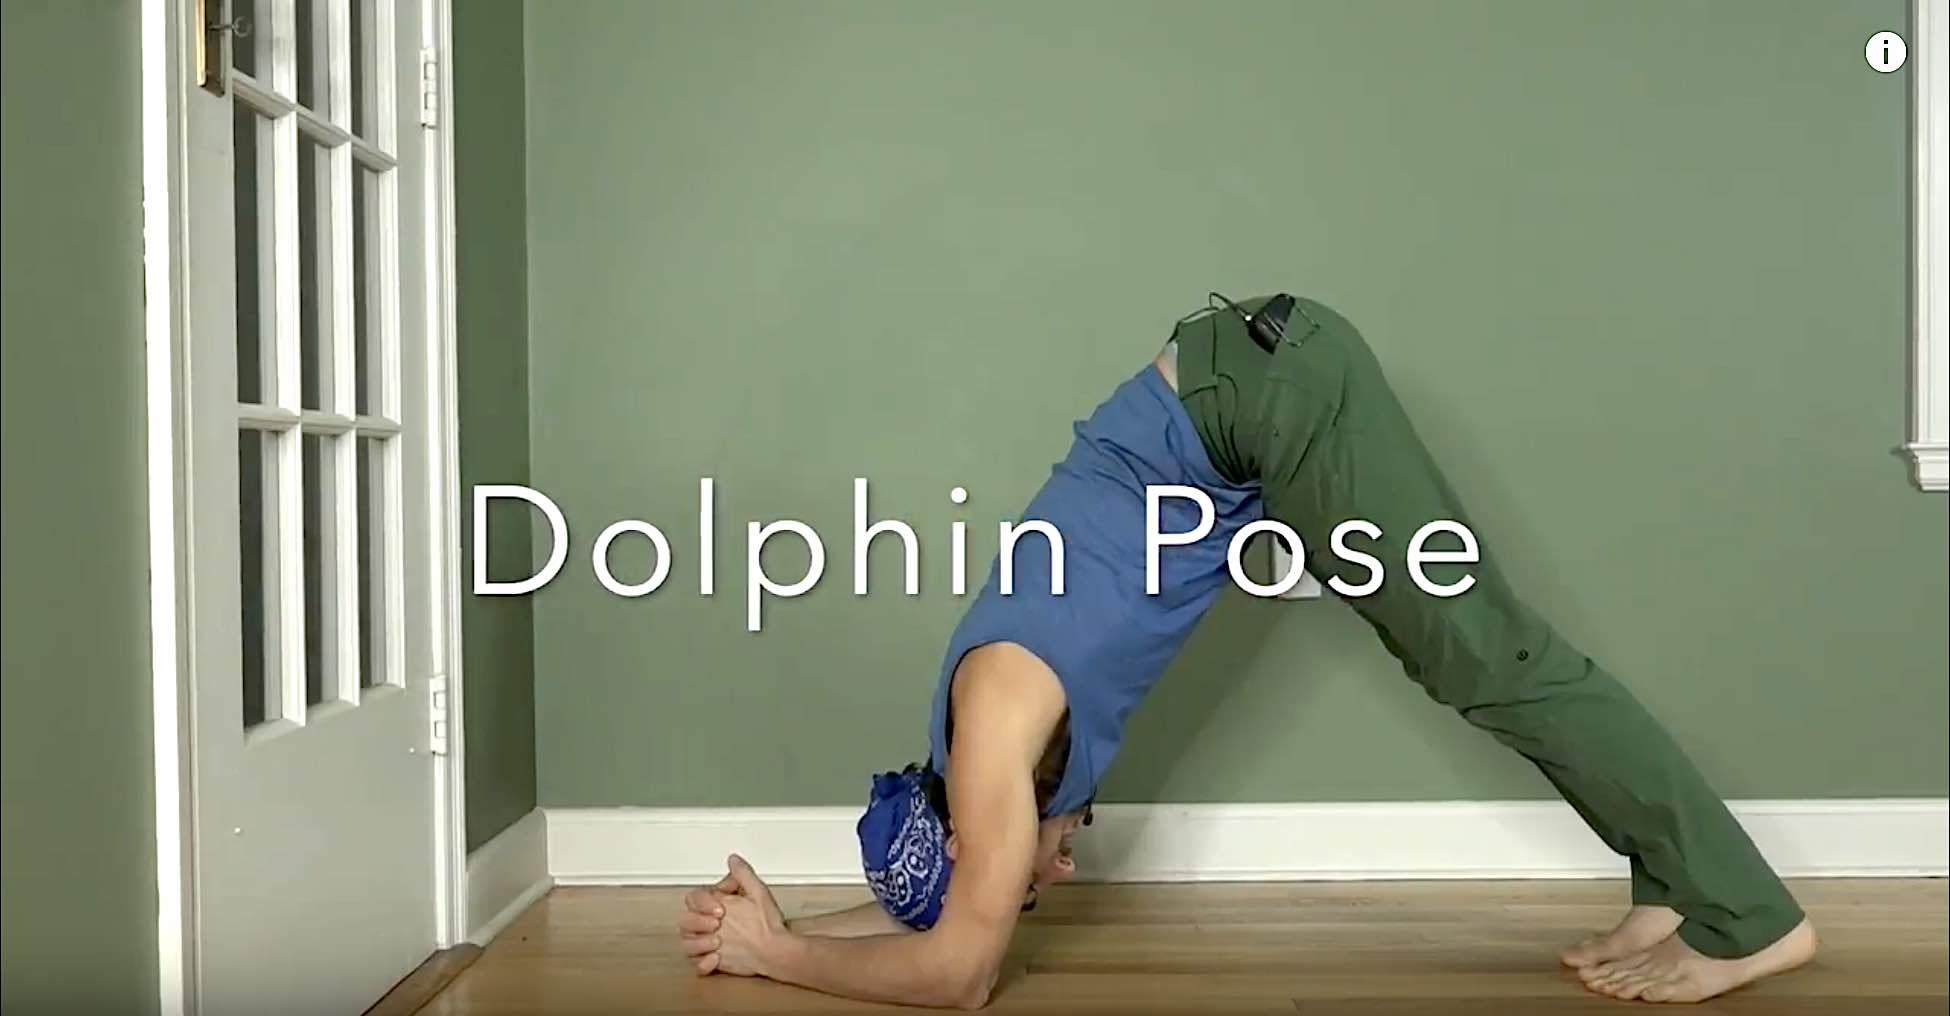
There are multiple ways to strengthen the muscles that elevate the scapula and extend the elbow. In the video I offer a way to do so while approaching the pose. Dolphin pose (Down Dog on Forearms) is a great start for the more beginner practitioner. Check out the video and try the actions to feel it in your body. If you find it helpful and you are looking for more ways to strengthen your inversion practice Click Here to check out my top exercises for the arms, shoulders, wrists, and core!

Want more Free education? Check out Headstand: 3 Ways In

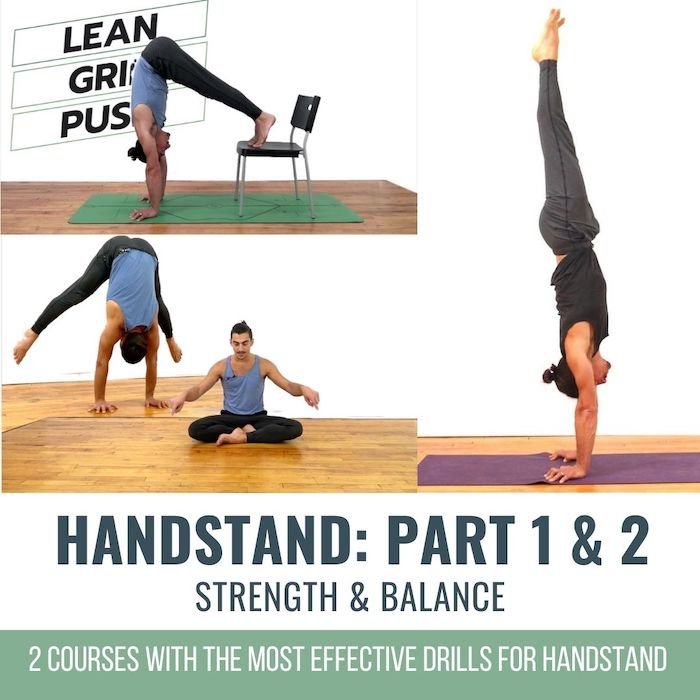
HANDSTAND TRAINING

2 PART COURSE FOR STRENGTH & BALANCE

  • Part 1: Get strong in key areas for Handstand
  • Part 2: Learn to Balance Handstand
  • Techniques, anatomy and drills to gain mastery on your hands
  • Easy to follow, step by step approach
  • Find weak points and make them your strengths
  • The most efficient & effective course to access handstand
  • Option to purchase each course separately or together

CURRENT SALE PRICE FOR BOTH

$298.00 $148.00

1. Elevate Your Scapula

Before going upside down and bearing weight, ensure that you have the range of motion in your shoulders to elevate your scapula with headstand arms – clasped fingers, bent elbows, arms overhead. Lift and lower your shoulders toward and away from your ears several times with your breath to awaken your trapezius and serratus anterior muscles. If this proves to be challenging it could be due to weakness in these muscles or tightness in the opposing muscles.  You could do some down dogs, or do the classic swimmers warm-up of windmilling one arm and then the other, backstroke is my preference. Also, check out the Handstand Training video for strength and mobility exercises for the shoulders.  

3. Dolphin

Take the next step by getting down into dolphin pose and working on elevating your scapula and depressing them a few times. It’s helpful to record yourself to see if you are accurately performing the action. This posture is great to work on tricep engagement. Press the outer wrists down into the ground until your feel the back of your arms tone up.

2. Elbow Extension

Extension of the elbow is seemingly easy when you look at it, and even when you do it without weight-bearing. However it’s not strength that usually stands in the way, but rather the ability to use the muscles for balance. This requires rapid reactivity, and the ability to feel when the body has fallen backward. The triceps in this type of headstand (less weight bearing on the neck) and forearm stand are equivalent to the fingers in a handstand, they are “the breaks” that stop you from falling. Try putting your forearm on a wall like a forearm plank, then push into the wall with the outer edge of your hand and wrist to activate the triceps. Increase the weight by walking your feet back and leaning your body more toward the wall.

4. Tuck Headstand or Prep

If you are confident in balancing a headstand you could then try these actions in a tuck headstand which keeps your center of gravity lower making it easier to maintain balance as you explore new techniques. Please use a wall or teacher for safety – elevating the scapula typically sends people overboard. If you aren’t yet balancing headstand, try the prep with feet on the ground shown above.

ONLINE TEACHER TRAININGS


GET CERTIFIED AT THE 200 OR 500 HOUR LEVELS

  • 200 Hour Training: Get certified to teach yoga
  • 300 Hour Training: Take your certification to the 500 hour level
  • Recognized globally by Yoga Alliance 
  • Take your practice to the next level
  • All levels, ages, and experience welcomed

Neck Relief.

There are two main reasons why elevating the scapula can help relieve the neck in a headstand. It can provide less compression on the cervical (neck) vertebrae, and it can allow for some of the stabilizer neck muscles to relax. That being said there can be benefits to strengthening the stabilizers of the neck, so doing a headstand with less elevation of the scapula isn’t inherently wrong or bad unless you are experience pain or discomfort when doing so.

The approach to headstand relies heavily on the strength of the upper fibers of your trapezius muscles which tend to be tense but also weak in many people. The common question that arises is, “my shoulders are always up by my ears, shouldn’t I relax them?” Of course the answer is yes but there is a time and place for everything. Spend the majority of your day learning to let go of unconscious tension, and a small amount of time you spend in headstand, handstand, or forearm stand focusing on the intentional engagement of these muscles. A healthy trapezius is actually less likely to hold tension. More often than not we hold tension in muscles that we don’t have much awareness of. Tension in the way I am using the word right now is more likely the result of emotional stress than it is of too much strength or activity.

Thank you for stopping by, I hope these tips help. If you have questions, requests, or something you would like to share about your headstand journey please submit a comment.

-Matt

Improve your balance with yoga

BALANCE

INCREASE & AWAKEN YOUR BALANCE

  • Learn over 12 balance postures
  • Muscle strength and reactive patterning
  • Increase proprioception and deliberate weight shifting
  • Tree, Standing Hand-to-Foot variations, Warrior III
  • Half Moon variations, Handstand, Side Plank, Headstand
  • 12 all-levels, 75-minute online classes
  • Lifetime unlimited access to all

$198.00 $128.00

Continue Learning

Practice Peacock Pose

Practice Peacock Pose

Practice Peacock PoseMayurasanaPRACTICE PEACOCK POSE We go to our yoga practice for many different reasons at any given time. In our asana practice, we are sometimes seeking softness and ease. At other times, we might be striving for vigour and strength. Peacock Pose...

read more
Eka Pada Koundinyasana I

Eka Pada Koundinyasana I

Eka Pada Koundinyasana IArm BalanceEKA PADA KOUNDINYASANA I If Side Crow is already part of our practice, then Eka Pada Koundinyasana I is like adding on another layer to that posture, because they are quite similar. The added layer is that we extend the top leg...

read more
Achieve Flying Balance

Achieve Flying Balance

Achieve Flying BalanceArm BalanceACHIEVE FLYING BALANCE Achieving an arm balance is quite extraordinary when you consider all that’s involved. And when we refer to an arm balance as a “flying balance,” there is even more involved. The “flying” in Eka Pada...

read more
Virasana

Virasana

VirasanaHip ExtensionVIRASANA For some of us, postures like Virasana and Lotus can be uncomfortable or even painful for the knees, so we avoid them altogether. Depending on what we’re dealing with, this may be the best decision. If there is room for safe exploration,...

read more
Get Bendy

Get Bendy

Get BendySpinal MobilityGET BENDY In the yoga context, getting bendy can conjure up images of postures that may seem far-fetched or unattainable. What we should set our sights on instead is not an end result but rather all the things we learn while we're exploring...

read more
Wall Drills To Progress In Handstand

Wall Drills To Progress In Handstand

Wall Drills to Progress in HandstandAdho Mukha VrksasanaWALL DRILLS TO PROGRESS IN HANDSTAND Wall drills for Handstand are an excellent way to master the mechanics required to go upside down with confidence. Using the wall as a support to refine alignment, rather than...

read more

THE FREE TECHNIQUE PACK

When You Subscribe, You Will Get Instant Access to

  • the Technique Pack: 15 yoga pose breakdowns
  • exclusive online course discounts
  • exclusive blogs and videos
  • This field is for validation purposes and should be left unchanged.

CONTACT MATT

  • This field is for validation purposes and should be left unchanged.

Headstand: 3 Ways In

Three Ways In

Headstand is a powerful pose, typically referred to as the King of the Yoga Asanas (poses). While the gurus and masters have long been preaching the importance of headstand, modern-day anatomists often caution against it. Physically speaking my personal relationship with headstand has been mostly positive, while emotionally there were a couple of years of fear around the potential risks. The warnings of many of my teachers, in addition to neck and shoulder pain eventually turned me away from practicing the pose. In recent years I finally discovered the root cause of my neck pain had very little to do with my neck itself and everything to do with an imbalance in one of my rotator cuff muscles causing referral pain. The reason I feel this is important to mention is that when we are in pain we can be so quick to blame that we might miss what is really going on. We see it all the time in modern medicine. Instead of searching for the root cause of our problem, we focus on the symptom. Let me be clear here, I am not saying if you have neck pain you should do Headstand, I am simply stressing the importance of searching for the root of the pain. Dig deep, keep an open mind, and explore.

So when is it appropriate to do headstand? This question is not easily answered as it depends on many factors but here are some basic guidelines to consider.
1. The state of health in your body: Headstand is most appropriate for Yogis with a healthy spine and disks, consult a chiropractor (preferably one that practices yoga) to see if it’s right for you. Same goes for blood pressure irregularities, and of course pregnancy – check with a doctor. If you have other concerns seek professional guidance. If you feel good and know you are in good health, this pose might be your next best friend.
2. Your Level of Practice, strength, and body awareness: In the video, I mention that there are three levels of entering into headstand; beginner-advanced. Personally, as a teacher I feel headstand is for the intermediate level student, so while I talk about the three levels consider that these are meant for the intermediate student. For the advanced Yoga Asana practitioner, there are multiple ways in and out of headstand, and for the beginner I feel it is most important to build the following prior to attempting the pose:

Beginners: Preparatory Strength and Technique

  1. Shoulder Strength: From the moment you begin your yoga practice you are likely building shoulder strength. If your desire is to move toward headstand, I suggest building strength specific to having your arms overhead and in front of you. Downward Dog, Arm Balances, Handstand preparations, Dolphin Pose are all great poses to start off with.
  2. Back Body, Spine Strength: Developing the muscles along the back body and spine will help to stabilize your head, torso, and legs when you are ready to work toward headstand.
  3. Neck Strength: Neck strength can be built in preparation. I recommend doing standing yoga postures with hands behind the head and pressing the head back into the hands. This will also help set the head back which can lead to a more optimal alignment of the spine when in headstand, as well as in daily life.

For my top inversion strength training exercises, check out my Handstand Video at www.TheYogiMatt.com/Handstand

Benefits of The 3 Approaches

While scrolling through Instagram and Facebook over the past year or so there is obviously a strong desire to invert amongst yogis. It is beautiful to see the determination amongst practitioners to conquer their fears and prove to themselves that they can do more than they ever could imagine. That dedication toward results typically comes with hazardous experimentation, and maybe a little bit of (dare I say) impatience? I am not innocent when it comes to this topic, which is why I wanted to offer what I have learned along the way to help speed up your overall journey, and potentially save you from some of what I have gone through. I know everyone has to go through their own journey, and I know some of you out there are indeed looking for guidance, and are excited to learn. So if you are interested in the techniques and tools that will develop and empower your practice, I have created a video highlighting three challenging yet highly effective approaches toward headstand. Each one builds strength for the next, so my suggestion is beginners really master the first one without lifting the feet off the ground, and advanced practitioners use all three as drills to build body awareness and strength.

The 3 Approaches


  1. Half Tuck: The Half tuck teaches the shifting of weight from the feet to the head and arms while not demanding as much body awareness and hamstring flexibility. The first step is simply learning how to point the foot that is on the ground in order to shift your weight. In the video I use a block as a method to get around tight hamstrings. You may stack more than one block so long as you feel stable. The second part of this is to tuck your second leg into your body and balance in a “tuck” position. This may be highly challenging, but keeping your legs in a tuck has the benefit of being low to the ground. Lower center of gravity is easier to balance and therefore can be a safer place to learn balance. I would say that while there is always a risk when balancing upside down, the risk is less than in a full headstand.
  2. Full Tuck: Once you find repeated success with the tuck position and feel comfortable holding it for more than a minute you might try coming straight into a tuck position rather than one leg at a time. This is more challenging on many levels but mostly it requires greater flexibility in the hamstrings, and a stronger sense of proprioception (knowing where your body is in space). If this entrance is feeling great, the second aspect of it is to start extending at the hip joint, bringing your knees upward. How high up to bring the knees will depend on your level of comfort and balance.
  3. Straight Leg Press: Going Straight into a headstand through what is called a pike position in gymnastic and acrobatic language, is definitely the most challenging. It requires tremendous body awareness, low back, and buttock strength. It requires that the hamstrings are both flexible and strong. I highly recommend getting comfortable tucking all the way up and being able to hold a straight headstand for over a minute prior to attempting this.

Note: For all three approaches be sure to have a teacher around to support you and be your eyes for what you cannot see.

Beyond the Entry

Getting into headstand is just the start of the journey. Holding the balance while breathing steady and keeping your mind focused is the real exciting and beneficial part. I love to focus on my spinal curves while upside down, finding the most enjoyable balance. I also love to play with taking pressure off my neck which I will go over in my next blog and video!

To get started with your strength training and development of body awareness visit TheYogiMatt.com/Handstand. If you know someone that would benefit from this information please share the blog on social media or email. For questions please feel free to reach out to me directly: Matt@TheYogiMatt.com

Start Practicing

BLACK FRIDAY: 30% OFF ALL ONLINE IMMERSIONS & WORKSHOPS !
0
days
0
hours
0
minutes
0
seconds
BLACK FRIDAY: 30% OFF ALL ONLINE IMMERSIONS & WORKSHOPS!
0
days
0
hours
0
minutes
0
seconds
BLACK FRIDAY SALE! Congratulations, your 30% discount code has been applied and will be reflected at the very bottom of the checkout page. All Immersions & Immersion Bundles are included in this sale. To get more info on each immersion click on the photo. On Demand and Lifetime Access To all
Overlay Image
BLACK FRIDAY SALE! Congratulations, your 30% discount code has been applied and will be reflected at the very bottom of the checkout page. All Immersions & Immersion Bundles are included in this sale. To get more info on each immersion click on the photo. On Demand and Lifetime Access To all

Pin It on Pinterest